Click above to watch the video
Get the Free Plan for this project:
https://www.outoftheww.com/project-plans
This has been a crazy week. My wife and I are working on our short term rental property, redecorating, adding some new features, and it’s a blast. Now, we get to the meat of the remodel.
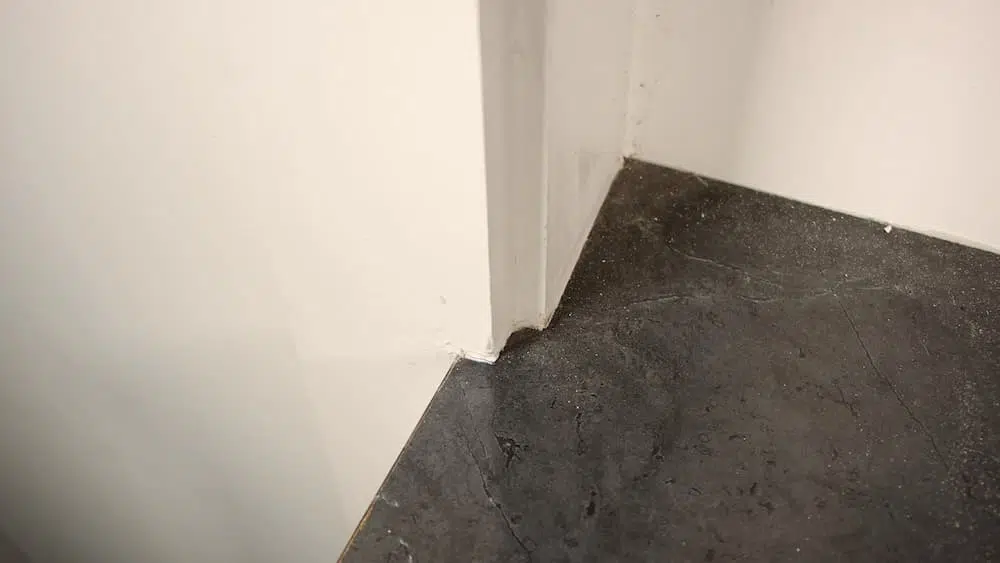
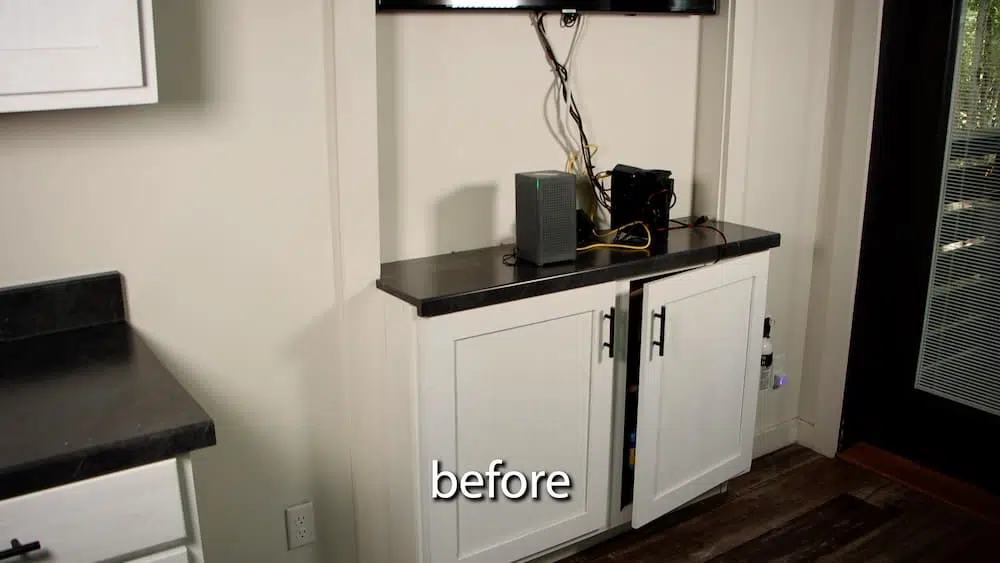
There’s a small area right inside of the front door that is poorly designed. It’s a 4 1/4″ built-in with a cabinet installed at the bottom. The area wasn’t made wide enough so the counter top is too wide for the space. No problem, they notched the casing and shortened the jamb to make it fit.
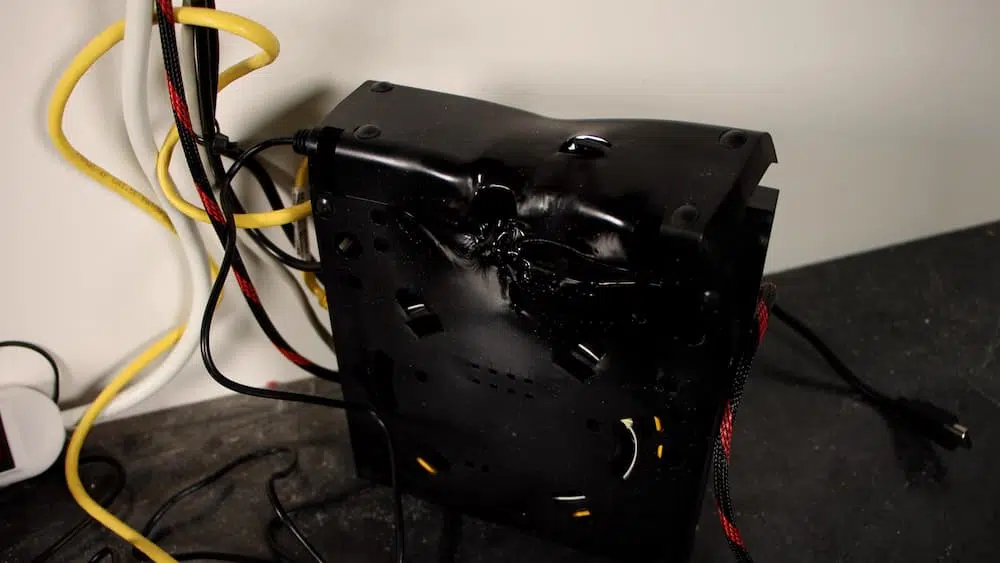
Another issue is that the modem and router have to be in this area. The previous owner had a nice, standalone heater sitting on the cabinet that, unfortunately, melts the modem.
So, as fun as all that is, that space needs a new design.
Building the Bench
I went with a bench design that I made in a previous video, without the doors, and I fitted it to this built-in space. It has a dado directly in the center for a divider, rabbets on the back edge for the back piece, and the end pieces are screwed in to the top and bottom piece to hide any edges. I show you how to make shaker-style doors in this video.
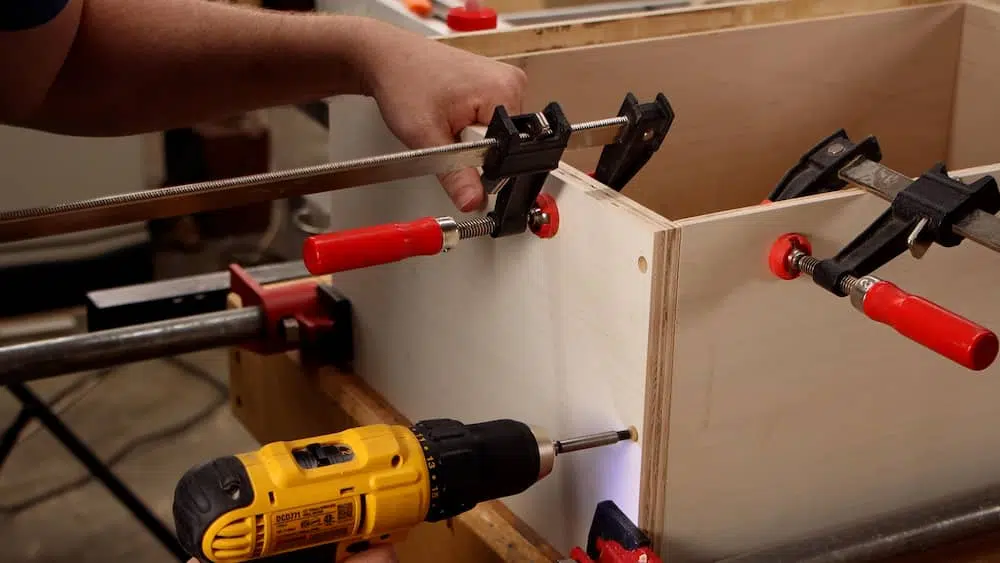
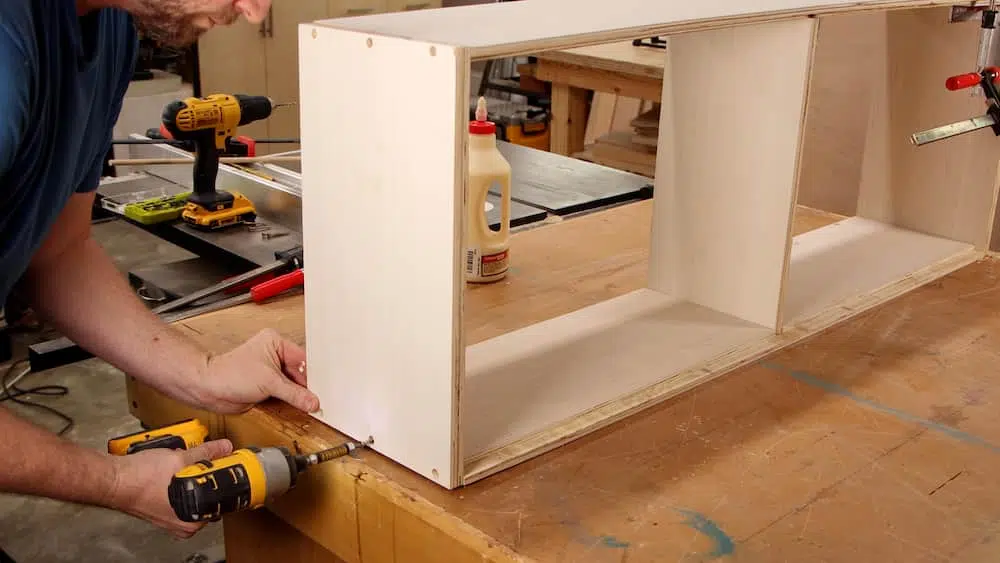
It’s a pretty typical box/cabinet/bench build, but I was careful to get everything square by measuring the distance from corner to corner on each side and making sure those measurements match.

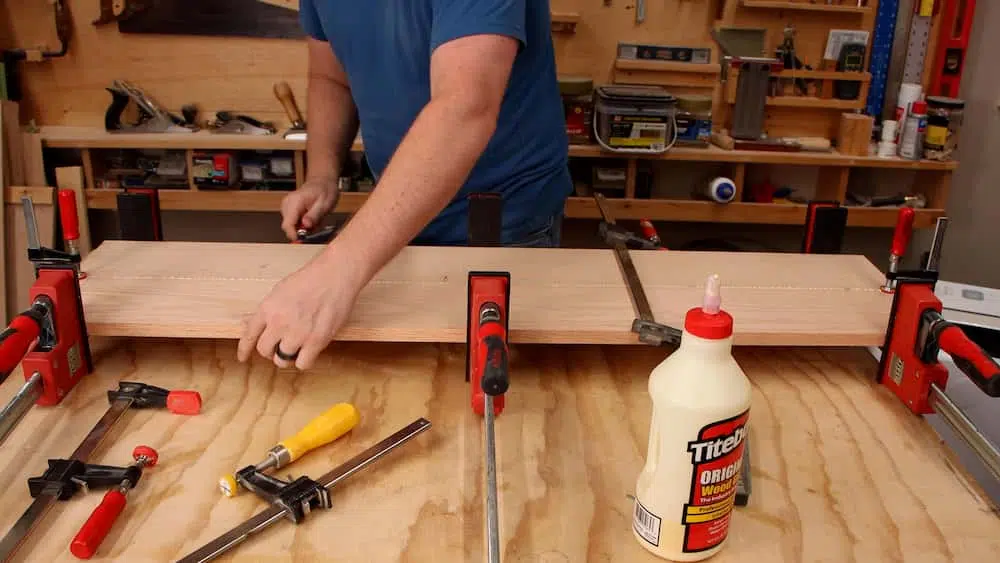
The glue-up is much easier if you dry fit the bench and then countersink, drill a pilot hole, and drive the screws. Then, back those screws out and take the bench out of the clamps for final assembly.
I used wood glue to make sure the bench stayed solid over time and the holes made it much easier and quicker to position the end pieces and attach them.
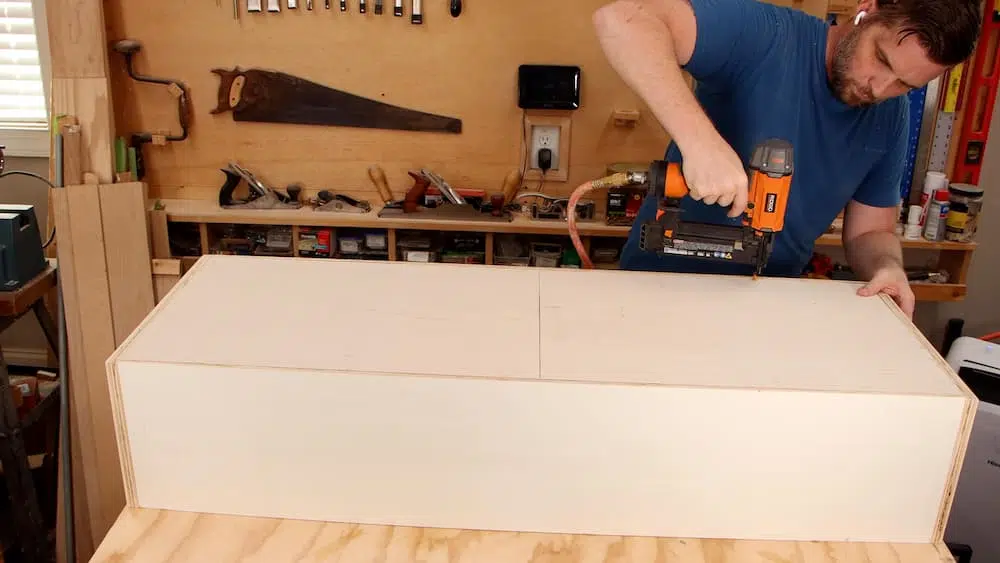
The back also gets glue in the corner of the rabbets and then I brad nailed it in place.
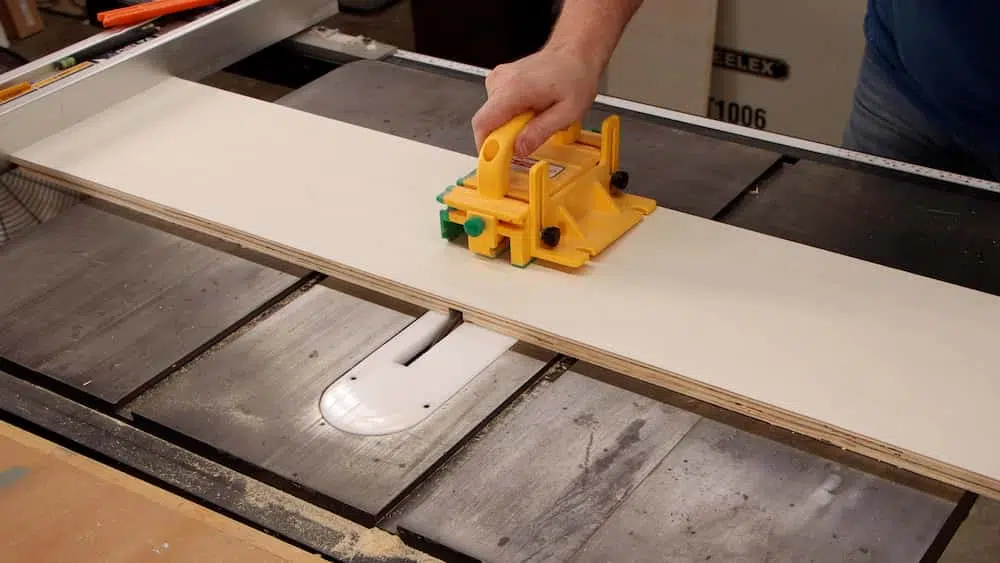
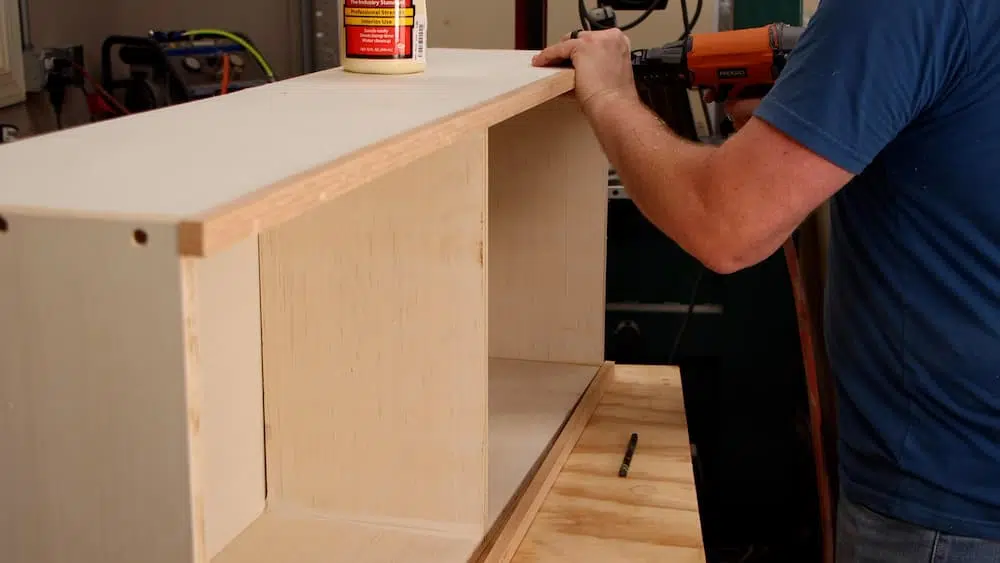
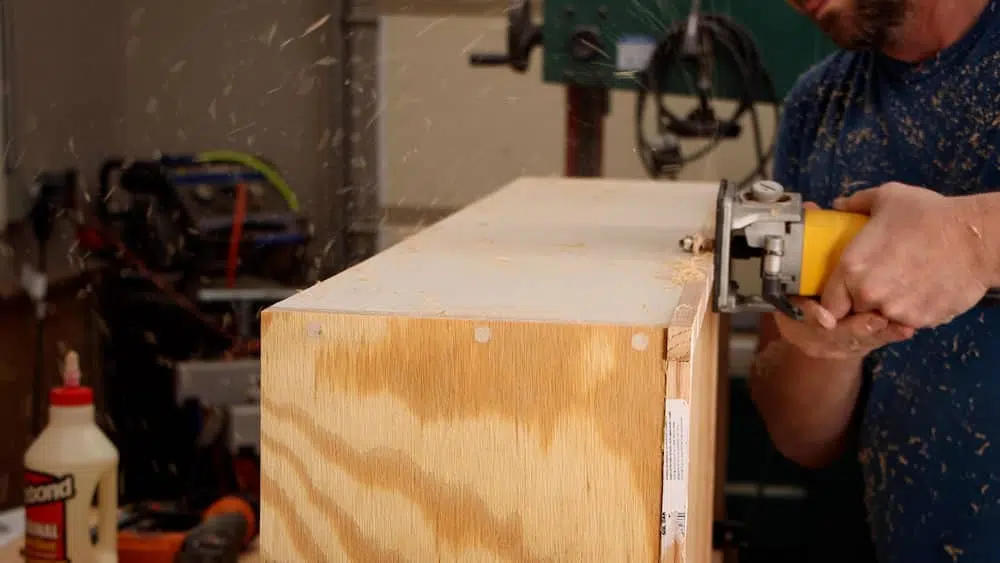
I’m not a fan of the way plywood edges look (I also want to make this bench solid and resistant to dings as much as possible), so I ripped 1/2″ pieces of 3/4″ red oak to use as edge banding.
I painted this bench so I wasn’t worried about cutting mitered corners. I lined the oak up with the inside edge of the bench carcass and glued and brad nailed it in place.
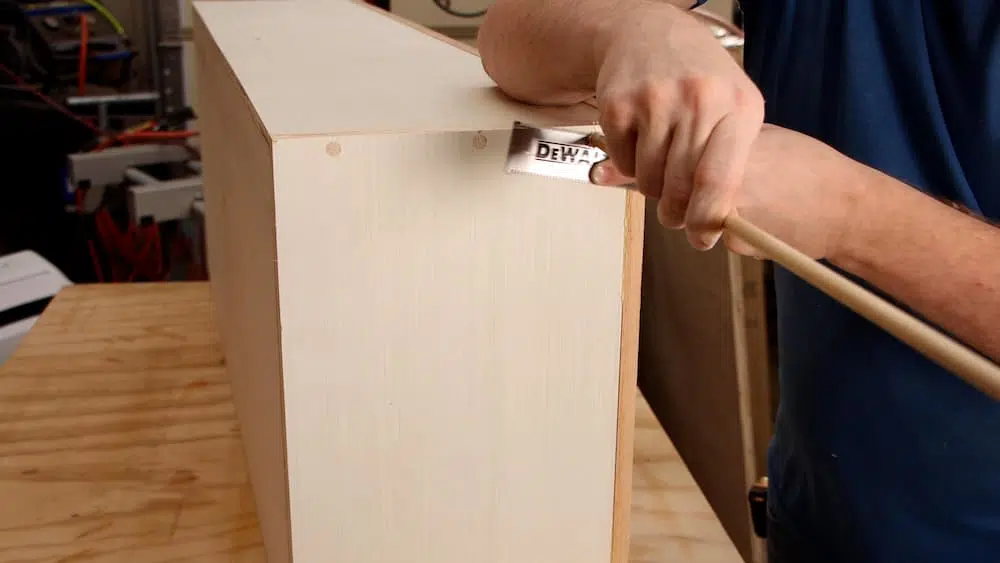
I trimmed the edge banding flush with a router and plugged the screw holes with 3/8″ dowel to hide the screws. I like to use this technique to hide screws.
Building the Top
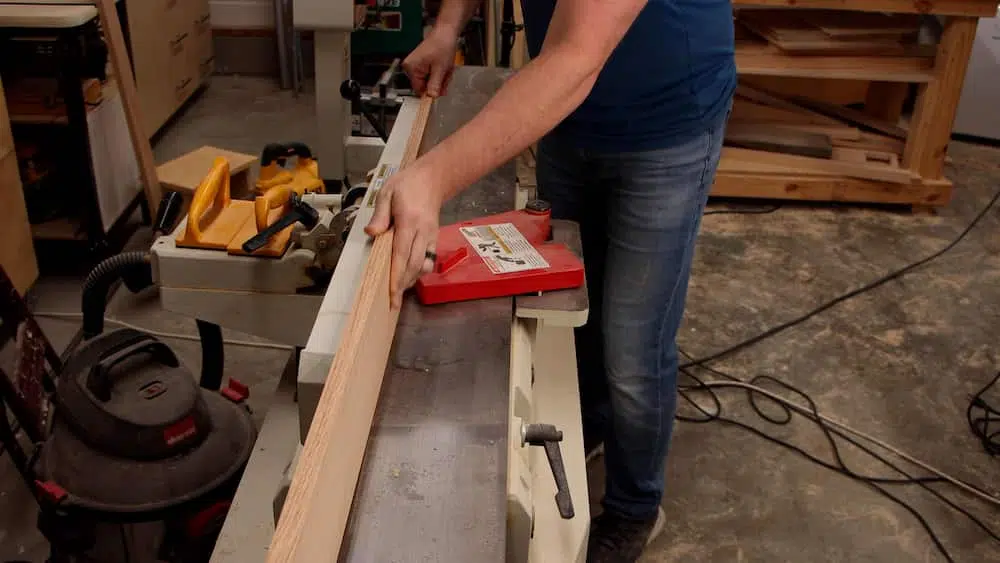
I used red oak for the top, as well. It’s extremely painful to paint over oak like this, but I needed a hardwood that was accessible and would last.
The top was made up of two 5 1/2″ pieces, so I jointed the edges and glued them up. It was SO nice laminating only two pieces like this. I was able to easily get it flat and that made sanding a breeze.
Building the Doors
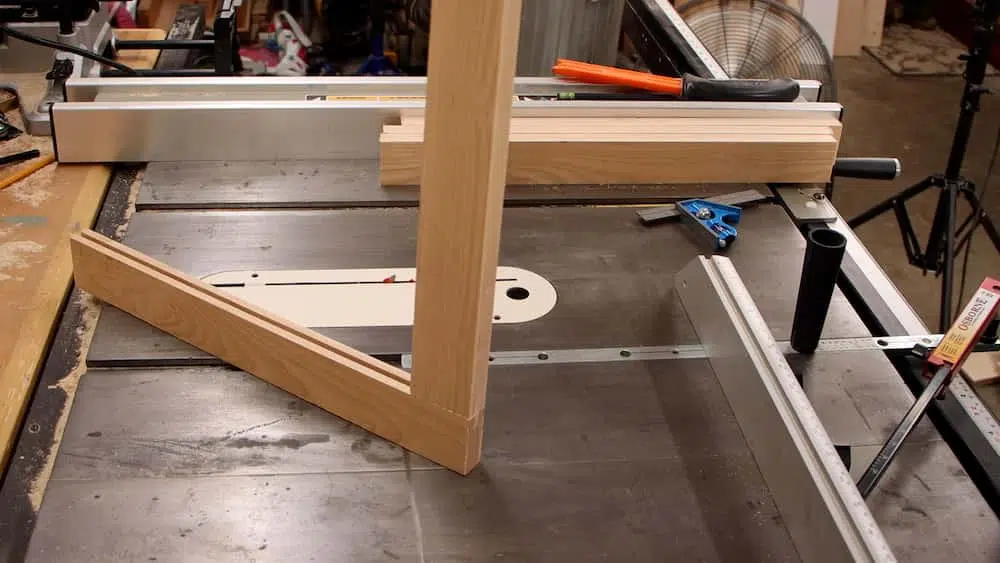
I’m a big fan of the shaker-style door, so that’s what I decided to go with. The stiles get a groove on the inside while the rails get the same groove and tenons on each end. I left the wood on the outside edge of the tenon flush with the groove of the stile.
I nearly always install cup hinges on doors because of their vast adjustability.
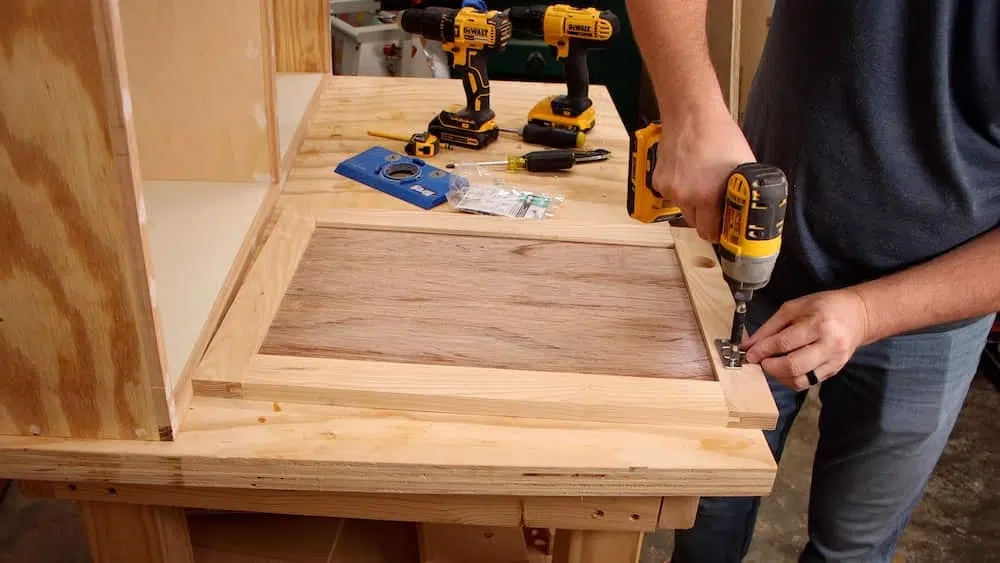
Once the doors were fitted Everything got a good sanding only to 120, since we’re painting, and then I went ahead and drilled the holes to attach the top.
There are three holes on each end and in the middle of the bench carcass. The top is solid and will move over time with the seasons, so we can’t just happily screw it down.
The middle hole for each set is drilled straight up into the top. Wood will not move from the very center so this is safe.
The outside holes of each set, however, are in the prime area for the top to expand and contract so I elongate those holes to allow for about 1/4″ movement. Using washer head screws (pocket screws work well) pulls the top and carcass tightly together even with the elongated hole.


Installation
My first task back at the house was to demo the area. The cabinet was attached with screws but it was also wedged in under notched casing and door jamb, so it took a bit of coercing to get it out.
Once everything was cleared out I installed the new door jamb and casing. I had several issues I had to deal with, some a result of being far from my shop and not having what I need, but I managed to resolve them and finish out the remodel.
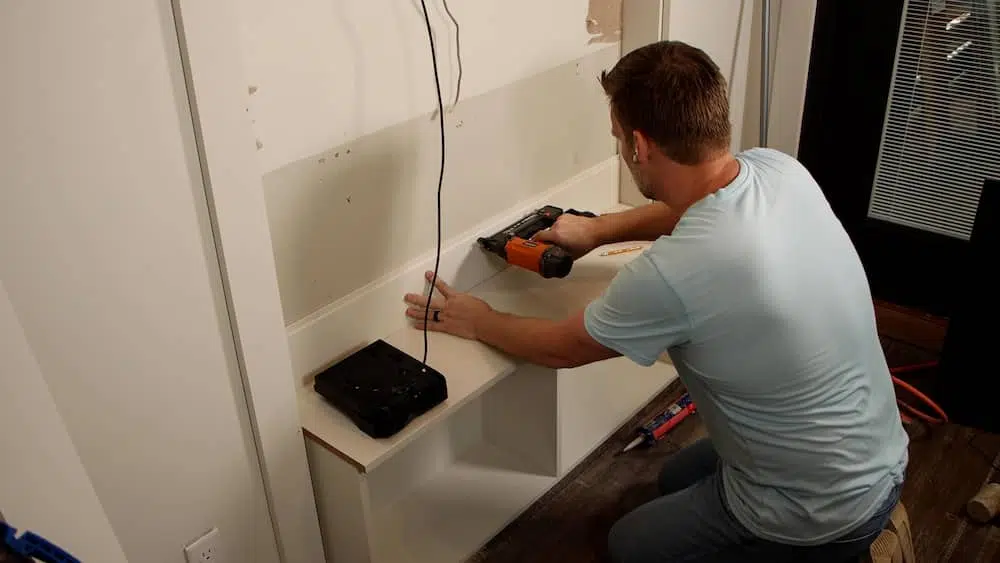
The shiplap was installed with a thin line of construction adhesive in the middle and brad nails. The bench was attached with washer head screws into the studs in the wall.
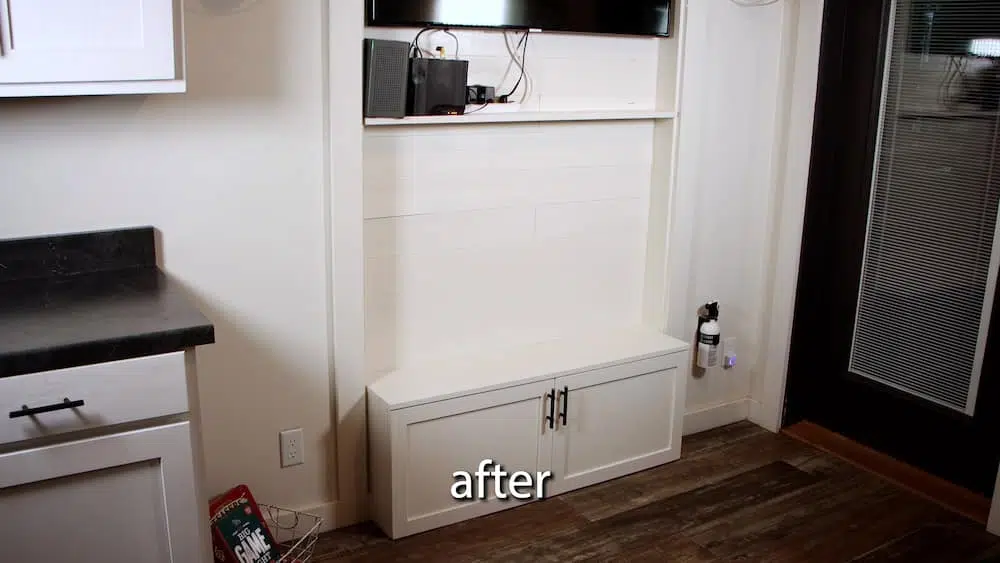
The last touch was to add a shelf under the TV to hold the electronics and unload your pockets as you walk in.
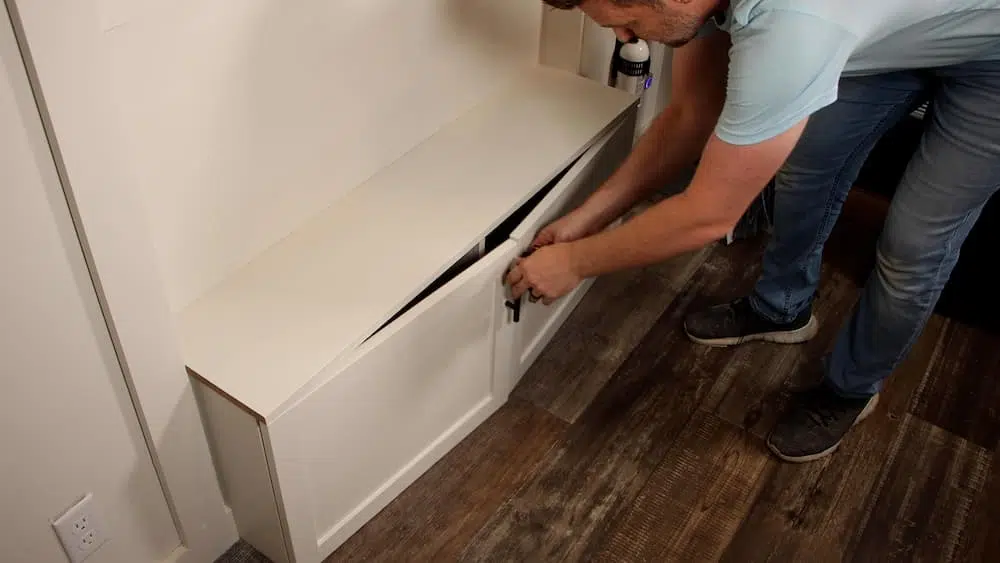
The result of the remodel is a much cleaner and sleeker look. It also now looks like it was designed on purpose and not wedged in, retroactively.
Now, to figure out how to hide the electronics! Go download the plan and build this bench for yourself!

Get My Free Download that lists the exact tools & materials you need to create amazing projects
Recommended Reading
Building a BOARD GAME KITCHEN TABLE with Removable Panels
Hide your board games and pause your progress with this heirloom quality table. Build it yourself with my video series and plan.
Building New Dining Table Benches (It Was Time)
It was time I built new dining table benches. I walk through the whole build process from dowel joinery to paint & finish.
How to Make a Floating Shelf…That’s Also a Hidden Drawer!
There are a thousand floating shelf examples, videos, and plans out there. But, I wanted to do something a little different and design one that was also entirely a hidden drawer.