Click above to watch the video
Get the Free Plan for this project:
https://learn.outoftheww.com/mudroom-bench
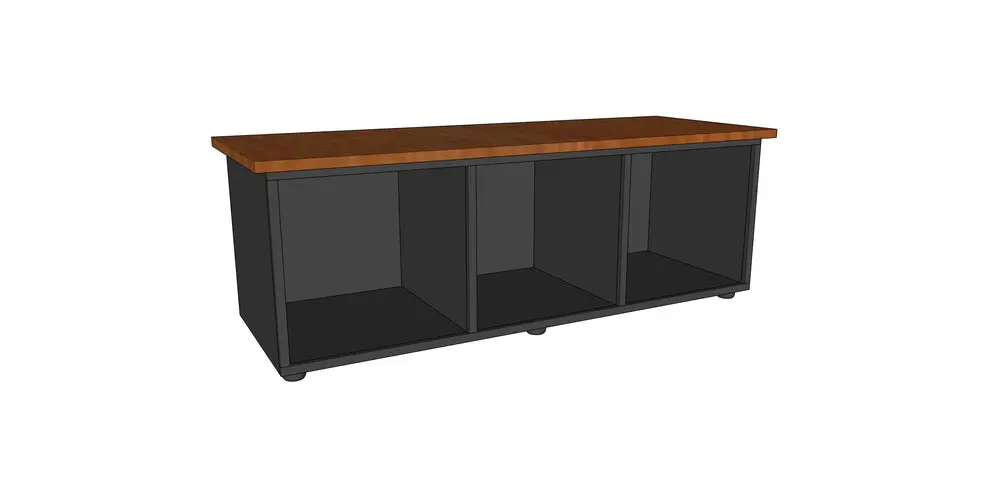
This project was an interesting request from a local client. They needed some benches that would help accommodate their large team meetings, add some open storage, and also allow kids to stand on them and watch the car wash below.
I immediately thought of a cabinet, mudroom bench hybrid and sent them a mock-up, which they loved, and then requested a black painted cabinet with a finished cherry top – a very interesting combination that I think turned out really well.
Once we had all the details and plan ironed out I got to work in the shop. I started by cutting the cabinet pieces to length out of 3/4” plywood. The top and bottom have a rabbet on the back edge and then dados, evenly separated, to fit the dividers.
After cutting the rabbets I pushed the top and bottom back-to-back and lined them up. You can put masking tape on the other side to keep them lined up.
I used a large t-square to draw a line across both the top and bottom for each dado. Doing it this way ensures that the dados will remain parallel with each other. Any angle that is introduced when cutting the dados will be mirrored in the top and bottom and still allow the divider to fit.
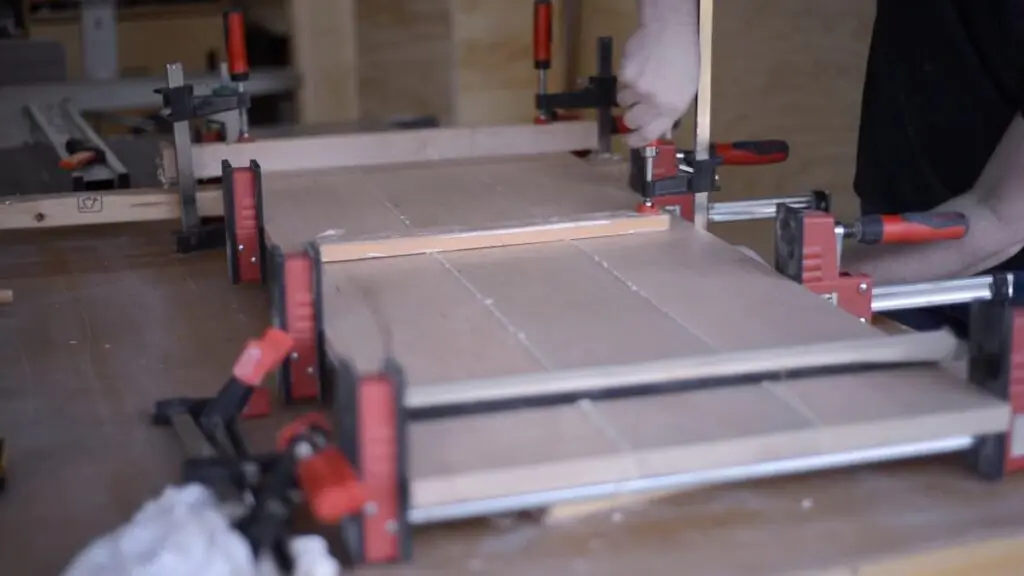
I then glued up the top and bottom with the dividers and sides.

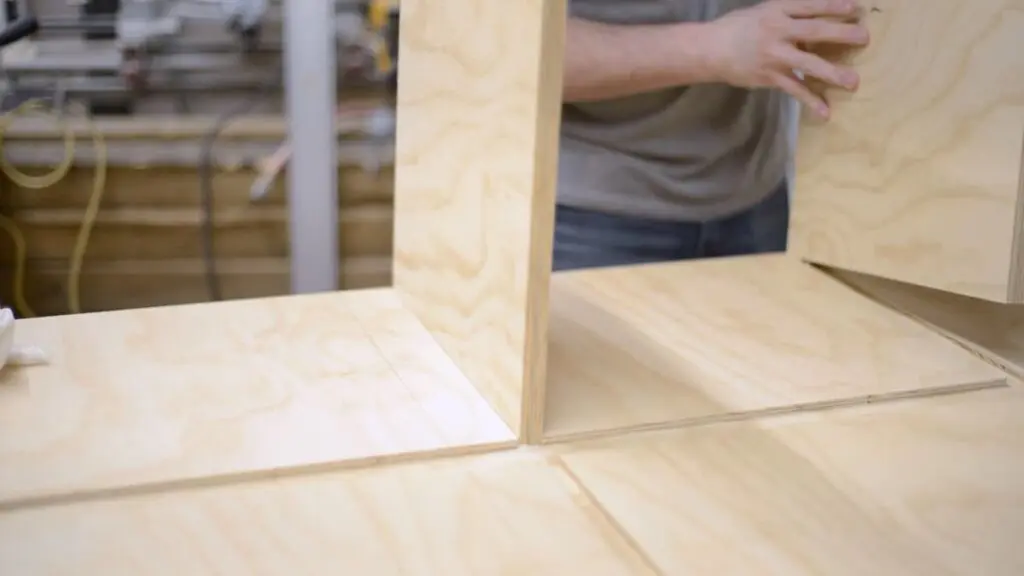
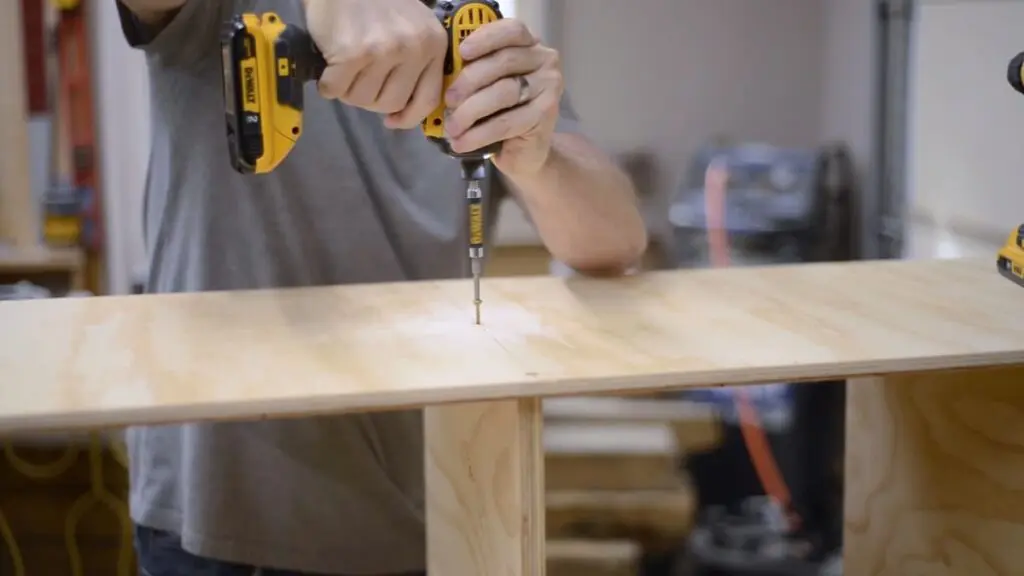
I like to add screws to not only reinforce the joint but to also clamp the pieces together so I can move on.
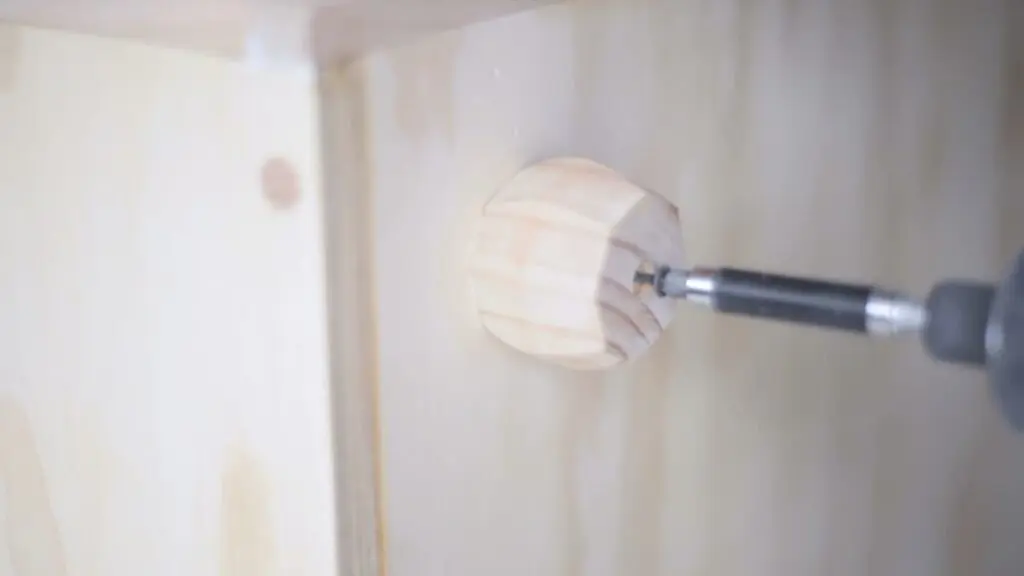
For the sides, I use a 1/2” forstner bit to drill a hole and then drove the screw threw the middle of that hole. I used 1/2” dowel to plug the holes cutting them with a flush trim saw.
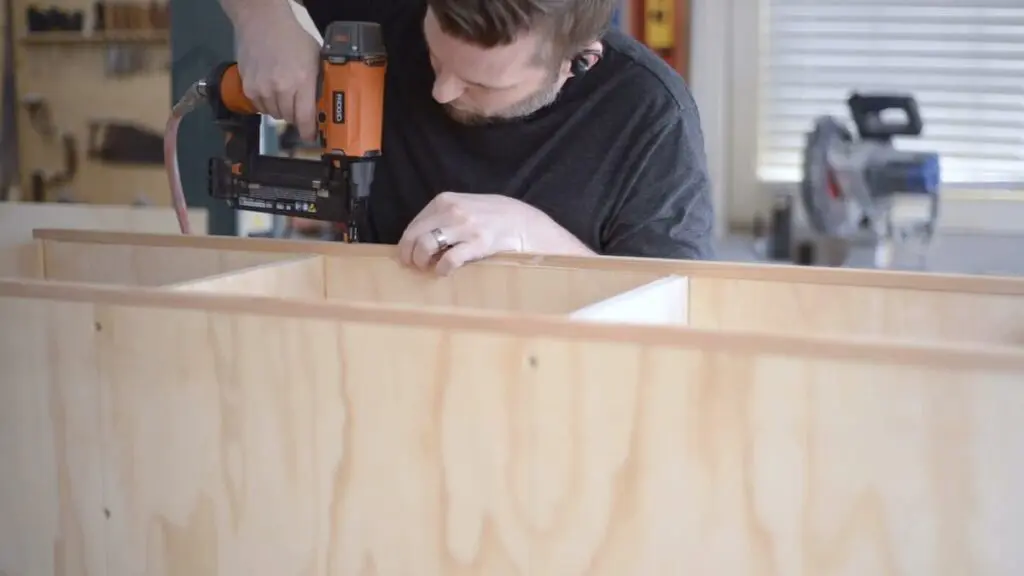
The back fits into the rabbets cut into the top and back and helps keep everything square. I made sure the back fit before I screwed the dividers down. It gets glued and screwed, as well.
I then started working on the top by cutting the three sections to size and gluing them up. I always cut the two outside pieces wider than the rest of the boards when laminating a top. This gives me the ability to trim the sides and get nice edges once the top is glued up and sanded down.
While I waited for the top to dry I milled the face frame from left over cherry. Use any type of wood here as long as it’s solid. The idea is to cover the plywood edges and add a bit more durability.
For my 3/4” plywood I milled 3/4” x 1/2” face frame pieces and glued and nailed them. 3/4” will be about 1/32” wider than the plywood edge so I made sure they were flush with the inside of the edge and hung over the outside. I then used a router with straight bit and bearing to cut the face frame flush.
About this time the top was dry so I removed it, planed it down and sanded it, trimmed the ends to length, and then used a round-over bit in a router all around both sides.
I wanted to use low profile, bun-style furniture feet for this project, but I wanted to save a bit of money on them since they really wouldn’t show all that much. I found some 6” furniture feet at Lowes that had one section on them that looked like what I wanted. So, I used the table saw sled and a stop-block to get repeatable cuts and equally sized feet.
To install the feet I drill a hole and countersink it, put glue on the bottom of the foot, and drive a 1 1/4” screw to firmly attach it.
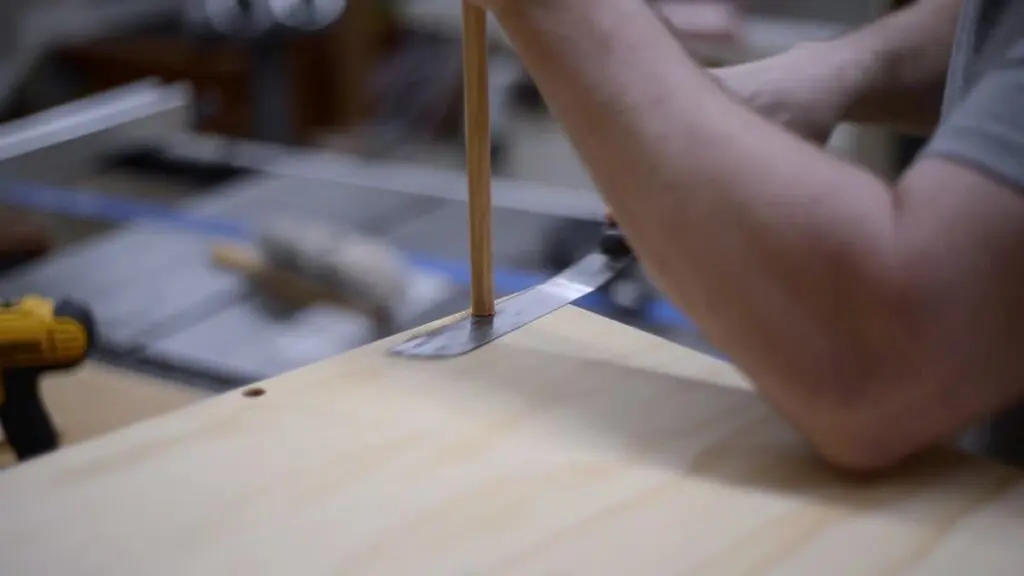
The top will get attached with 3 screws in each section of the bench. Since the top will expand front to back, across its grain, I drive the center screw straight into the top for each section, but the front and back screws need to be in oval shaped, elongated holes.
I used a 3/8” forstner bit to drill 3 holes side-by-side and then hog out the remaining wood to make the oval shape. using screws with washers this hole will allow the screw to slide forward and backward throughout the year as the top contracts and expands.
Align the top so that there is a 1” overhang on every side and then attach with the screws and washers.
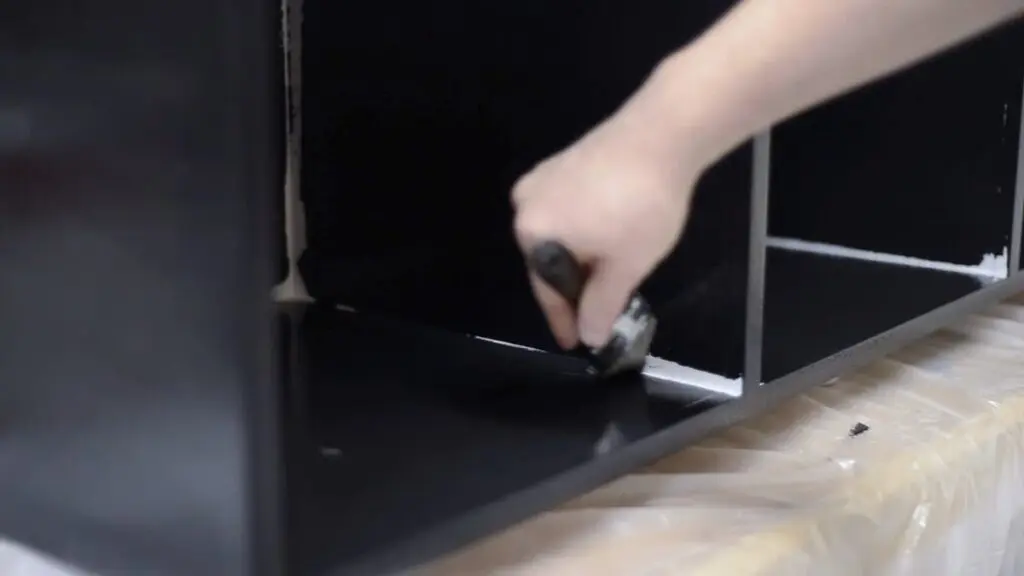
As I mentioned before, I painted this cabinet base and added a water borne polyurethane on top of that. The benchtop was covered with three coats of oil-based polyurethane.
Get My Free Download that lists the exact tools & materials you need to create amazing projects
Recommended Reading
A Chisel Trick to Avoid Tear Out
It's pretty easy to make your woodworking project look like crap if you aren't careful, especially if you're pushing the chisel toward an edge.
Building a BOARD GAME KITCHEN TABLE with Removable Panels
Hide your board games and pause your progress with this heirloom quality table. Build it yourself with my video series and plan.
How to Build a Round Pedestal Dining Table
A local business asked me to build a table for their break room similar to a style they found available for sale.