Click above to watch the video
Get the exclusive course for this project with detailed build videos and plan along with access to the Woodworker’s Lab community!
https://learn.outoftheww.com/store
I’m always looking for ways to spend more time with my wife, daughters, family, and friends, and I love the idea of a hidden board game table.
So, I decided to design one that would fit the look we wanted with the options we need. I wanted to build an heirloom quality piece of furniture that could be handed down for decades.
Building the Legs
The table base is made of solid walnut and I started by milling 8/4 lumber on the jointer, planer, and table saw.
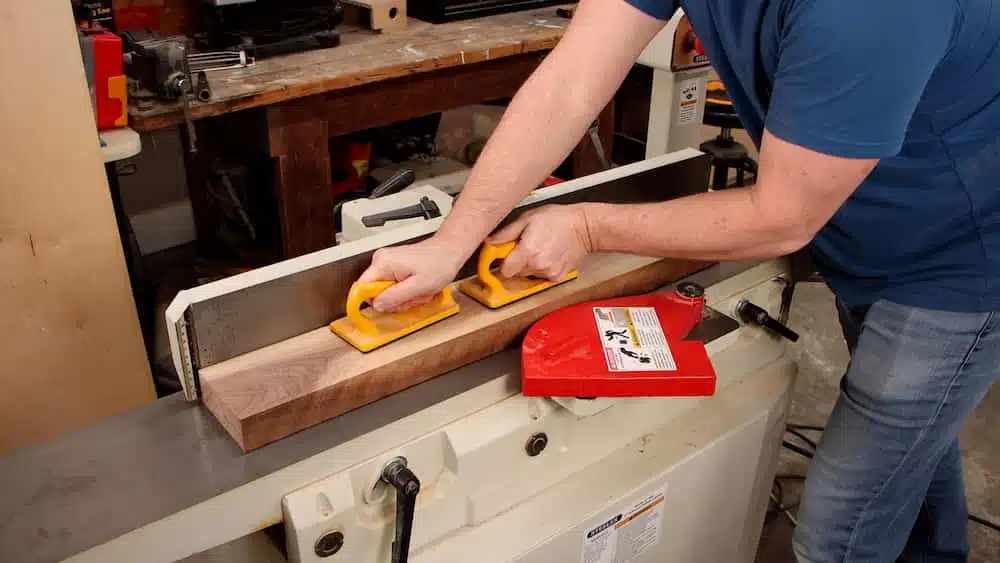
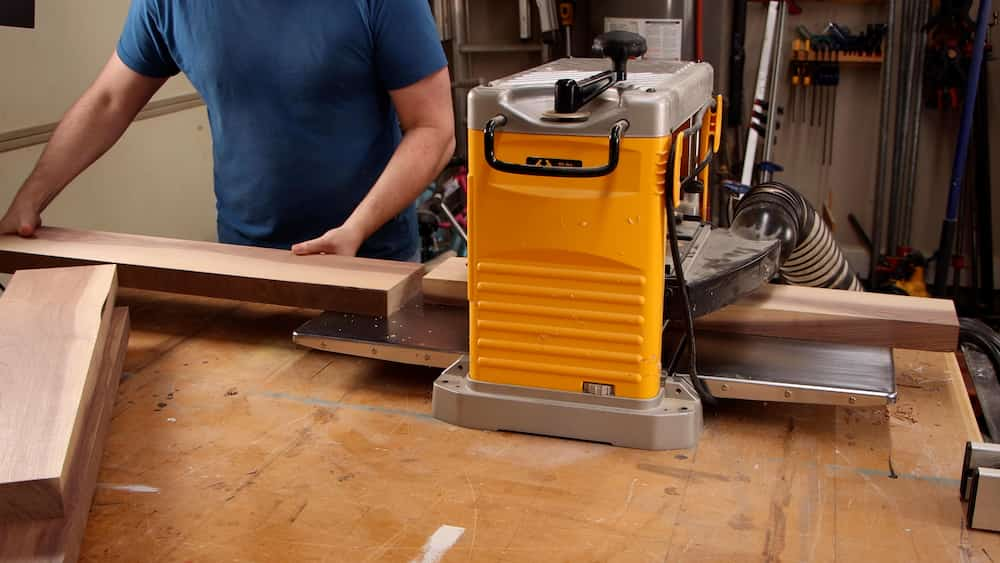
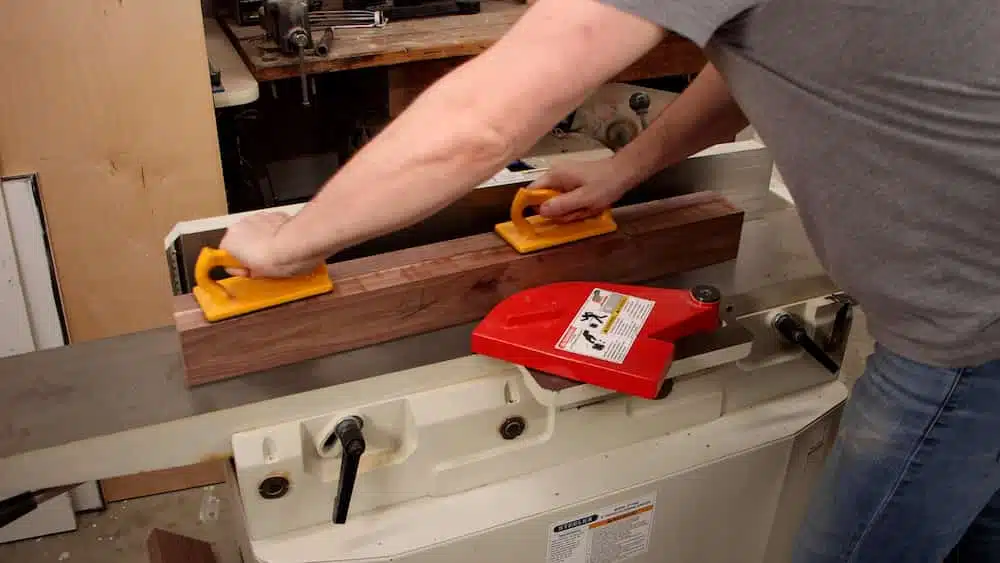
I made leg “blanks” by gluing two pieces of 8/4 wood together and, once they were dry, I took them back through the milling process to get nice, square 3″ x 3″ legs.
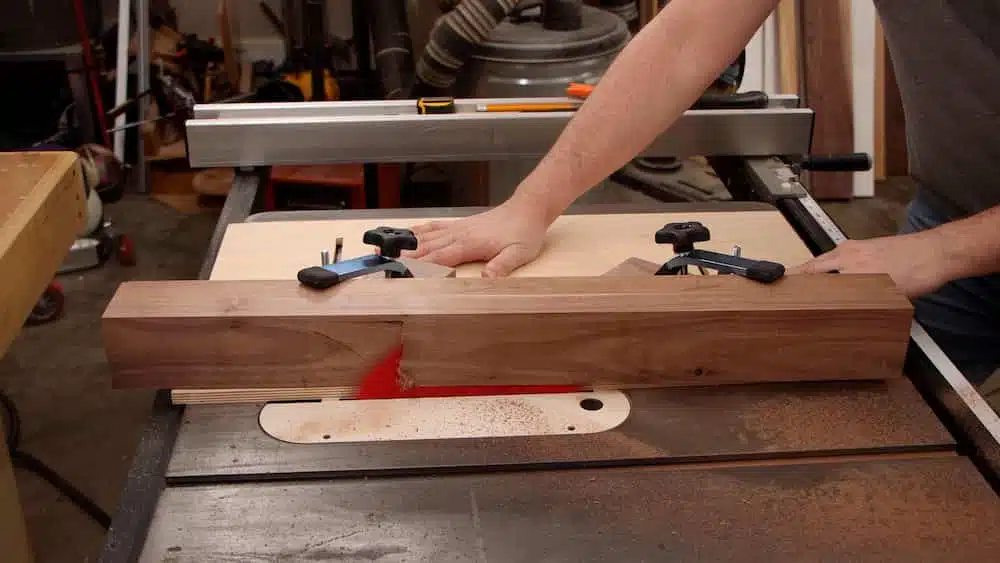
The design I created for this table is not modern and sleek, but it’s also not blocky. So, I tapered the two inside faces of each leg on my homemade taper jig at the table saw.
Making the Aprons and Spacers
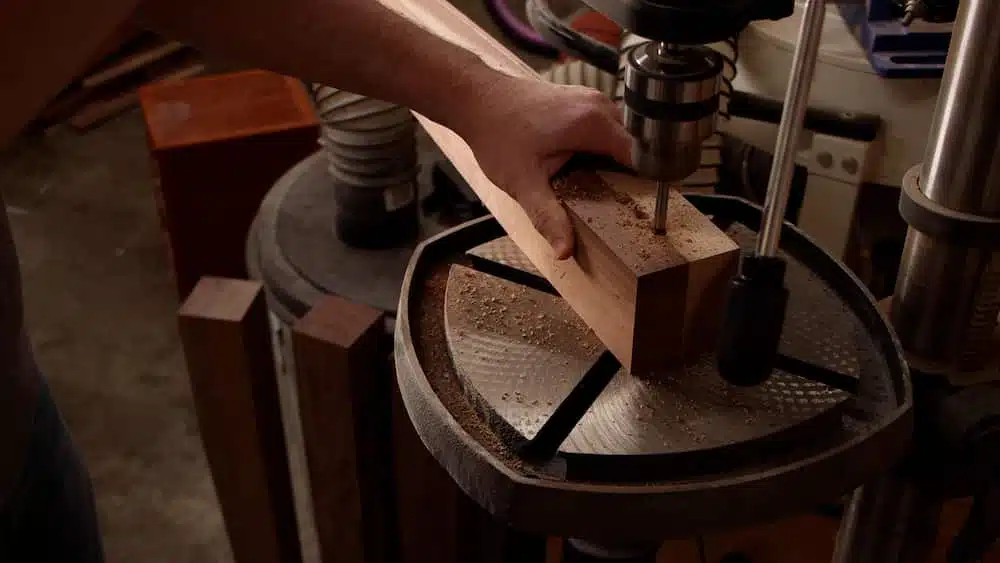
The aprons are joined to the legs with mortise and tenons. I cut the tenons on the table saw with a dado blade and removed most of the mortises with a forstner bit at the drill press. The mortises were then finished up with a chisel.
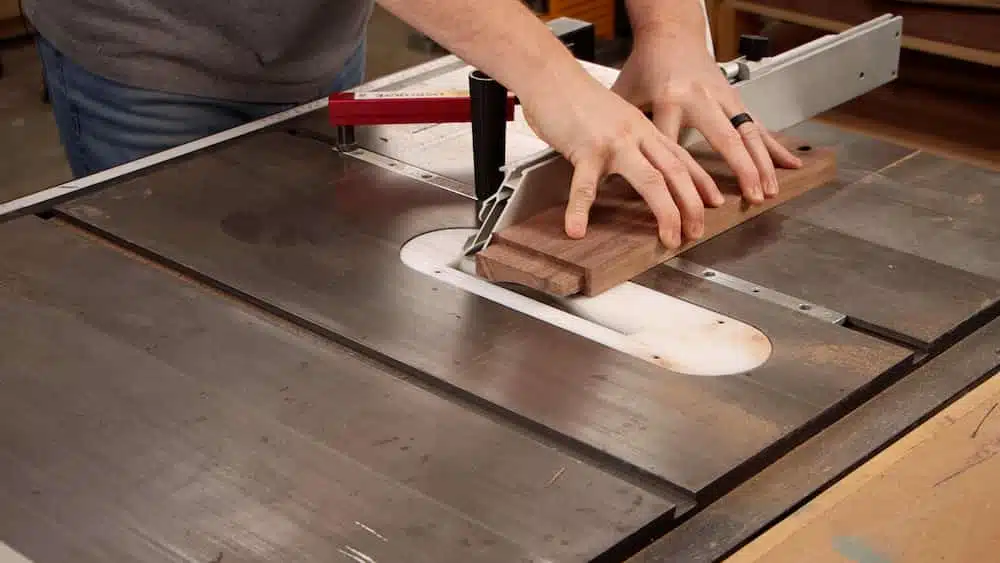
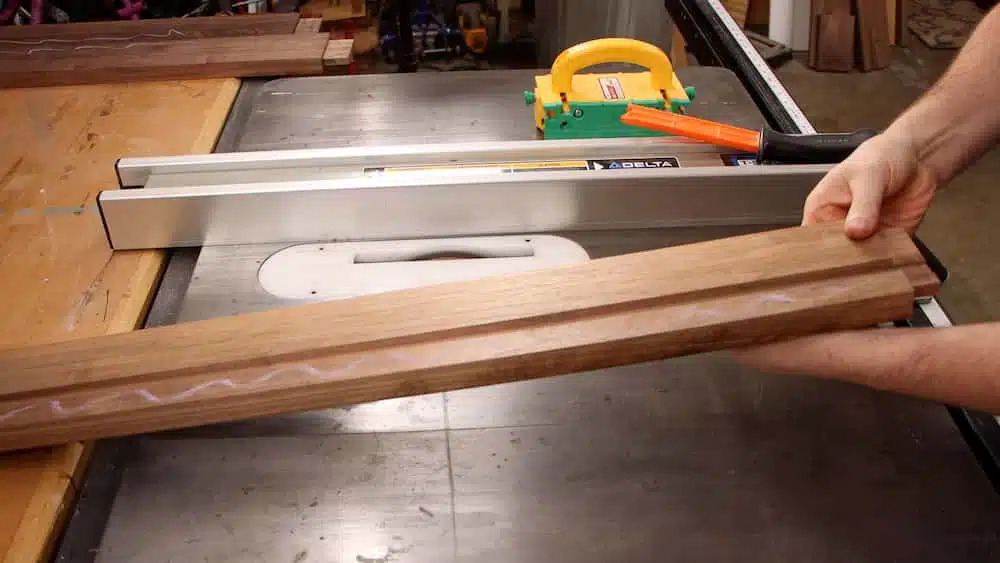
With a dado blade, I cut a groove on the inside of each apron to fit the bottom panel.
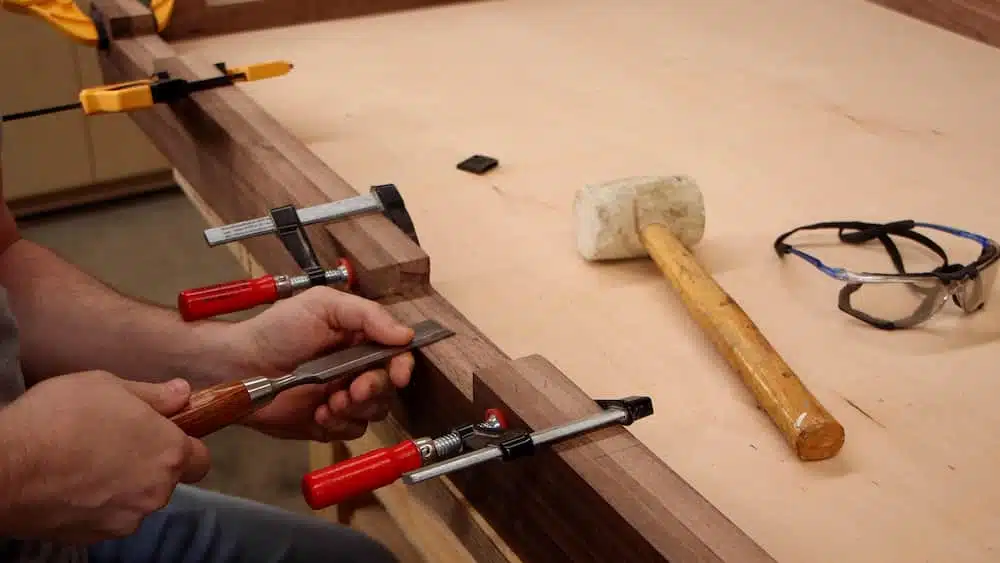
I cut spacers to fit the inside length of each apron and sit on the table bottom. The dado in the aprons and spacers needs to line up exactly, so I clamped the matching apron and spacers, and then cut those dados on the table saw. These are the accessory slots.
I took these clamped assemblies over to the table bottom and cleaned them up with a chisel before using the random orbit sander to smooth them out.
Gluing the Table Base
To make the glue-up go a little easier, I started by gluing-up the front and back aprons and their legs.
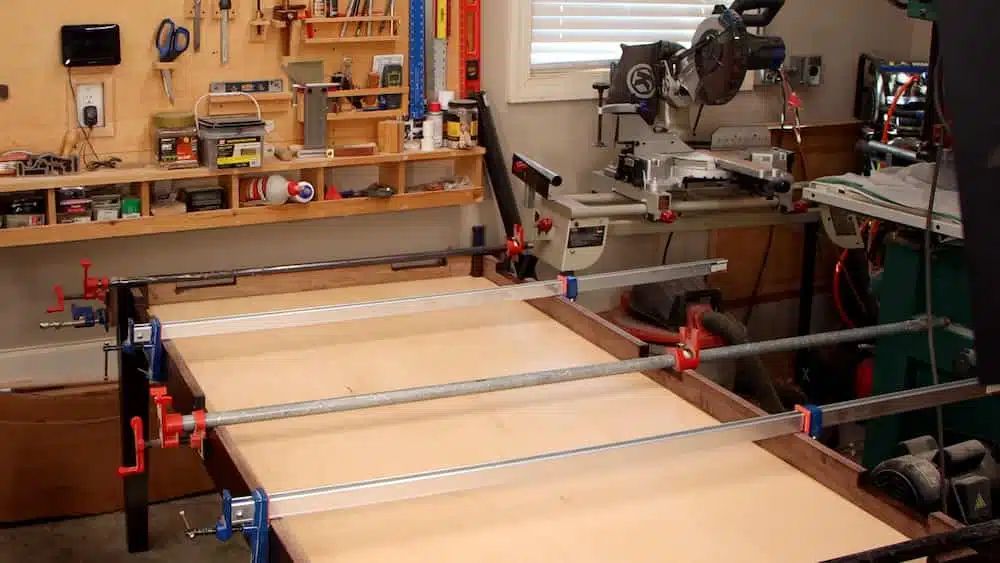
Once those two assemblies were dry, I laid one apron assembly on the ground, glued in the bottom, and then added the other apron assembly. I had to add clamps along the length of the aprons to make sure the width matched all the way down.
Making the Arm Rest Rail
The arm rest is a feature of this table, so it needs to be made from some of the nicest 8/4 walnut I could find. I measured the pieces on the glued up base and then joined them together with dowels.
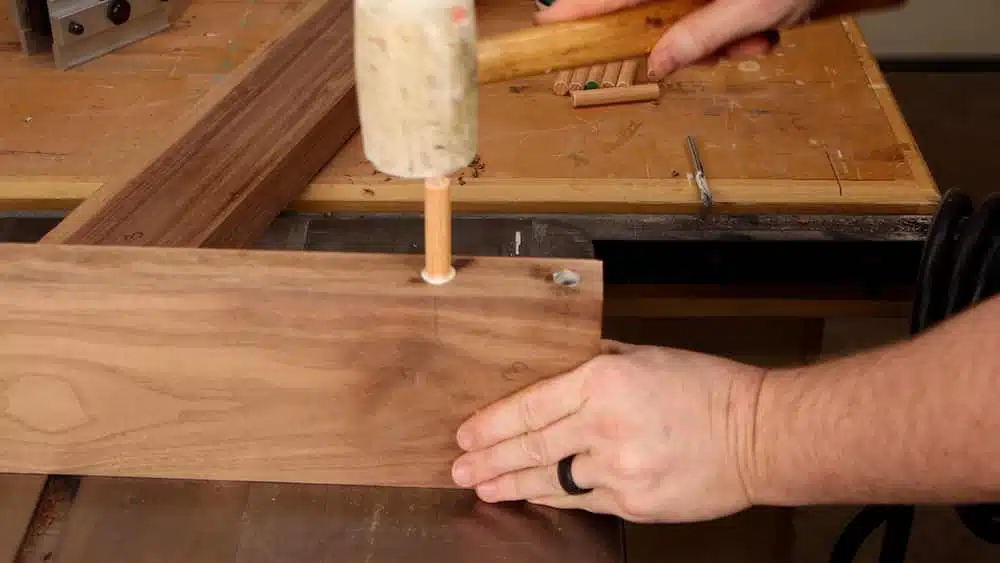
The arm rest then gets glued directly onto the top of the aprons and spacers.
Making the Top Panels
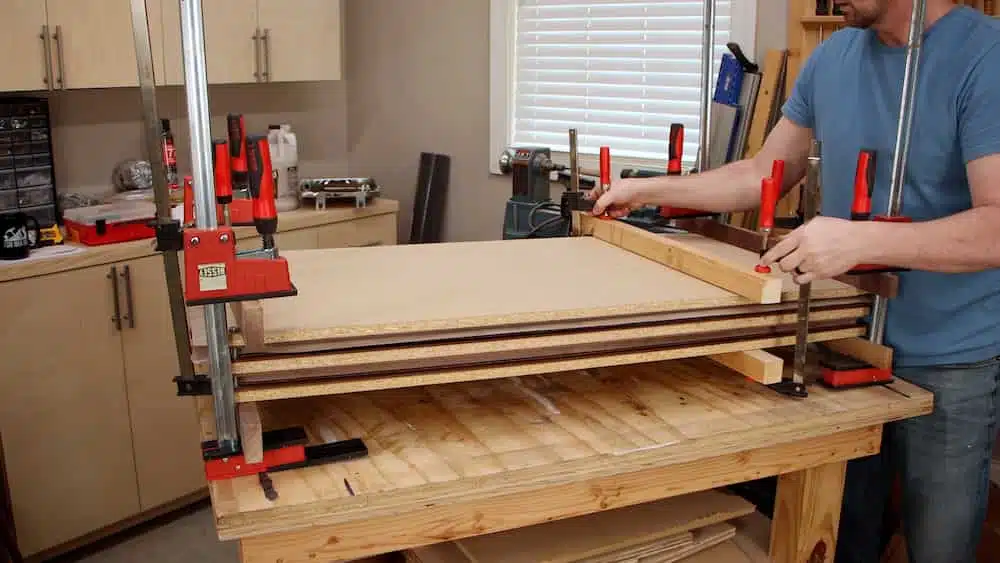
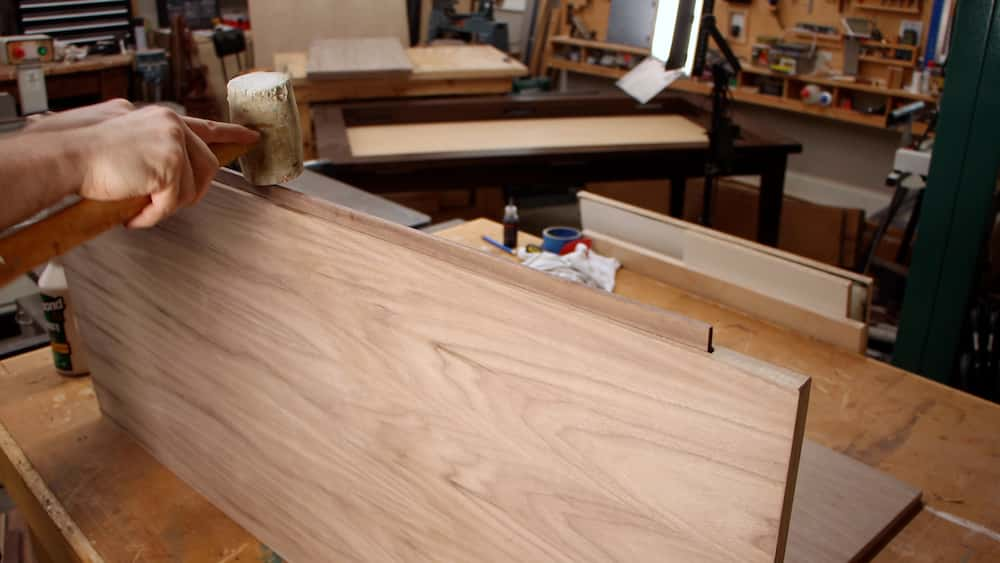
i decided to avoid the problems caused by wood movement by making top panels with a plywood core that are covered in walnut veneer.
I used solid walnut to frame out the plywood with mitered corners and then made sure to sand so that the panel was completely flat. This is extremely important since any difference in height will show up in the final, veneered piece.
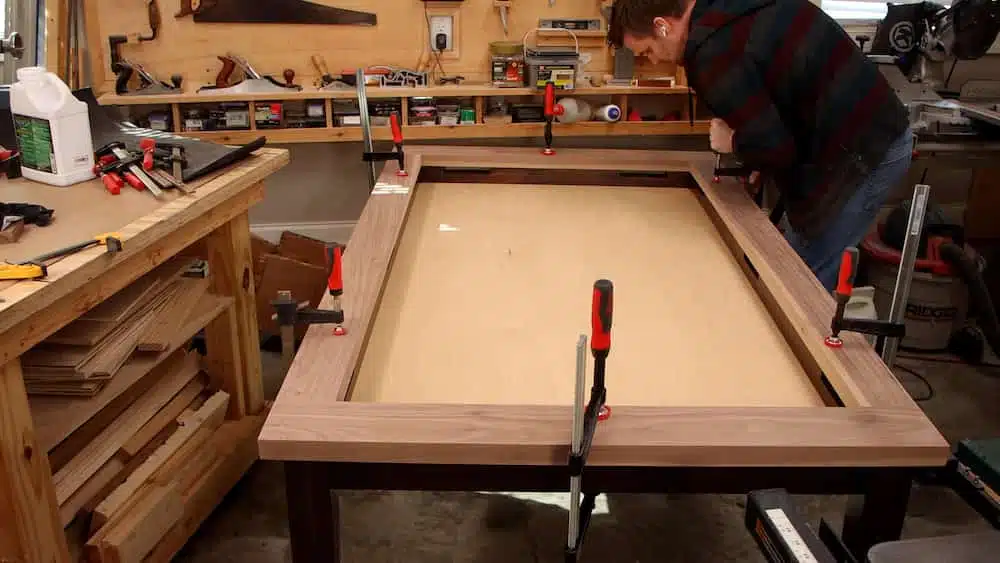
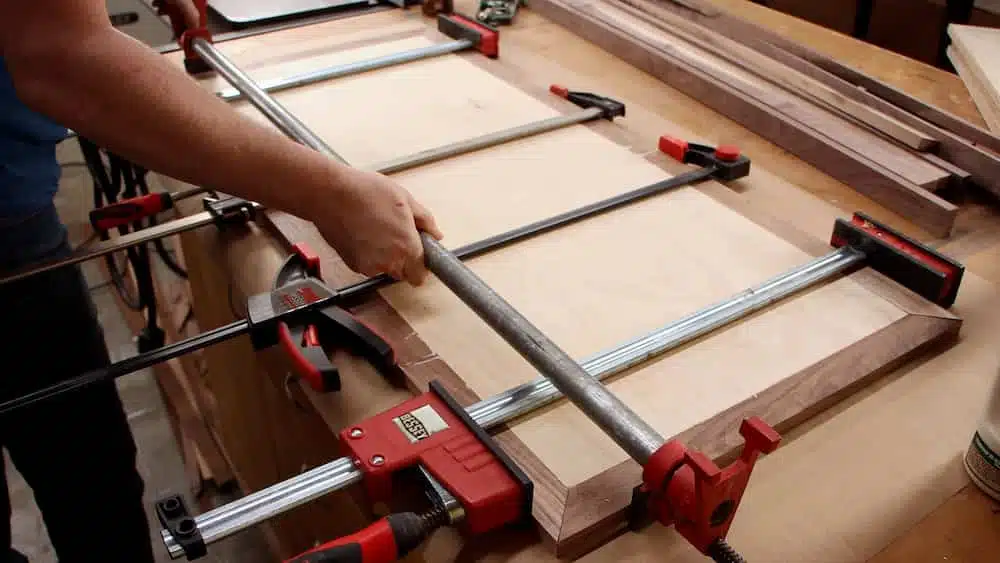
A DIY press made from fiber board and hard board worked perfectly to keep even pressure over the entire surface of the panel, front and back.
Once the panels were dry I cut out mortises in each one and glued in a tenon in half of the mortises.
Last Steps
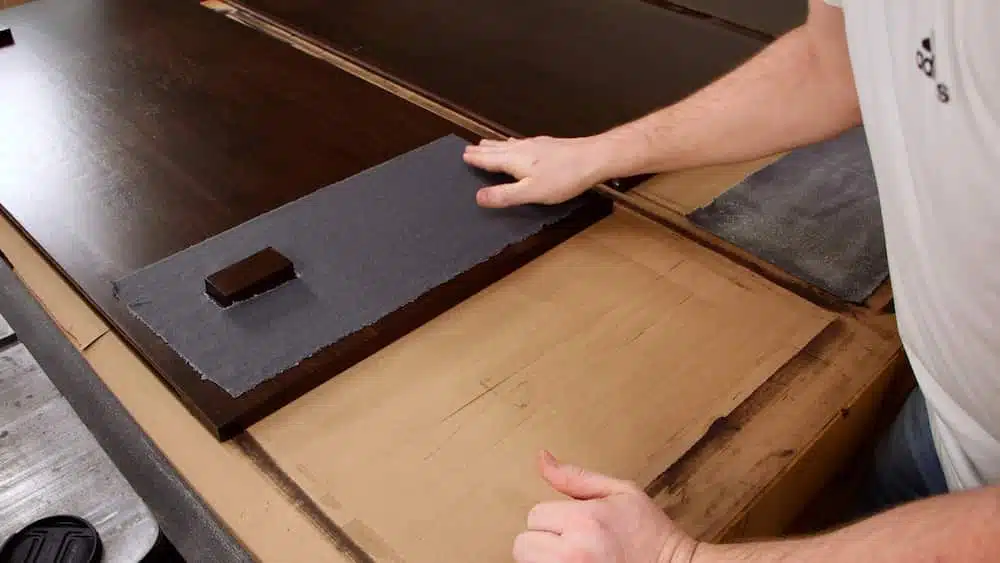
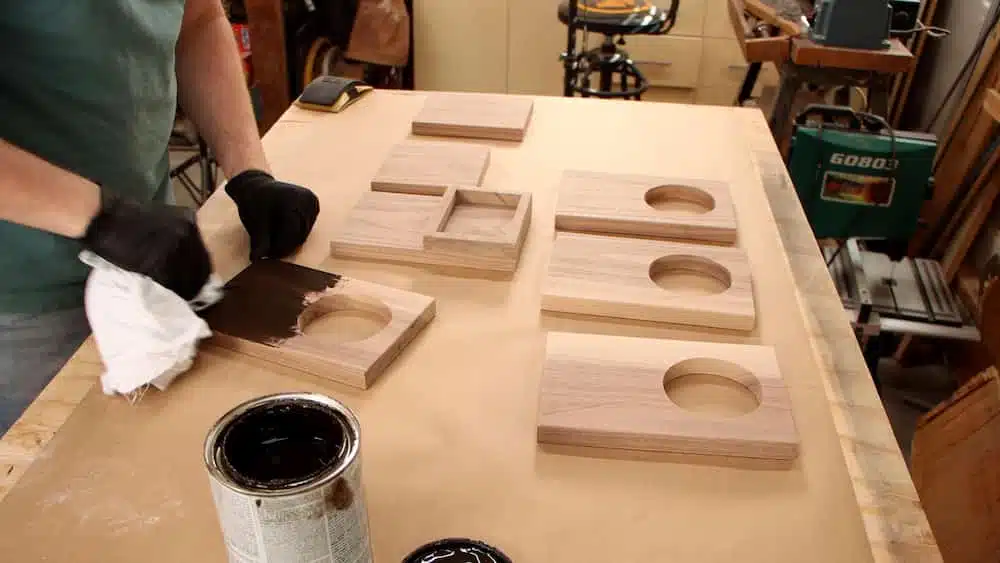
Walnut can have a wide variation in color between heartwood and sapwood, and even between the hardwood of different trees. I wanted a dark color and I wanted to subdue this variation, so I applied a gel stain that turned out amazing.
I applied an oil based polyurethane to everything but the table bottom which got water based poly.
I added stops to the underside of the panels and strips of pool table cloth to reduce the friction and prevent scratching when putting them on and taking them off.
I made three different accessories: a cup holder, a game piece tray, and an instruction book/ipad holder. These accessories are finished the same way and get two strips of foam tape for a nice fit into the accessory slots.
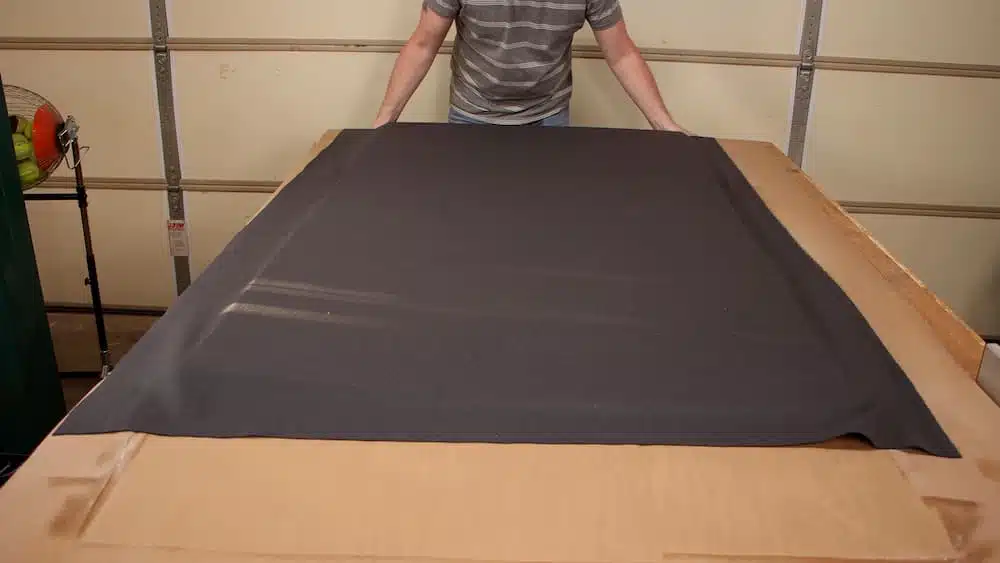
Finally, I made the removable felt panel from 1/4″ plywood, EVA foam, and covered it with pool table felt. This is a great surface for dice and card games.
If there are games you prefer to play on a hard surface, the felt insert can be removed in favor of the table bottom.
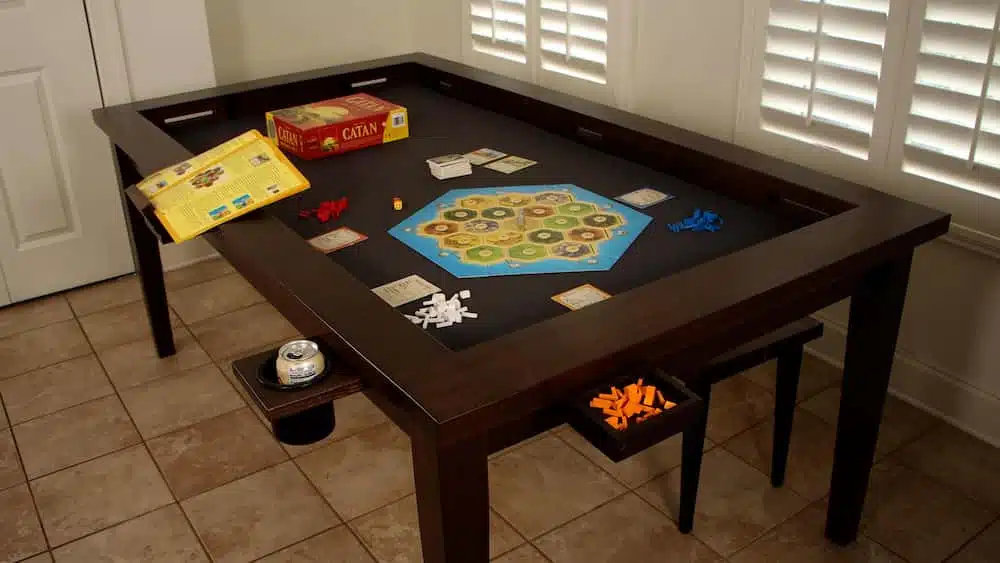
This is an advanced project and it is immensely rewarding to finish. There is one thing that I would likely change, and I will probably make this change in the near future. I would prefer solid wood top panels.
The trick to getting a good result with the solid wood panels would be to mill them but leave plenty of extra beyond their final dimensions. Then let them sit in your shop for 3 weeks to acclimatize. Now you can mill them up the rest of the way and apply finish. That way, they are much less likely to cup or twist.
Don’t forget to head over and join the Woodworker’s Lab to get access to this and many other projects, woodworking courses, exclusive training videos, live Q&A sessions, and community area!

Get My Free Download that lists the exact tools & materials you need to create amazing projects
Recommended Reading
Building DIY Spice Rack Shelves With Only a Jigsaw
Organize your cabinet with this easy beginner woodworking project. I built these spice rack shelves with only a Jigsaw and a few accessories.
How to Make a Fireplace Surround
It’s pretty amazing how easy this fireplace surround can be. It uses dimensional construction-grade lumber from the big box hardware store.
How To Build a Custom Dog Kennel
The phrases "Dog Kennel" and "Fine Furniture" usually aren't found in the same sentence - until now. This kennel is sized for two large dogs.
