Click above to watch the video
Download the Free plan: https://learn.outoftheww.com/dining-table-bench
As ground-breaking as my previous wood & metal dining table benches were (sarcasm) it was time to build new ones. This time I use more traditional furniture-making techniques. This bench has tapered legs, aprons joined with dowel joinery, and a solid top attached with figure 8 fasteners.
In the video above I walk through the whole build process from dowel joinery to paint & finish.
Building the Base
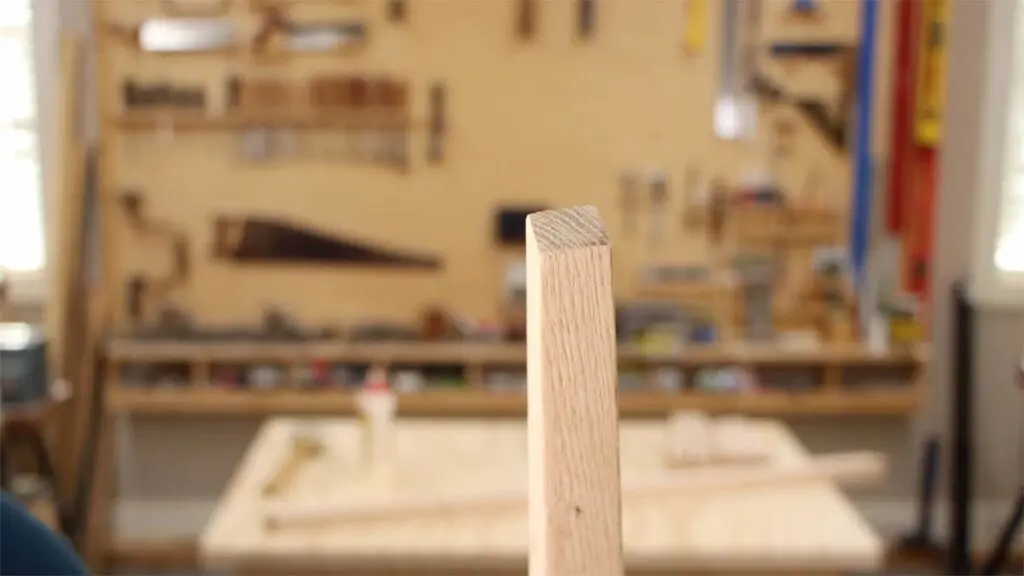
After cutting the legs to length I cut a taper into each inside face starting at 3” and ending at 3/4” on the bottom. I used the taper jig I made in my previous video and you can easily make it for yourself by following that video and plan.
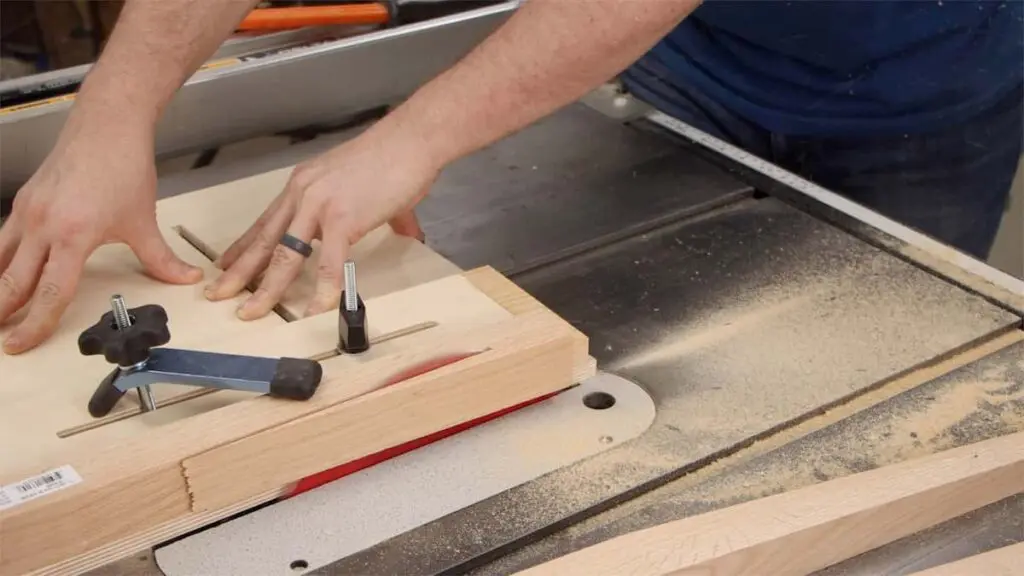
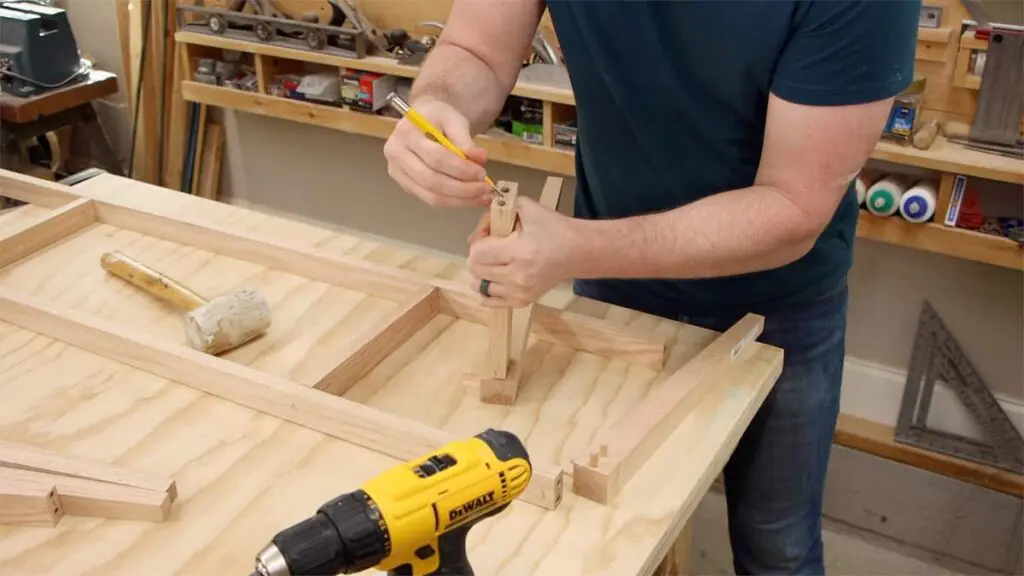
I used a wheel marking gauge to consistently mark the center of every hole on the legs and aprons. Make sure to register it on the same edge for each hole.
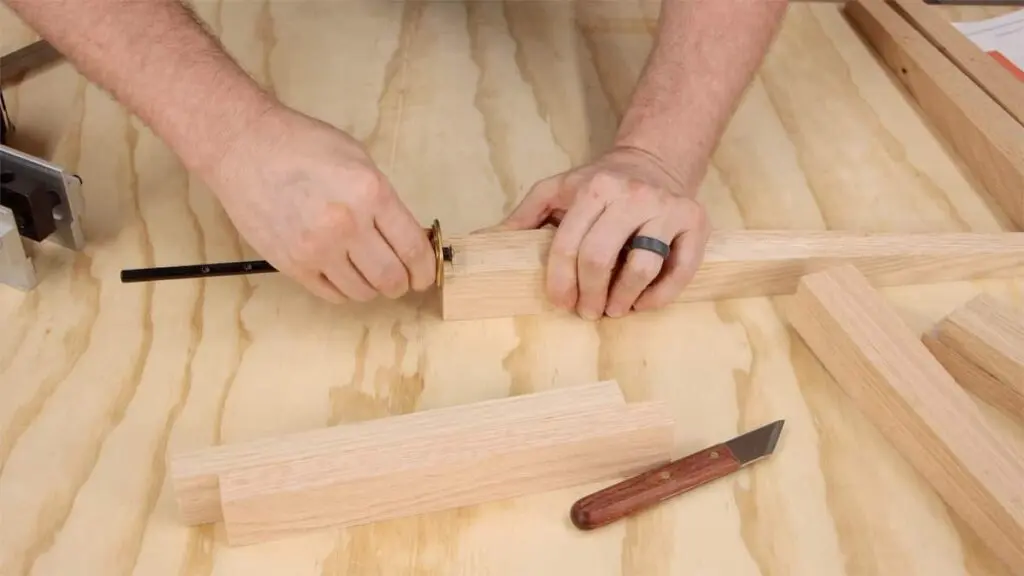
One of my favorite jigs is this doweling jig. A well-built one can be fairly expensive, but it’s something that will last you a very long time.
I needed to set the depth so that I didn’t drill too shallow or too long. I marked the depth on one of the legs, put the bit through the jig, and lined up the bit with the mark. I used blue tape to mark just above the top of the jig so I knew when to stop each time.

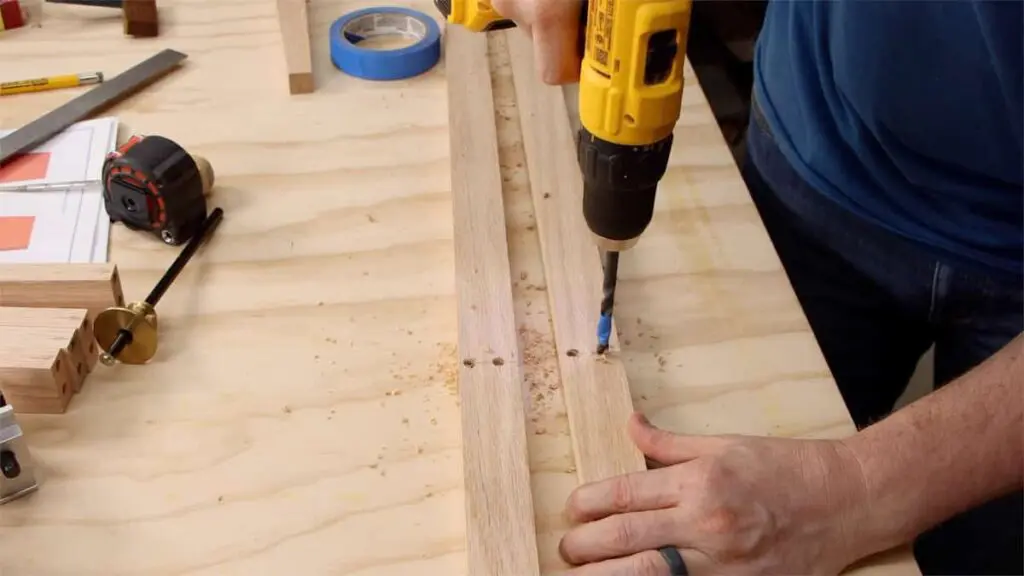
I lined up the mark for the 5/16” hole on the jig with the mark on each piece, tightened it down, and drilled the hole for the dowels.
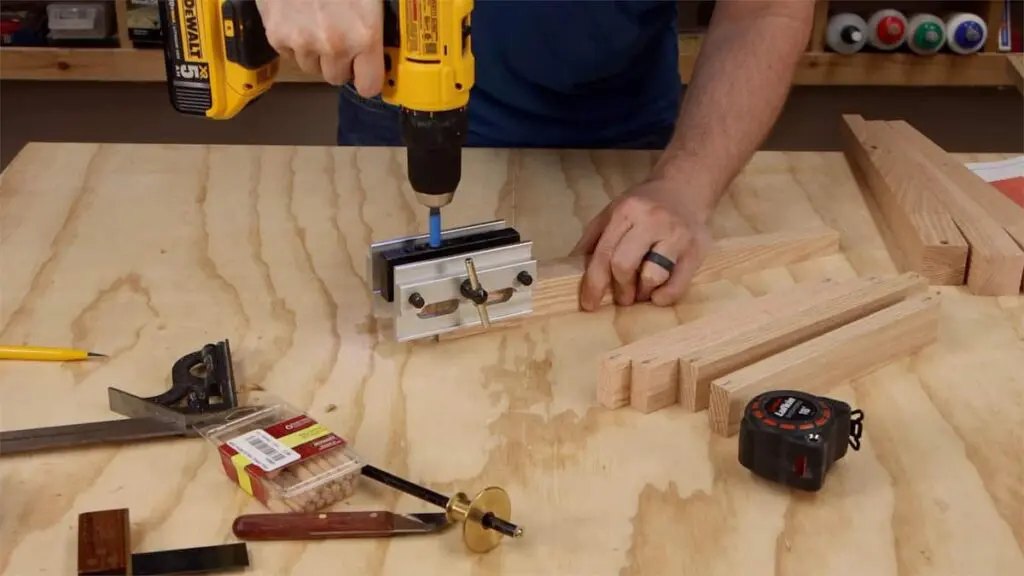
The front and back aprons needed dowel holes 12 1/2” from each end. They get marked with the same measurement on the wheel gauge as the rest of the pieces, but the depth will only be 3/8” since we drilled perpendicular to the grain in the front and back aprons. The doweling jig won’t fit in this orientation so I drilled these manually.
To counter that reduced depth the dowel holes in the end of the supports will be 1 1/8”.

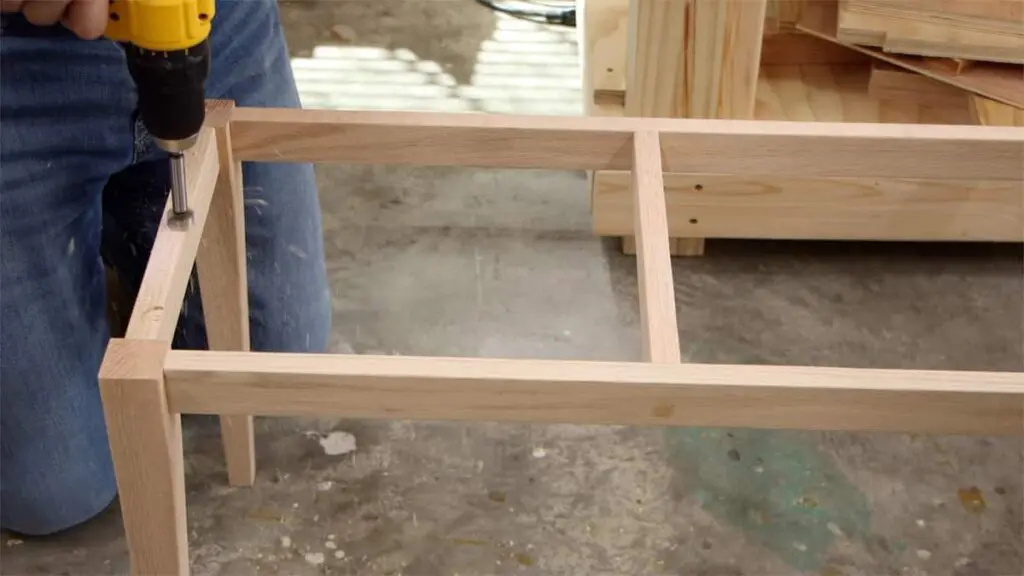
Before going crazy and gluing everything up, I dry fit the base and number the inside of each joint so I can reassemble it the same way.
After taking it apart, again, I sanded all the pieces and beveled the bottom edges of each foot. Doing this will prevent tear out when the bench is drag along the floor.
Gluing Up the Base
I started by only putting in two dowels on one face of each leg. After those dried, I drilled out the bottom of the other two holes in the leg and then glued those in. The dowels overlap so doing this cleared out those holes to allow the second pair of dowels to be inserted.
I put glue in each hole and then also on the dowel and the edge when putting these together. Don’t starve the joint for glue – be generous.
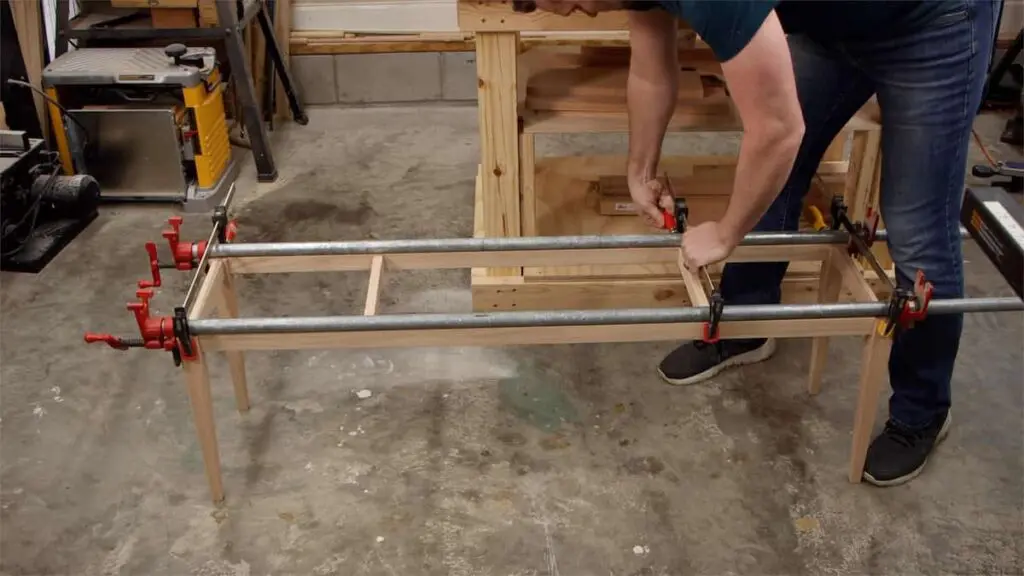
I love to use pipe clamps for a glue up like this. They’re the most affordable way to acquire a long clamp like this, but they’re also heavy enough to keep the base pressed flat against the floor as it dries. There’s no need to tighten the clamps so much that you crush the project’s soul – just enough to pull the joint together and hold it there.
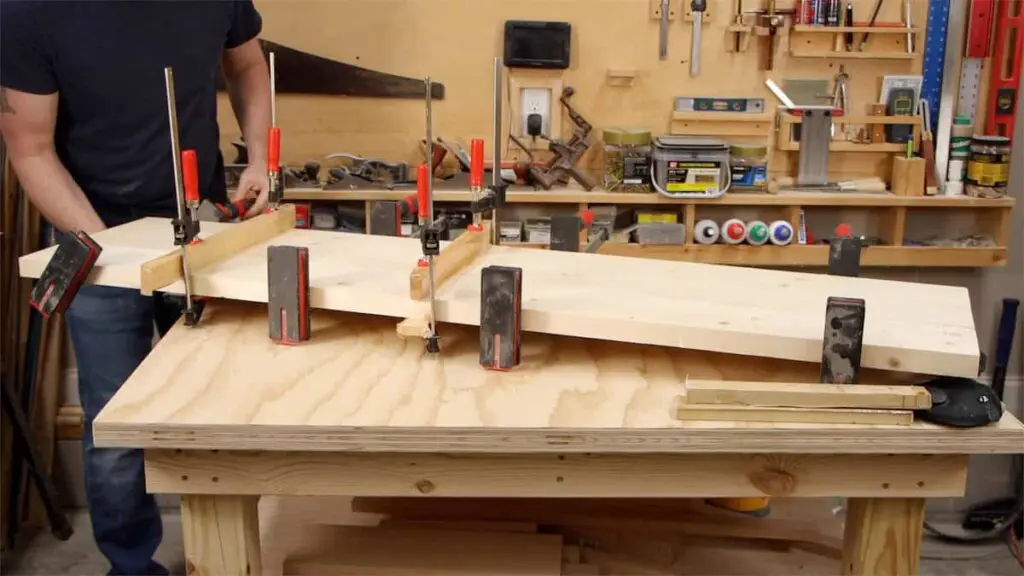
Building the Top
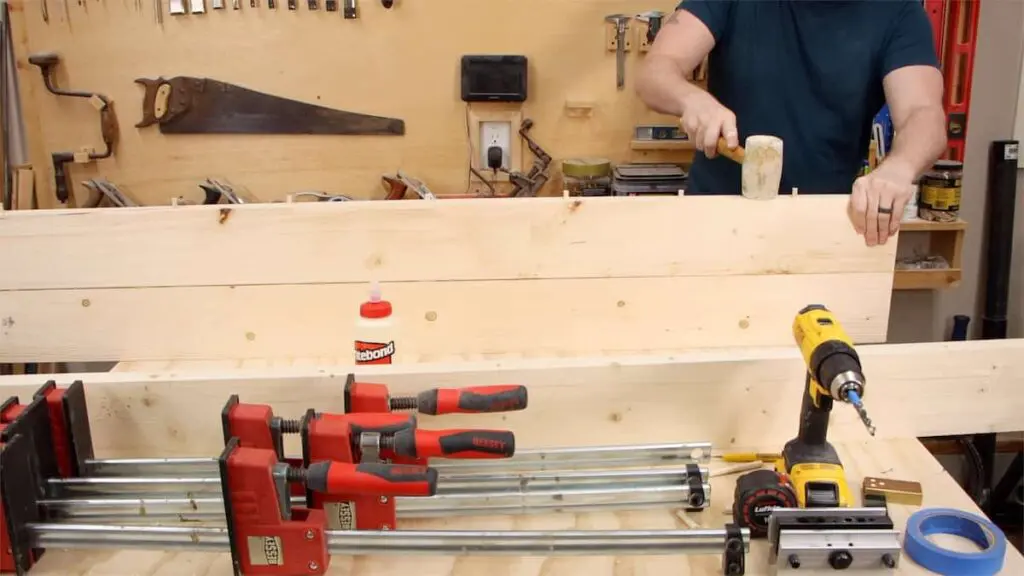
I used three construction-grade 2x6s for my top. I milled them up and and drilled dowels along each edge that gets glued up. This helps keep the top aligned while it dries which can be a huge help.
Light wood like these 2x6s tend to bow when clamped, so I used cauls to keep the top flat. Cauls are just pieces of wood that go on top and bottom and get clamped against the top.
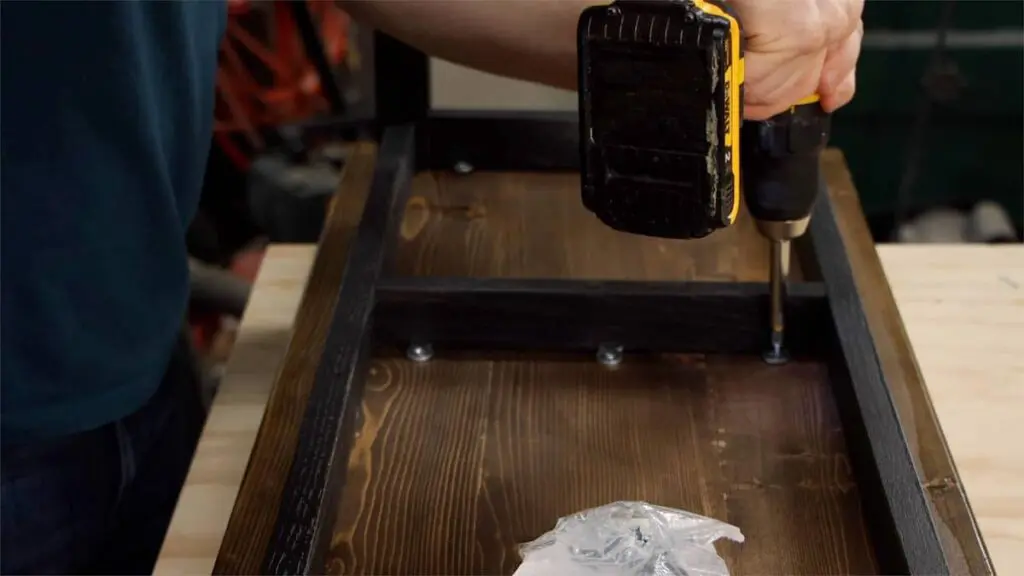
Before painting the base I use a 3/4” forstner bit drill for the figure 8 fasteners. Drill a shallow half circle open to the edge that allows the fastener to sit flush.
Paint & Finish
I used an HVLP gun with a 2.5mm tip that lets me spray latex paint and primer. I sprayed the base with black latex paint.
I chose to just buy Polycrylic clear, water-borne polyurethane in the can to finish off the base. There is so little base to spray that this was the easiest choice. The cans are expensive so I wouldn’t go that route if I had a large piece to spray.
TIP: Put a matte finish on your projects to get a more professional look. Shiny finishes look cheap and plastic.
I finish the top with dark walnut stain and oil-based polyurethane. The oil-based poly takes longer to dry, but it dries to a harder finish that the top needs. Once everything dries and cures I position the base evenly and tighten the fasteners down.

As much as I miss the rear spoiler and rocking function of the old benches (more sarcasm), these are light years better.
What are you waiting for? Download the plan and get in the shop!

Get My Free Download that lists the exact tools & materials you need to create amazing projects
Recommended Reading
Building a KING HEADBOARD with 4 Tools
Build this King Headboard without using a table saw! I only used a drill, a circular saw, a sander, and a miter saw.
A Hidden Tape Measure Feature You Probably Didn’t Know
What is that slot in the hook at the end of your tape measure for? It has a valuable purpose that could help you out of a tight spot.
The Ultimate Shop Multi-Cabinet
This is the one shop organization cabinet to rule them all. It organizes six different tools and accessories into one incredible cabinet.