Click above to watch the video
Get the exclusive course for this project with detailed build videos and plan along with access to the Woodworker’s Lab community!
https://learn.outoftheww.com/store
We needed a headboard at home, but I know that most people don’t have a shop full of expensive tools. So, I set out to design and build a king-sized headboard with just simple lumber and basic tools.
I didn’t even use a table saw.
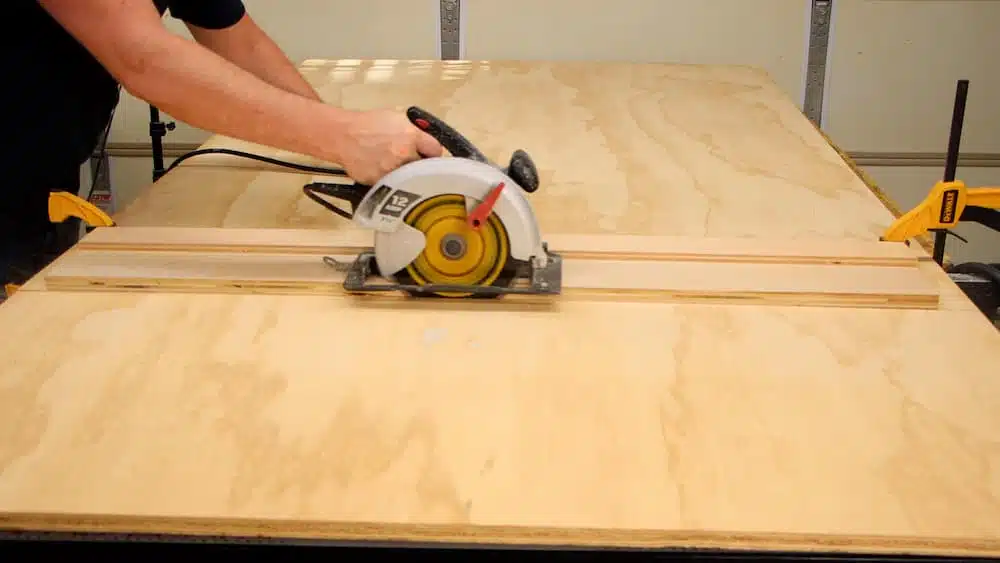
The biggest part of this headboard is a back piece, or base, that I cut out of 3/4″ plywood and I used my homemade track for the circular saw to make straight cuts.
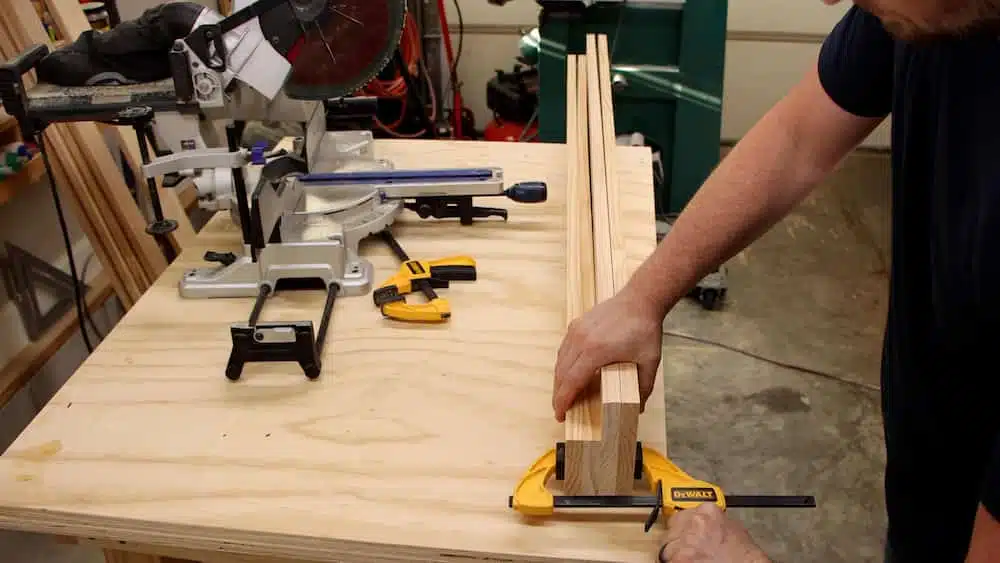
The legs are made of premium pine dimensional lumber from the home center and I cut all of these to length on the miter saw.
I then clamped all of the pieces together for each leg and took them back to the miter saw. Trimming them up this way makes sure they’re exactly the same length.
The back leg piece and the middle leg piece get glued together and then I added some screws for additional strength.
The next step was to glue the plywood base piece to the partial leg assembly.
At first glance this might not look like the best way to join a large piece of plywood to some dimensional lumber, but hang on, stick with me….


We’re using wood glue, which is extremely strong, and then we’re also adding some screws. Once I put the top part of the leg on, that made it a very strong piece.
One of the only problems you might have with this project is its cumbersome nature. It’s big and hard to handle, so you might need somebody to help you get it up and down.
Now that the basic structure of the headboard is done we need to church it up a bit. First, there’s a space at the bottom of each leg right below the plywood and I cut some pieces to put there.
This is a design feature, but I also don’t want a space underneath the top part of the leg.

The top leg pieces are glued, as well, but we’re not putting in any screws because this is the front face of the headboard and we don’t want those screws to show.
The pine boards were straight when I bought them, and brought them to the shop, but after a couple of weeks one of the top leg boards developed a crook in it.
I was able to eliminate the crook in this board by arresting him and taking him to jail……I’m sorry, that was terrible.
But seriously, if you join the Woodworkers Lab, you’ll get all of the step-by-step videos for this project and you’ll learn exactly how to take care of a problem like this.
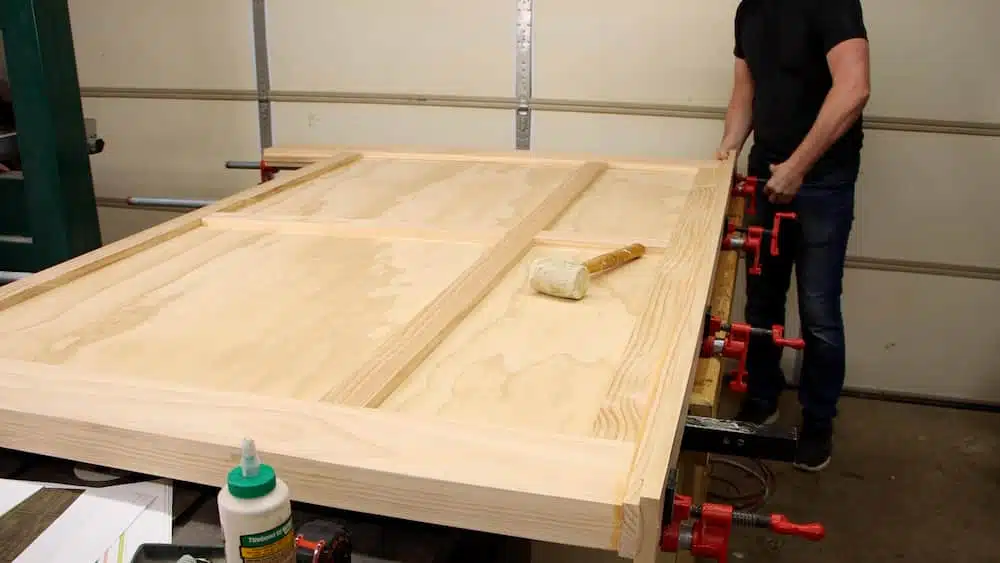
The next part is straight-forward, I’m just cutting pieces to fit between the legs and I’m creating a simple design with three cross pieces and then one stripe down the middle.
You’re not going to believe this, but I had another crooked board I had to deal with. And, this ended up being the main piece across the middle.
I need to learn how to pick out wood…


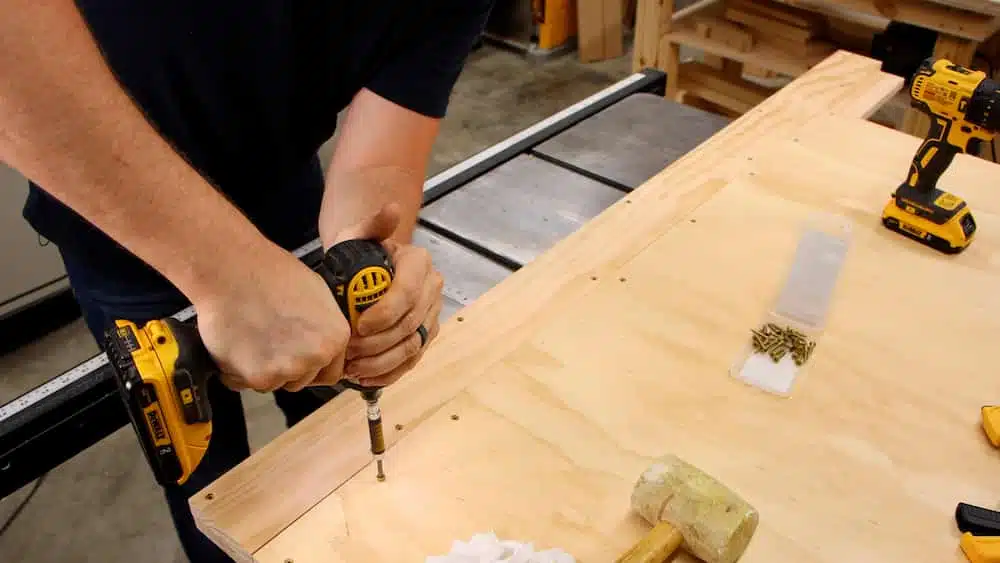
Next, I measured on the back side in line with those front pieces, so that I could screw through the back side and they wouldn’t show up in the front.
The top and bottom pieces can be reached with clamps, so there’s no need to drive screws into those. But, we can’t reach the middle pieces with clamps, so we’ll use screws to hold those against the plywood as the glue dries.
Drilling these holes through the back is pretty awkward because I’m trying to reach over the top and hold the front pieces in place while I screw in from the back.
So, this is another part where you would benefit from having some help.
I’m attaching the cross pieces in a two-step process.
I’m drilling holes and driving in the screws from the back side, but not yet permanently attaching them.
Once I’m done driving all the screws I backed them out and then marked each piece, so that I put them back in the same place.
I left the screws sticking out just a little bit so that I can apply glue to the back of the pieces and then it was easy to put them right back into position.
That technique makes it much easier to align them and then drive the screws in.
The last part that I needed to make for this headboard, before we move on to finishing, was the top cap.
The top cap is a really simple construction. It’s a 1×3 and a 1×4 glued together and I align them flush on the back edge.


I sand the top of the headboard before I put the top cap on just to make sure there’s nothing keeping it from laying flat.
It turned out to be really awkward gluing this top cap on because of the way it has to be glued onto the top of the headboard. I had it laying down on its back and it had to be flush with the back, so that didn’t help.
But, in the end, pipe clamps helped a lot and I was able to get it done.
Next, I gave the whole project a good sanding. For the corners, I used a piece of sandpaper wrapped around a block of wood and made sure to sand with the grain, so that I didn’t scratch across the grain.

Anytime you build a piece of furniture that’s going to be sitting on the ground you want to make sure you chamfer the bottom edges of the feet to keep the grain from pulling out.
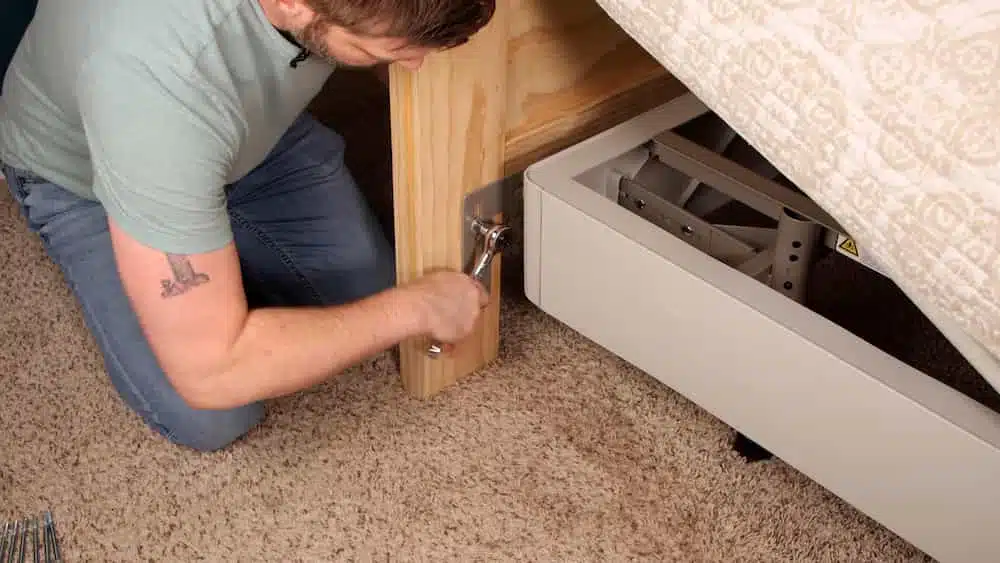
Installation is really simple for this headboard. You can anchor it to the wall, you can hang it on the wall, or you can attach it to a bed frame.
The legs give you a lot of margin for error and, as long as you check that your frame is the right size beforehand, you should have no trouble lining it up.
I used some thick bolts and washers, including a lock washer, on each one and that was plenty strong enough to attach the frame to the headboard.

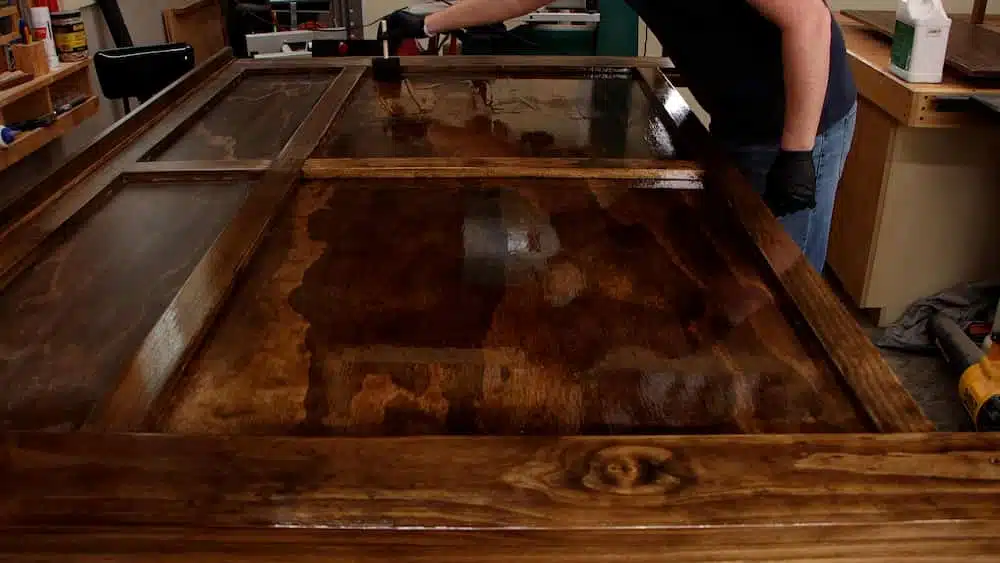
You could go about any direction you wanted to finishing this headboard.
You can paint it, stain it, or you could try to capture the natural color of the wood.
I applied wood conditioner first, let that dry, applied the stain, and then applied oil-based polyurethane as the top coat.

You may need someone to help you lift this headboard once or twice, but, otherwise, it’s a simple DIY project.
Don’t forget to head over and join the Woodworker’s Lab to get access to this and many other projects, woodworking courses, exclusive training videos, live Q&A sessions, and community area!

Get My Free Download that lists the exact tools & materials you need to create amazing projects
Recommended Reading
How to Make a Floating Shelf…That’s Also a Hidden Drawer!
There are a thousand floating shelf examples, videos, and plans out there. But, I wanted to do something a little different and design one that was also entirely a hidden drawer.
Building a BOARD GAME KITCHEN TABLE with Removable Panels
Hide your board games and pause your progress with this heirloom quality table. Build it yourself with my video series and plan.
My first epoxy resin pour was a disaster….
My first resin pour was a disaster....so I did it again. I pour epoxy resin over a lego logo and build a frame for it.