Click above to watch the video
Save 10% on TotalBoat epoxy with code ‘otw10’: https://www.totalboat.com/product/thickset-deep-pour-casting-epoxy
VEVO vacuum chamber with pump: https://amzn.to/3QRrDum
I’ve resisted the epoxy resin pour craze for years (and I likely won’t do it again after this), but I couldn’t stay away forever. A client came calling and I took on a different job than any I’ve done before. They wanted their Lego logo encased in resin and then mounted in a frame.
**Spoiler alert** I failed the first attempt miserably.
Testing and the First Pour
The first thing I did was to reach out to TotalBoat and see if they wanted to be involved with this build. They were more than willing and sent me a couple of gallons of epoxy to get started.
I’ll talk about this later, but in the midst of screwing up the first pour VEVOR reached out and sent me their vacuum chamber which was very helpful on the second attempt.
After hours of research I used one Lego square as a test. This test pour went really well and I even sanded and polished it.
The only way I can explain the first pour is by saying that I made a series of choices that weren’t planned out and got progressively more stupid. That seems to spell disaster when pouring epoxy.
I got it to a point that was pretty nice, but a large bug landed right in the middle of the logo. There were a bunch of micro bubbles throughout the pour, as well, but it was the bug that really ruined it.
I decided to try and sand it, but my epoxy sanding game was not up to par and it just wasn’t looking good. On top of that, I took a chip out from the surface and realized that the epoxy underneath wasn’t dry. It looked cloudy and weird.
I took this opportunity to go crazy on it and do some testing. I wanted to work down to the lower layers and see if they were dry. I also wanted to see how quickly epoxy would sand with a rough grit paper.

Do-Over
On my second attempt I had to make sure that I kept the area as clean as possible. It was now the middle of winter, so there shouldn’t be any problem with bugs. I also needed to avoid large gaps of time between pours.
I believe one problem I had was letting the 2nd layer cure for a couple of days before I was able to get to the 3rd layer. Totalboat says to scuff the surface before pouring, in this case, and I don’t think I cleaned it off well enough.

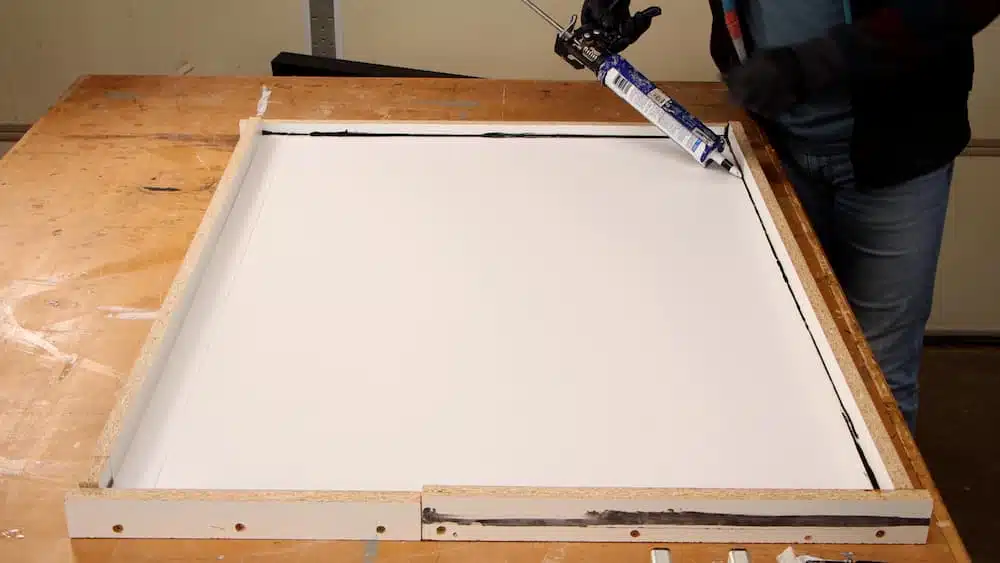
The new logo my customer ordered was a bit larger, so I needed to build a new form.
I built it the same way as the first time with melamine attached with screws. I used black silicone to seal all the seams. Black shows up much better on white melamine so that you can make sure you have it completely sealed. I spread a coat of wax on the melamine just to make sure that the logo would easily pop off without too much force.
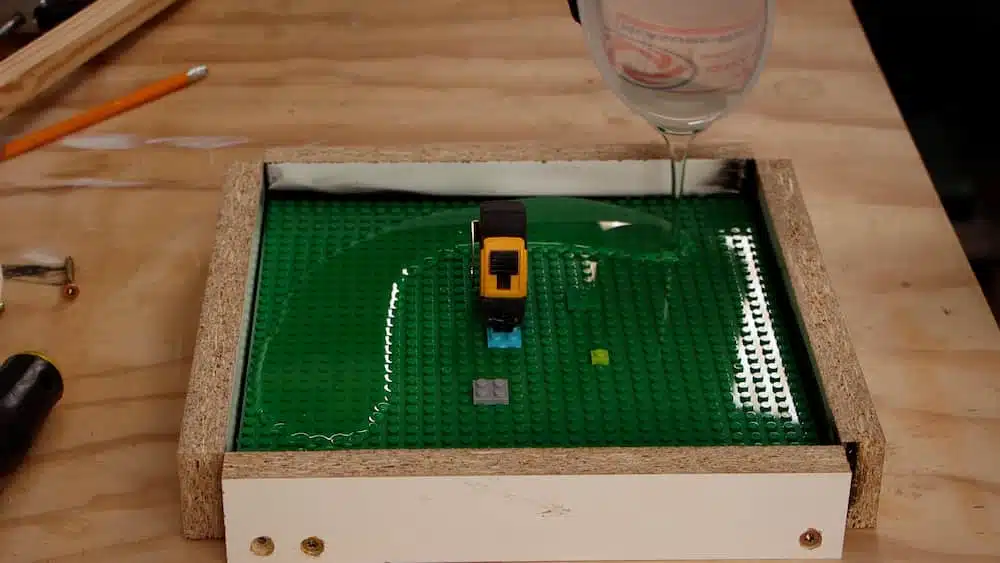
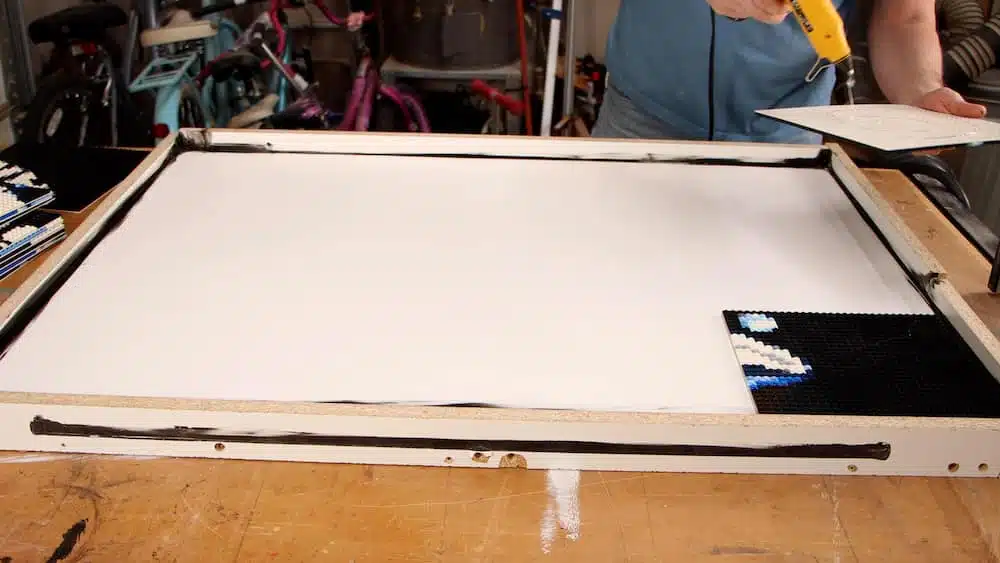
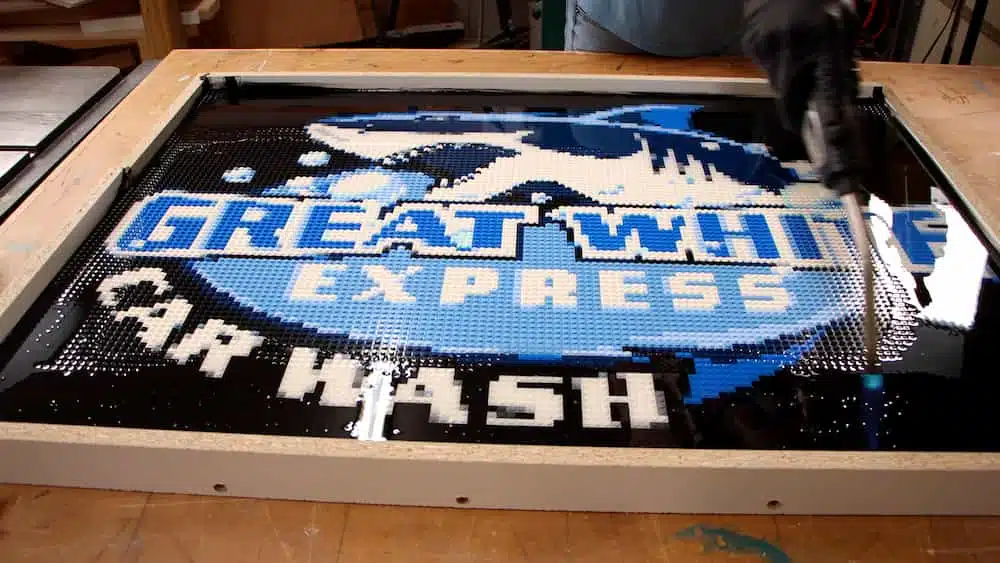
I test fit the lego squares and then used hot glue on the back of each one to hold them down and keep them from floating in the resin.
I used TotalBoat ThickSet Clear Casting resin for this project and it dries crystal clear like glass. This is high quality resin and I highly recommend it. I had plenty of working time, I didn’t have to worry too much about pouring too deep (for what I was doing), and it cured nice and hard.
This time I mixed up the resin and put the container in the vacuum chamber VEVO sent me. This thing worked great and it completely changed the look of the first pour by eliminating all those micro bubbles. It was easy to setup and I didn’t have to do much to get started with it out of the box. The parts feel like good quality (It’s glass cover is even supposed to be bulletproof) and it worked flawlessly.

Mixing and Pouring the Resin
This resin is mixed 3:1 with the hardener and I used TotalBoat’s containers to make this a trivial task. It has a chart for each mix ratio, so you fill it up to a number with resin and then fill it with hardener to that number on the other side of the chart. Couldn’t be simpler.
The VEVO vacuum chamber pulled the bubbles out in about 2 minutes and I was off to the races.

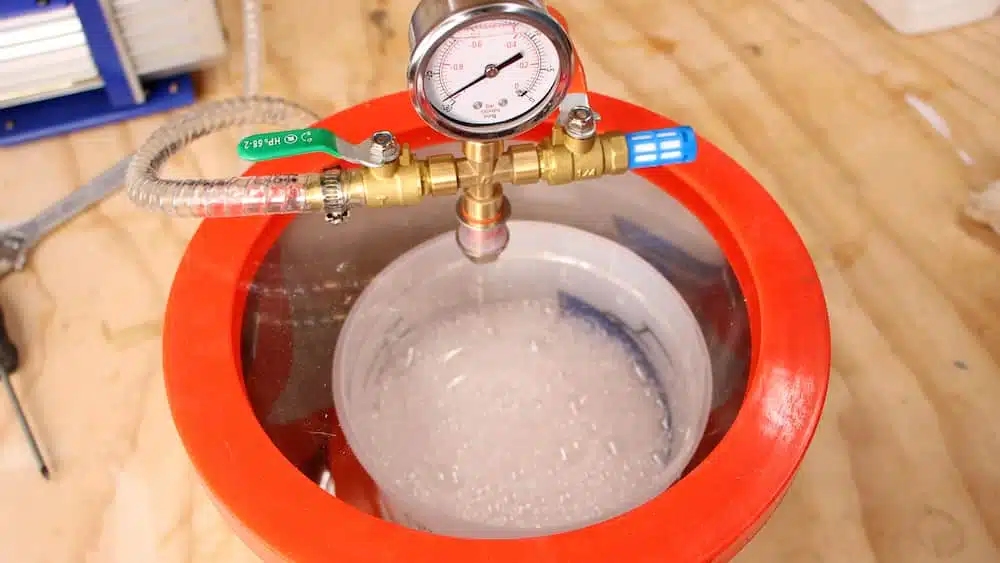
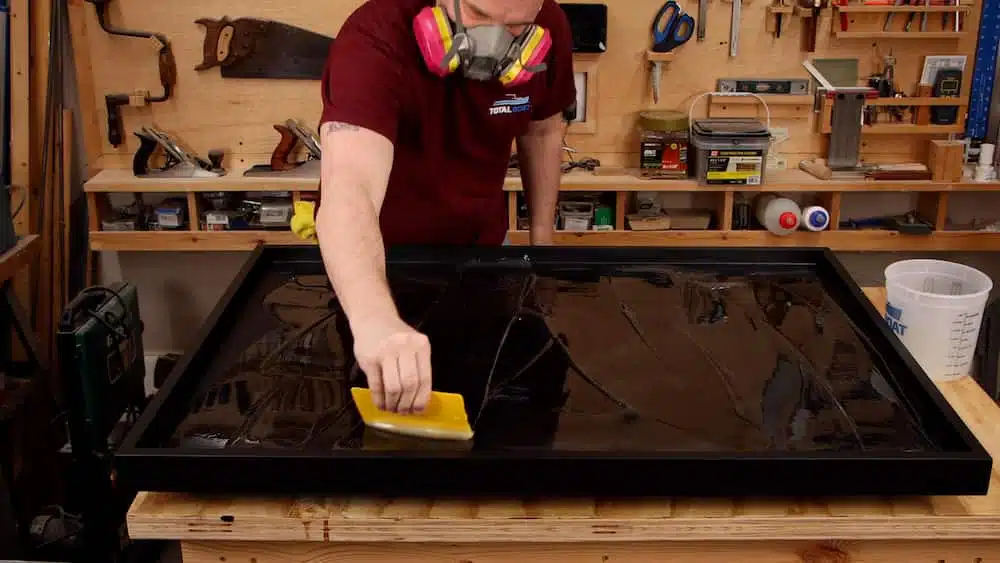
I poured a shallow layer and then used heat to pop the bubbles. The combination of a shallow layer and the vacuum chamber helped me almost completely eliminate bubbles in the finished pour the second time around.
I let that cure for 24 hours and then I poured a second layer. You won’t have to babysit the subsequent layers after the first since the project is nice and sealed. There’s no moisture or air trying to escape from the wood, underneath objects, or anywhere else.
On the second pour I only had to use heat one time, right after pouring to get the surface bubbles and then never again.

Building the Frame
Once the resin dried enough that I didn’t have to worry about dust, I started on the frame.
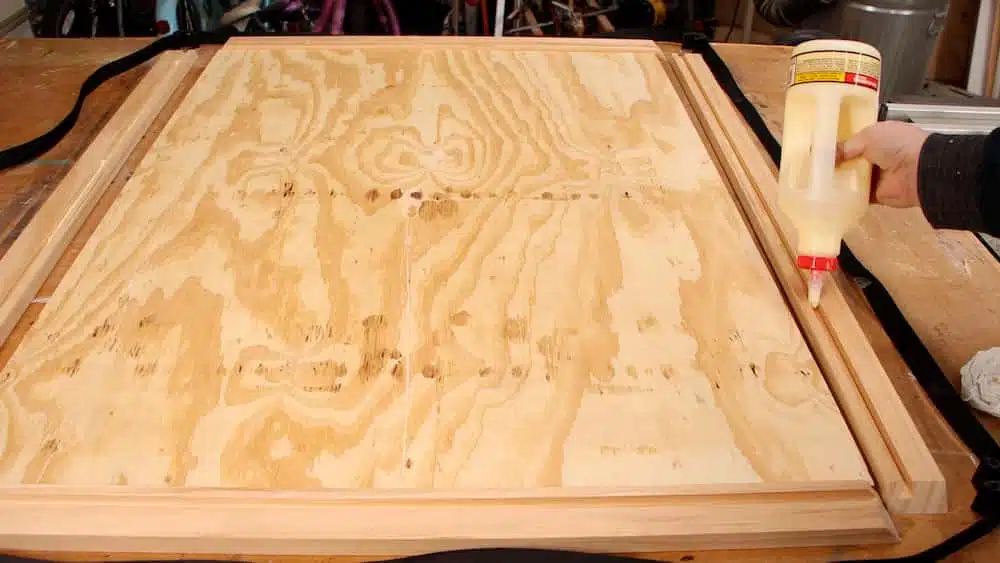
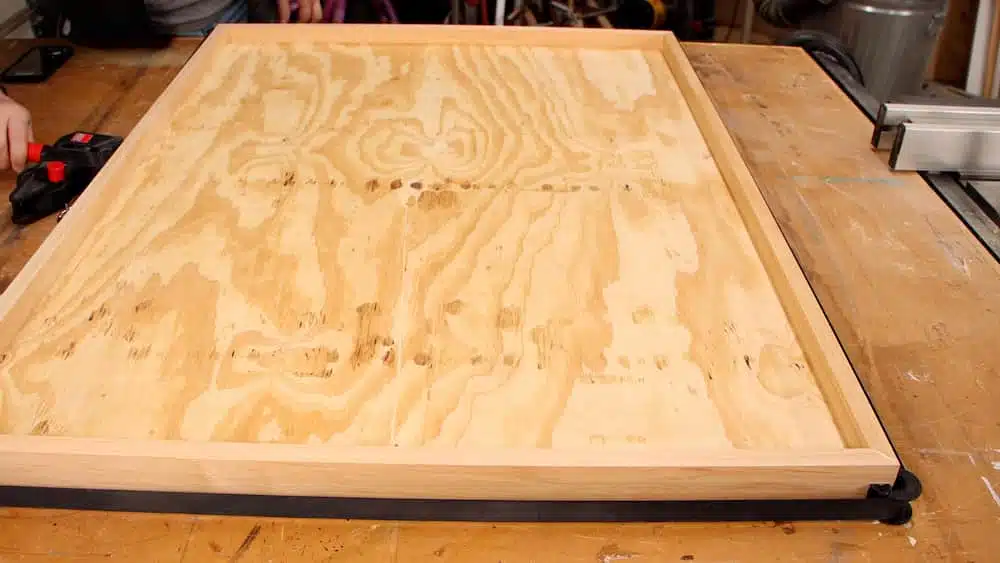
I made the frame from select pine and the backer piece is cheap 3/4″ plywood. My idea was to epoxy and bolt the logo to the backer piece and this turned out pretty well.
I ripped 2″ strips and then turned them on their side to cut 45 degree miters. I also cut a 3/4″ dado along the bottom of each frame piece to fit the backer.
Once the frame was dry it got a coat of black paint, sanded to 220 grit, and then a second coat.
I sprayed 3 coats of water-borne Polycrylic on the frame pieces and tried to keep it off the backer piece. Some overspray is not a big deal, but I used a piece of wood to block it on the first coat.


Attaching the Logo to the Frame
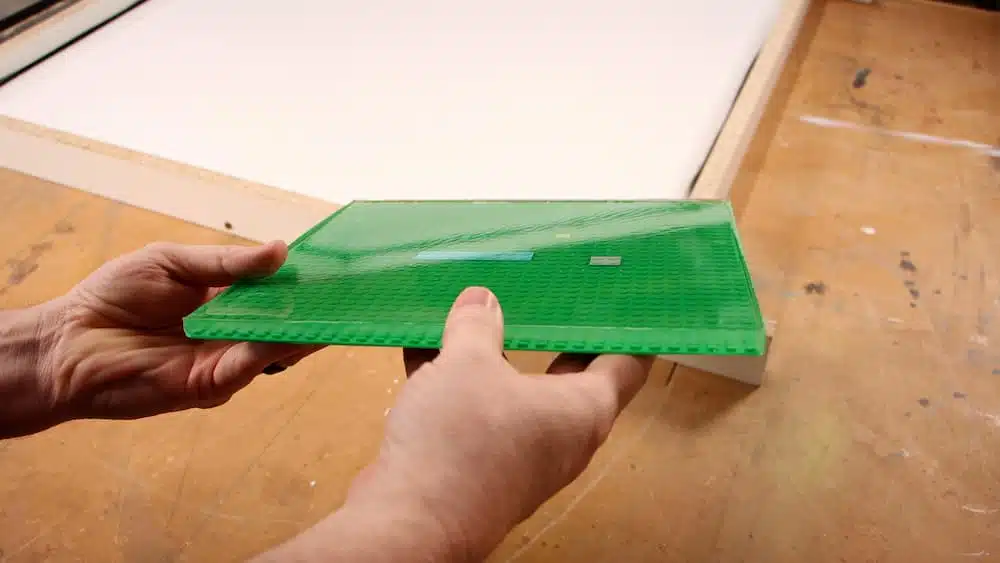
The logo easily popped off of the form and I prepared the frame by spreading 15 minute epoxy on the backer. The logo went into the frame and I pressed it down and let it dry for about 2 hours.

The next step was to measure and drill a hole in each corner to tighten down some bolts. The epoxy will hold the logo just fine, but I want to make sure that if it ever fails in the future, the logo won’t fall out.
Each bolt had a metal and then a rubber washer on the top side, and then a washer, lock washer, and nut on the backside.
Everything was black except for the bolts, so I dabbed some of the acrylic black paint I used on the frame onto each one.


The last thing to do was figure out how to mount it on the wall. This thing turned out to be about 40 lbs, so I needed something solid.
I opted to go with an aluminum french cleat from the home center that has a weight limit of 75 lbs and heavy duty wall anchors that have a limit of 100 lbs. I had to install a spacer behind the french cleat on the frame so that it was positioned correctly.
I also added some soft pads on each corner of the frame to keep it from scratching the wall.

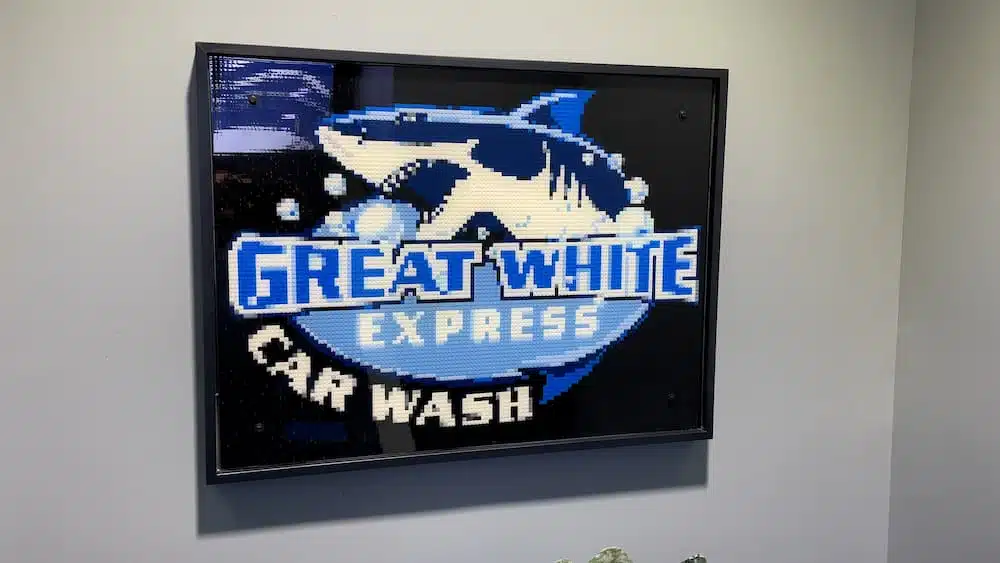
After all of the trouble this project gave me I’m glad it’s done and delivered. It turned out pretty good, but I really didn’t like having to tell them to order a new logo and wait the extra time for me to finish.
That’s the way it goes when you’re building projects for customers, especially the projects you’ve never done before. Make sure you let them know that while you are an experienced maker, you haven’t done this particular task before. You might have to give them a discount on that first one, but then you’ll have that skill in your tool bag!
Get My Free Download that lists the exact tools & materials you need to create amazing projects
Recommended Reading
How to Build a TV Lift Cabinet – Part 2 | Beginner-Friendly Woodworking Project With a Free Plan
In this final episode of our TV Lift Cabinet I build the top, put on the trim, apply the finish, and then get this TV Lift Cabinet installed.
DIY Lower Shop Cabinet | Free Plan
This solid lower cabinet will give you a ton of extra storage and it's easy to build. I'm finally getting the huge mess in my garage shop cleaned up.
How To Build a Custom Dog Kennel
The phrases "Dog Kennel" and "Fine Furniture" usually aren't found in the same sentence - until now. This kennel is sized for two large dogs.