Click above to watch the video
Get the Plan for this project:
https://learn.outoftheww.com/shop-multi-cabinet-plan

This project was sponsored by INTO THE AM. Get your Everyday Elevated Graphic Tees and other apparel now and get 10% off site-wide when you click this link: https://intotheam.com/otw10
With the miter saw station and remaining cabinets on hold, I turned my attention to organizing some smaller tools and other accessories. Initially, I wanted to build a small cabinet for each set of tools. But, as I was designing the cabinets, I realized that combining them into one cabinet would be what a real woodworker would do. And, it would be awesome.
Building the Case
This cabinet is basically 9 parts from 3/4″ (18mm) plywood and a 1/2″ (12mm) back. the tedious part is the many dado (housing) and rabbet (rebate) joints. These need to be lined up accurately or when you put the thing together it might not fit.
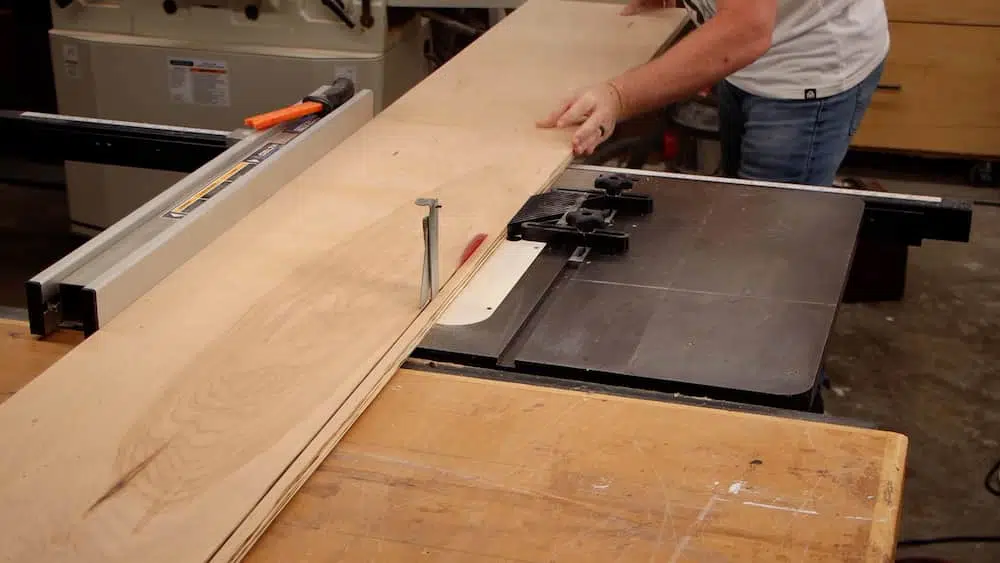
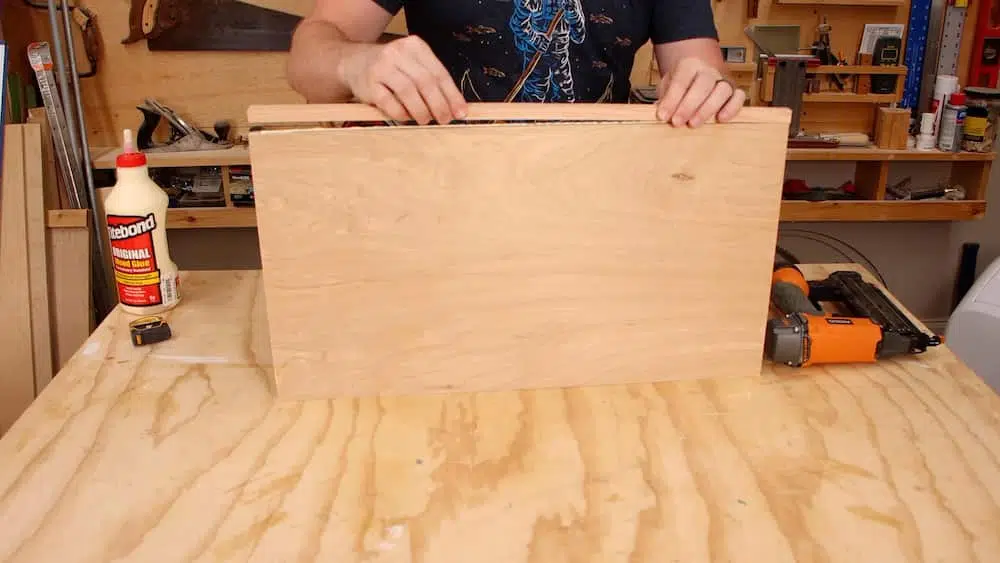
I started by cutting all the 3/4″ pieces to dimension and then I ripped a piece of 3/4″ solid wood down to 1/2″ strips. The strips were glued and brad nailed to the edge of each piece of plywood to act as edge banding. We want to do this now before we start cutting the dados and rabbets.
I also only attached edge banding to the one outside edge of each piece, so be careful and put them on the right edge.


I cut all the dados and rabbets on the table saw, but you could also cut them with a router.
If you go the….eh…route of using a router, then cut across each set of opposing pieces at the same time, so that you get them in the exact location. You can do this by putting masking tape on the back side across both pieces then clamp them in place before routing.
The main divider has a dowel that is glued and inserted into a hole. I used a forstner bit because they seem to be much more consistent in diameter and the same size dowel fits nicely into the hole.


Sandpaper Trays
I saw this idea somewhere, I just can’t remember where. I thought it was such a good idea.
There are three trays for sandpaper and I glued dowels onto two of them after first drilling holes the same way I did to the main partition.
Place your sandpaper on the tray and mark two opposite holes. Drill the holes and glue in the dowels to have a nice holder for your random orbit sander’s sandpaper.
Of course, you can use these trays for other things. If your sandpaper doesn’t have a hole pattern, simply lay the stacks of sandpaper on them. I did this for my third tray in case someday I had some sandpaper with a different hole pattern, or no hole pattern, at all.
Saw Blade Trays
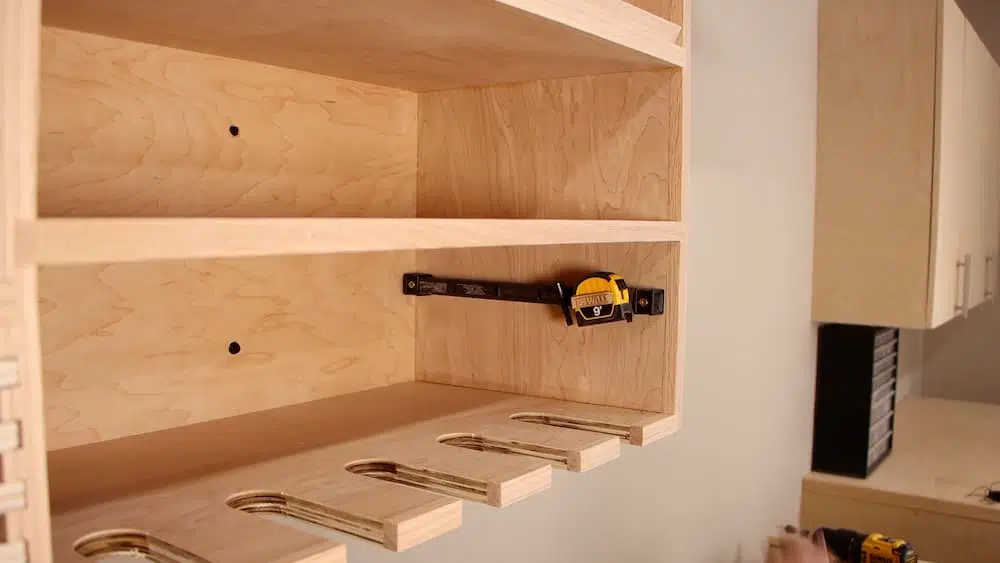
These saw blade trays came straight from Wood magazine and they are my favorite part of this cabinet. I wanted to store several of my 10″ table saw blades , but you could put circular saw blades, miter saw blades, or anything else that fits within the inset hole.
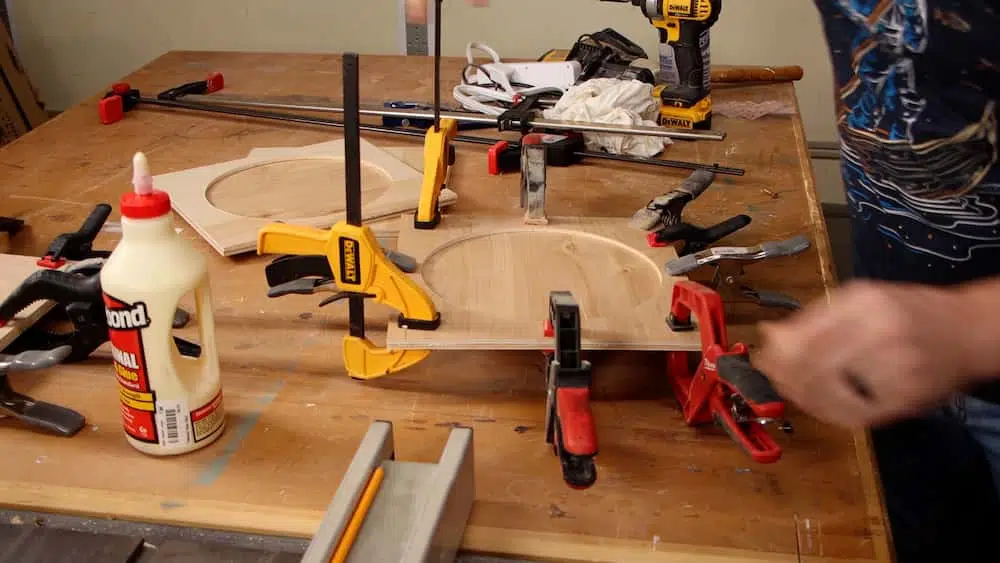
I made a quick and dirty router jig to cut out the hole from one of two pieces of 1/4″ plywood and it made quick work of it. Watch the video at the top of this article to see more on how to do that.


After cutting the holes out I glued the two pieces together and then drilled a hole in the middle to make it easier to pull the blade out, and then a hole in the end to make it easier to pull the tray out.


Drawer
The drawer is a simple construction using 3/4″ plywood and a 1/4″ bottom.
After cutting out all the pieces, I cut a 1/4″ groove on the inside of each piece, 1″ from the bottom edge. Then, I drilled two pocket holes on the front inside face of the two side pieces. This is how they will attach to the front.
Since the back won’t show I attached the back piece with two screws on each side directly into the end of the sides.
Installation
The installation is the same as for the upper shop cabinets in a previous project. I located and marked the studs and then attached a piece of wood that was flat on one edge and made sure it was level. This ledger board is invaluable, especially with a heavy cabinet like this.
I set the cabinet up on the ledger and attached it with six, 4″ TimberLOK screws, three on each side. These screws are as strong as lag bolts, so they are more than sufficient for the task. DON’T use regular screws to attach this cabinet. It may jump off the wall one day.
The final touch was to attach a 12″ magnetic strip on each side of the drill compartment. These strips are handy to quickly hold drill bits and small tools like a tape measure.


I filled the drawer with all of my drill accessories and installed it. The removable 1/4″ divider is also used for hanging odds and ends. It’s perfect for things like my table saw wrenches.


After building this project go read and watch the upper and lower cabinet videos and your garage shop will be on its way to becoming an organized oasis of tools and accessories. Go download the plans and get to work!

Get My Free Download that lists the exact tools & materials you need to create amazing projects
Recommended Reading
How to Build a TV Lift Cabinet – Part 1 | Beginner-Friendly Woodworking Project With a Free Plan
I don't watch much TV beyond sports, so the idea of building a beautiful piece of furniture that hides the TV was right up my alley.
How to Make a Fireplace Surround
It’s pretty amazing how easy this fireplace surround can be. It uses dimensional construction-grade lumber from the big box hardware store.
Easy Garage Shop Cabinets | Finally Organizing This Mess!
Turn your garage into an organized and efficient shop with these easy DIY cabinets. And, watch me dig through my unorganized mess.
