Click above to watch the video
Get the Free Plan for this project:
https://learn.outoftheww.com/shop-cabinet-upper
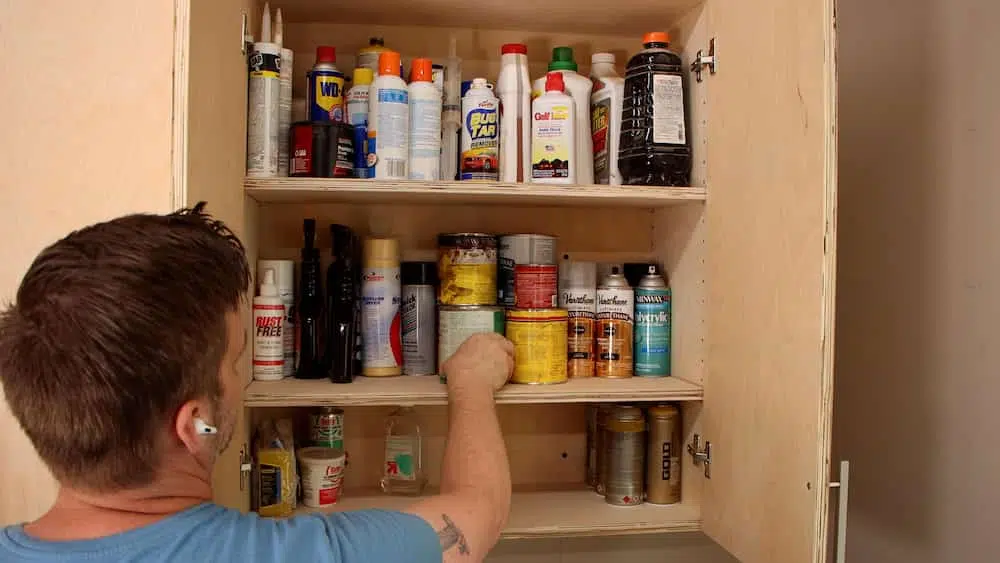
It’s finally time to clean up the disorganized mess in my garage shop by building some shop cabinets! These cabinets are easy to build, but cleaning up my shelves is another matter…..
Building the Case
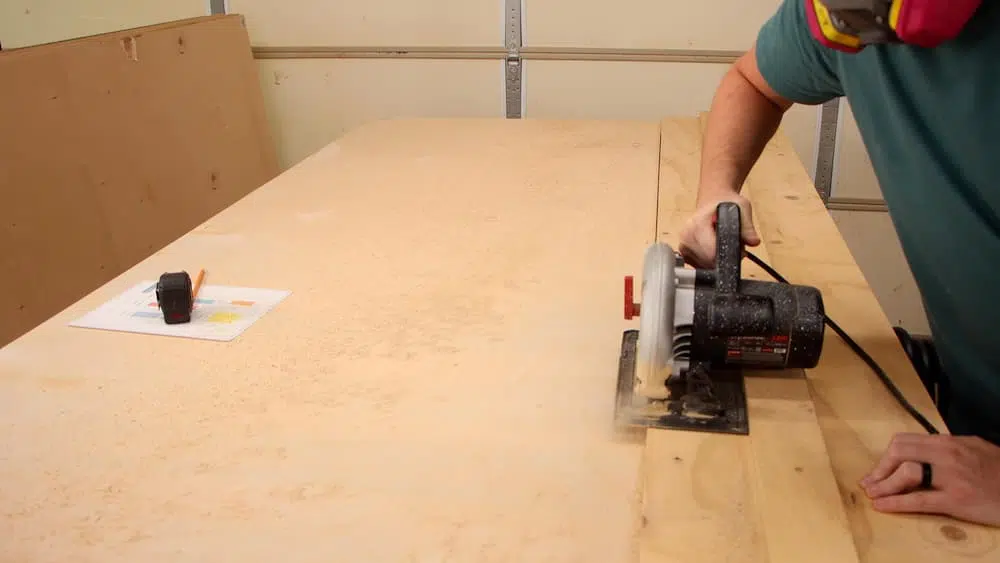
As usual, my DIY track saw guide is invaluable. I use it to break down the 3/4″ (19mm) plywood into the top, bottom, and sides.
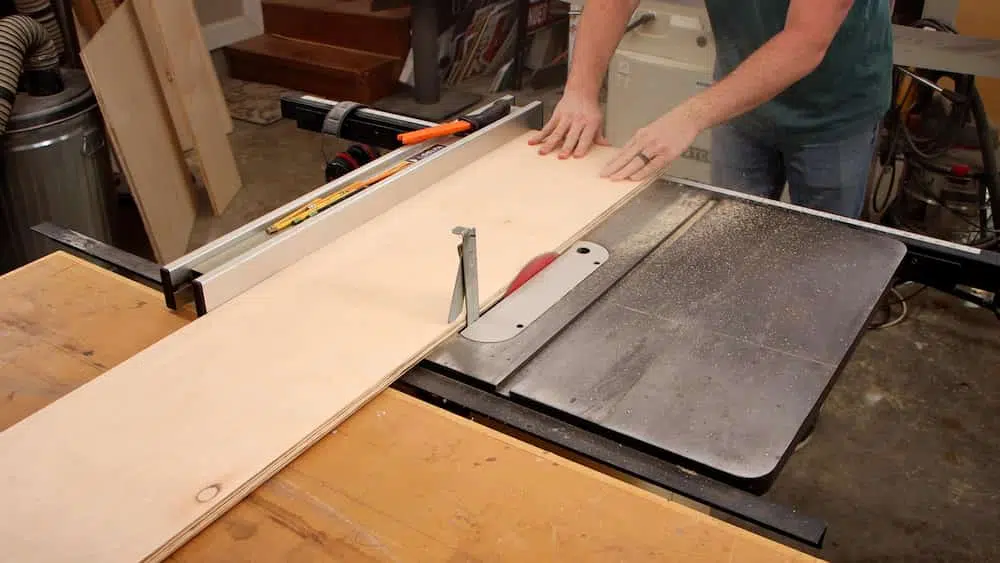
If you have a table saw, cut the pieces down a little wider and longer than you need and then use the table saw to get them all to the exact same dimension.
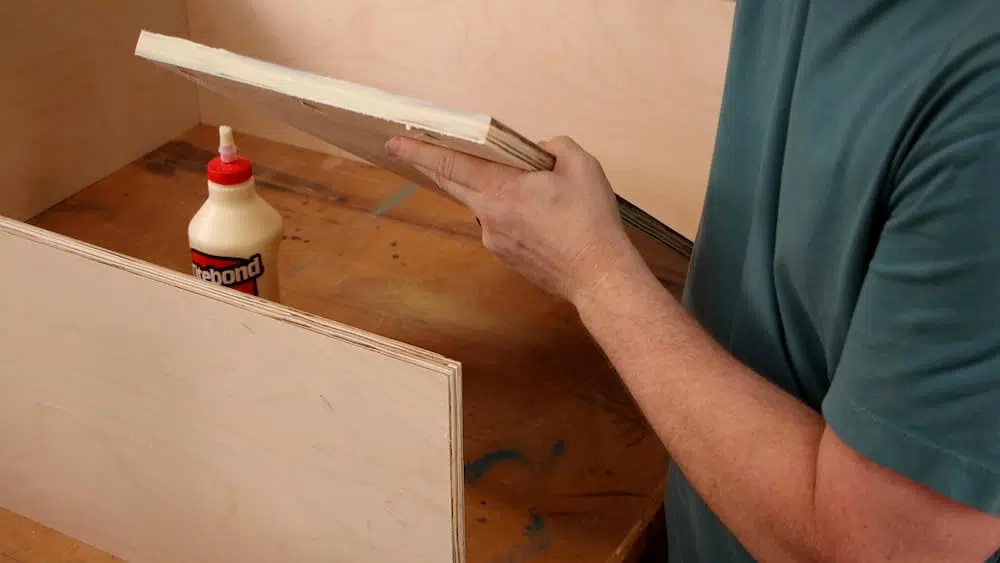
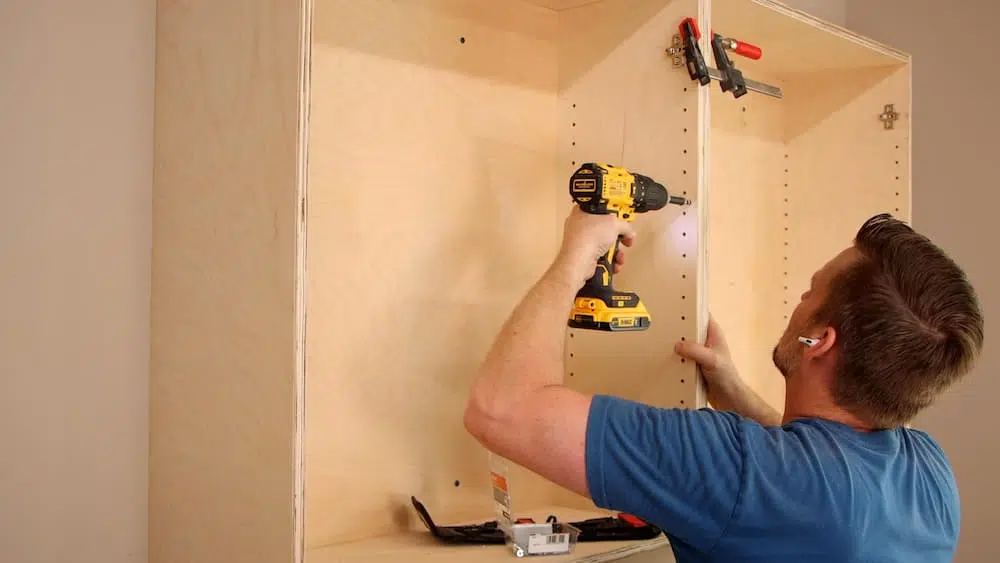
Dry-fit the pieces by clamping them up and making sure all the joints are square. I marked the location of the pocket holes, so that I didn’t screw up and drill holes in the wrong place (has never happened, of course).
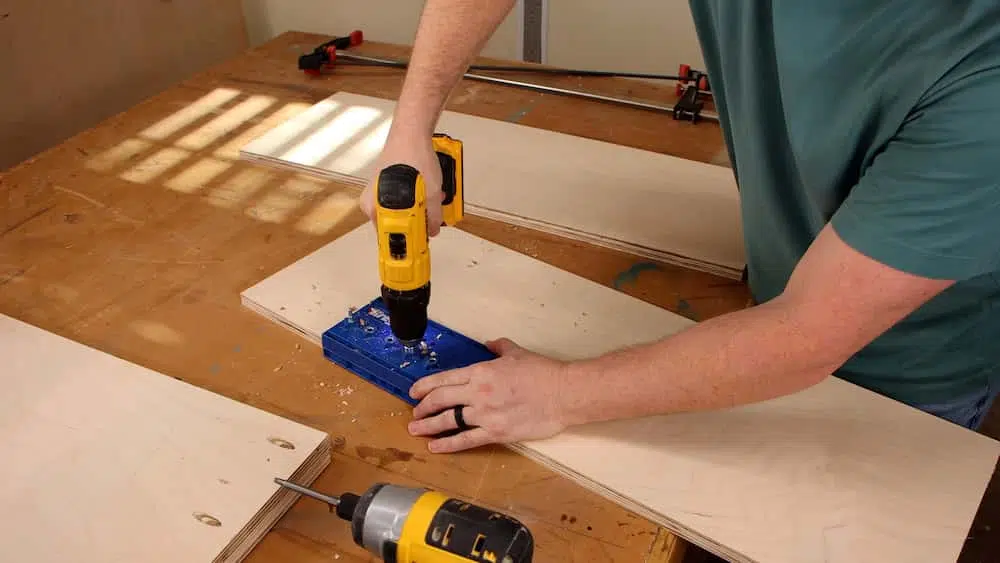
Remove the top and bottom and use a pocket hole jig to drill the holes.
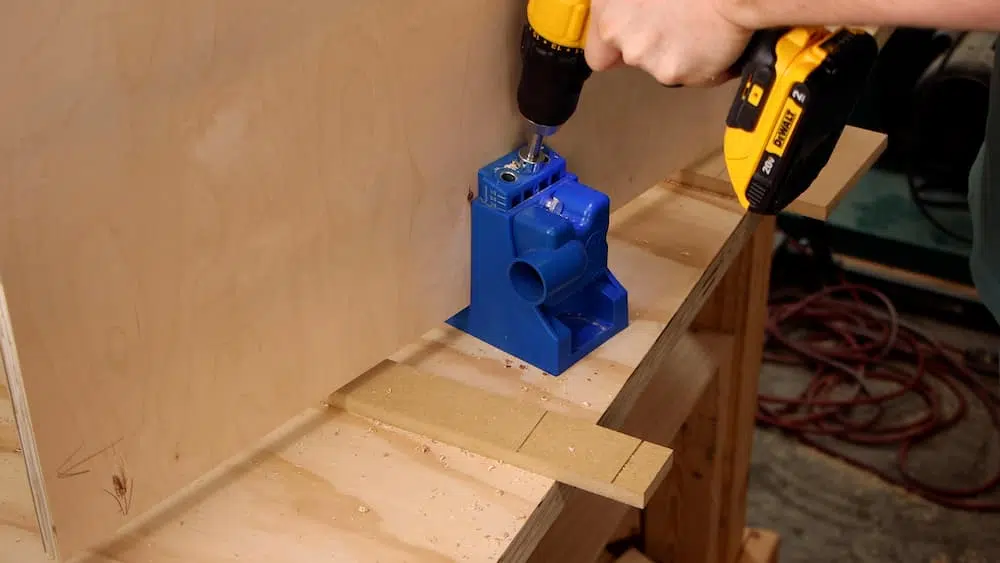
I spread glue on each edge of the top and bottom pieces and then put them in position with clamps. I used a speed square to check that each corner were square and then drove the pocket screws in.
I drilled 1/4″ (6mm) shelf pin holes into each side starting about 6″ (152mm) down from the top of the side. There are several jigs on the market that make this an easy task. Drilling these holes before you put the cabinet together is much easier.
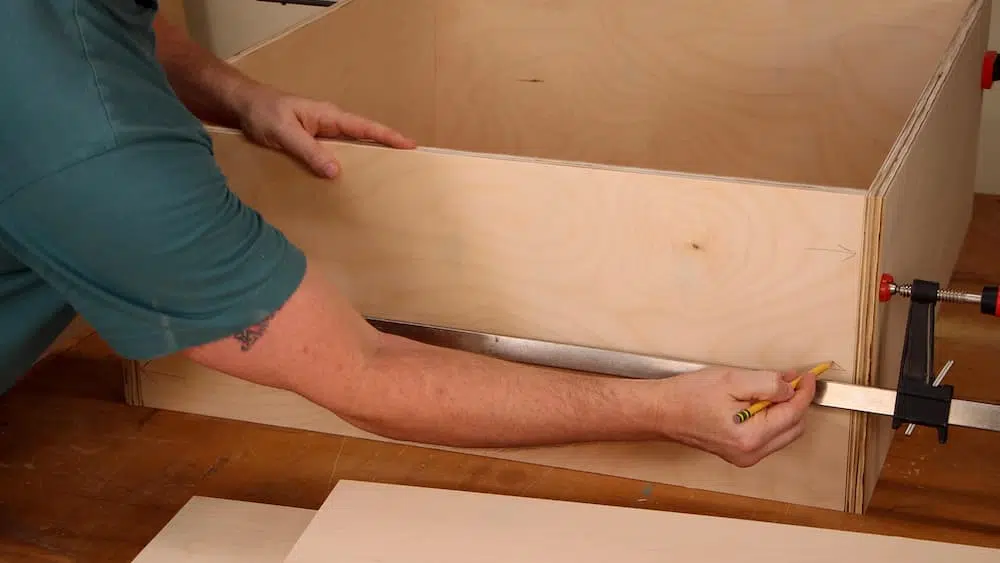
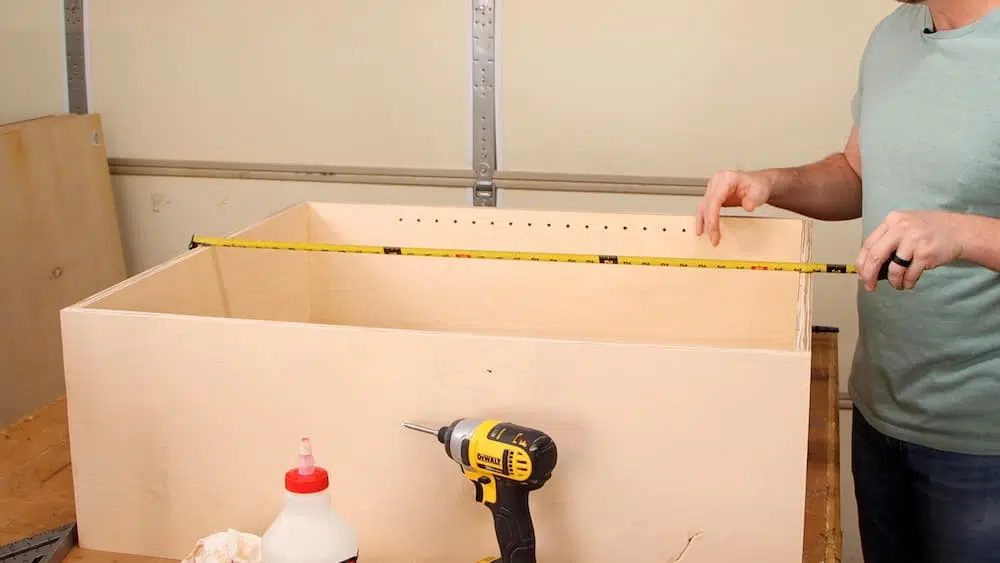
The back piece should only be measured and cut after you put together the top, bottom, and sides. This is called reference measuring and will ensure you don’t waste plywood by cutting it too short or narrow.
I used the same technique I used on all the other pieces by cutting the back piece just slightly wider and longer than needed. I then sneaked up on the fit by cutting small slivers from each piece.

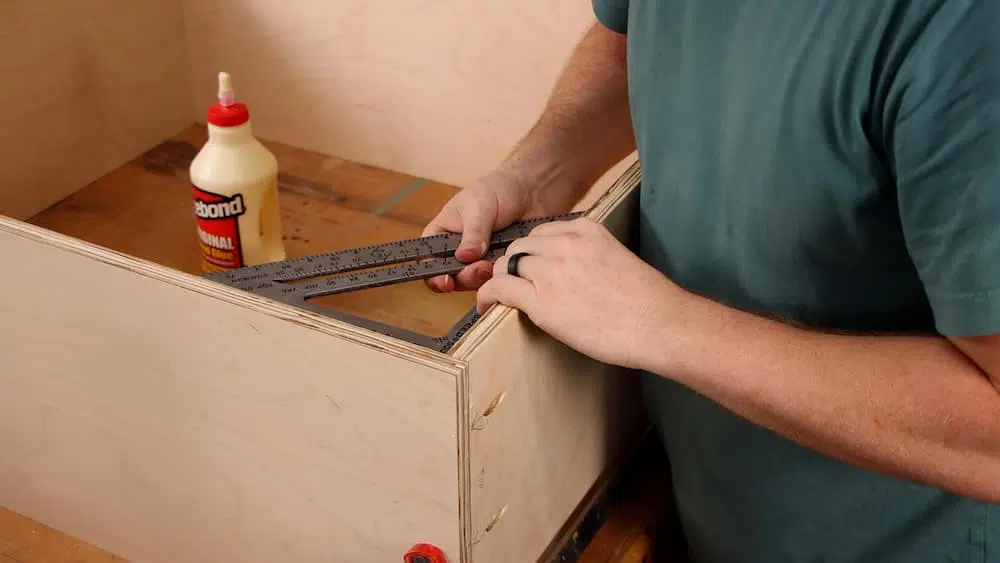
It’s important to measure on each end and in the middle of the cabinet and make sure they are the same distance apart. It’s common for the top or bottom piece to sag and throw off the measurement.
Mine was sagging, so I left it in a clamp over night that pushed the two pieces apart. Once I removed the clamp the parts sprung back a bit, but ended up at the right measurement.
I also reference measured for the doors. I left a 1/8″ reveal across the top of the case, 1/16″ along the side of the case, and 1/8″ between the doors.

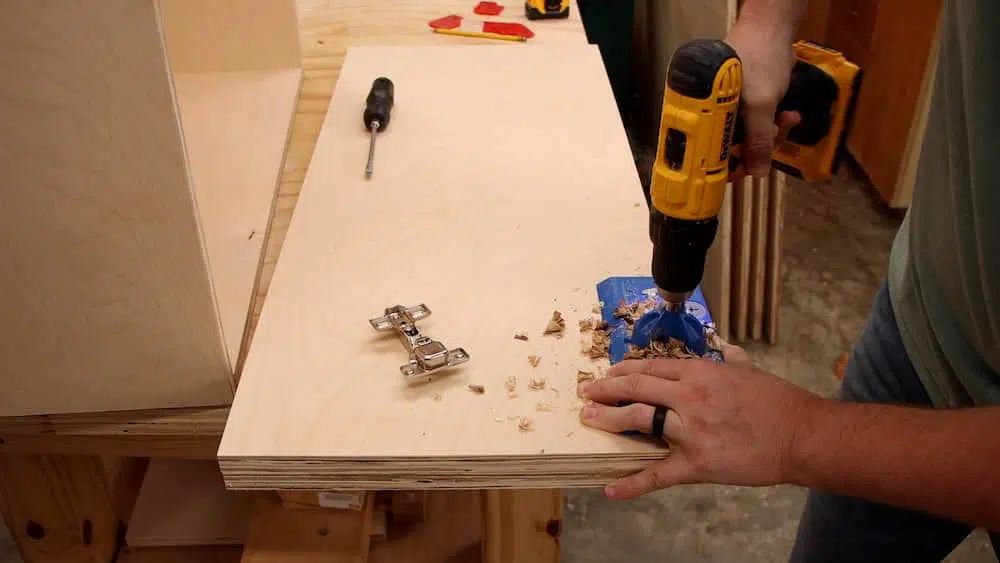
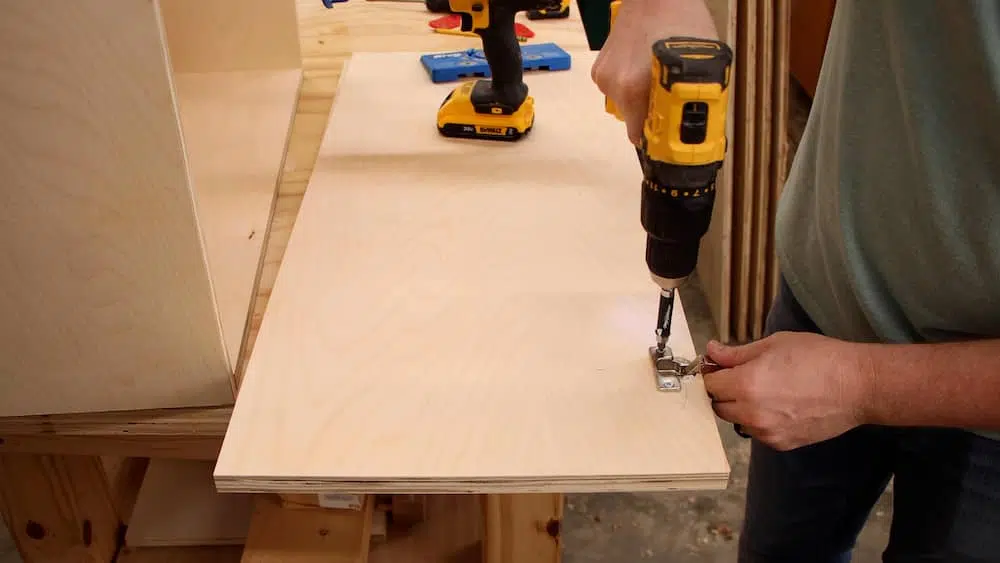
There are several styles of hinges available, but I like to use cup hinges because of their adjustability. You only need to install them at the recommended dimensions and then adjust from there.
I use a jig to drill the hole for the cup hinge, but if you don’t have one, use a 1 3/8″ forstner bit.
I installed the door handles, at this point, and then remove them before installing the cabinets and applying finish.
Installation
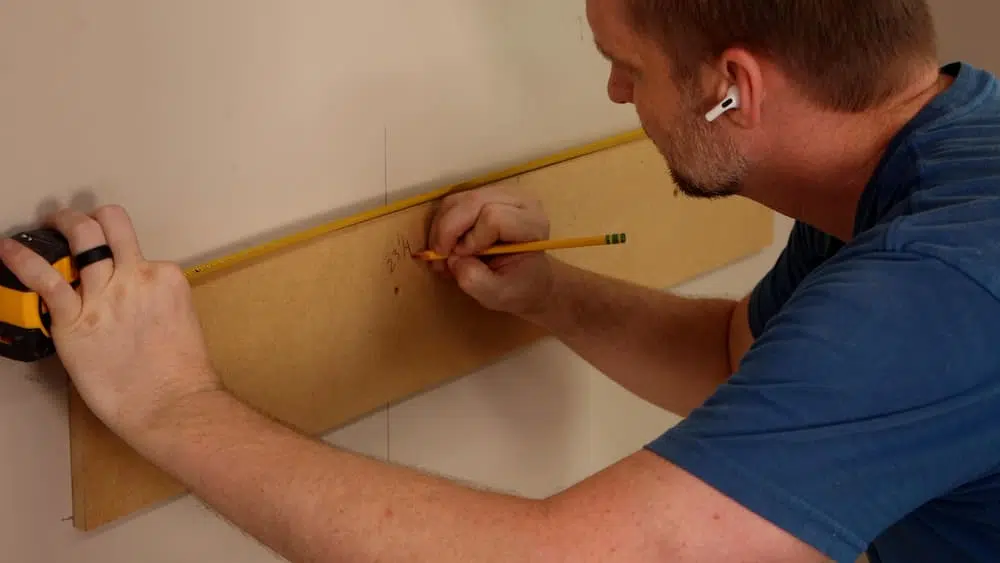
I marked the location of each stud on the wall. I used a ledger board to temporarily hold the cabinets while I positioned and attached them to the wall.
To make this easier, I put the edge of the ledger at the distance I wanted the cabinets to be away from the side wall and then measure from the edge of the ledger to each stud. Then I measured these distances on the back of the cabinet and drilled holes.
I put the the cabinet up on the ledger board flush with the edge and then drove washer head screws through the back into the studs.
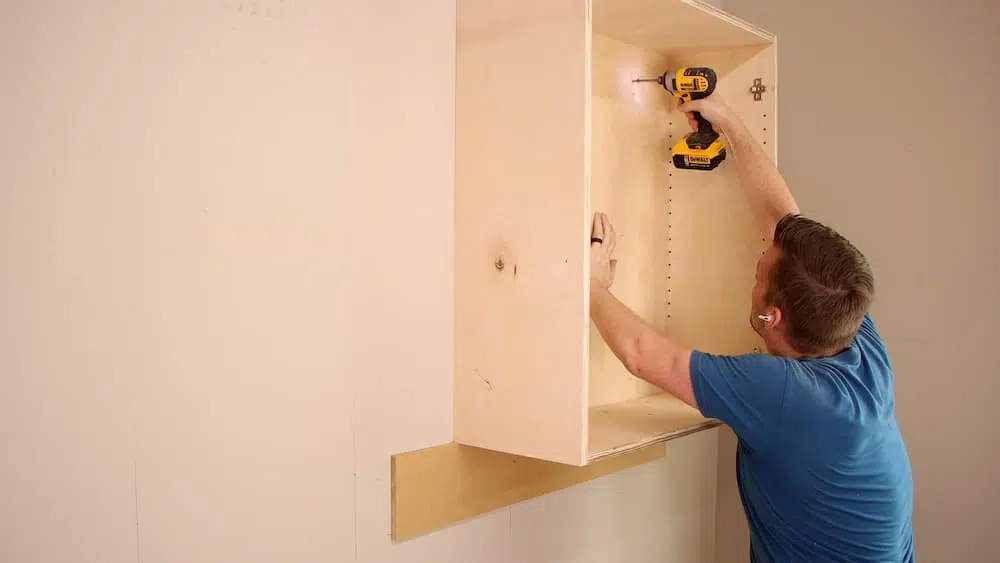
I built two of these cabinets and attached them together, for this project. I put the second cabinet up on the ledger board and then clamped it to the first cabinet. I drilled a pilot hole and drove three screws to secure the cabinets together.
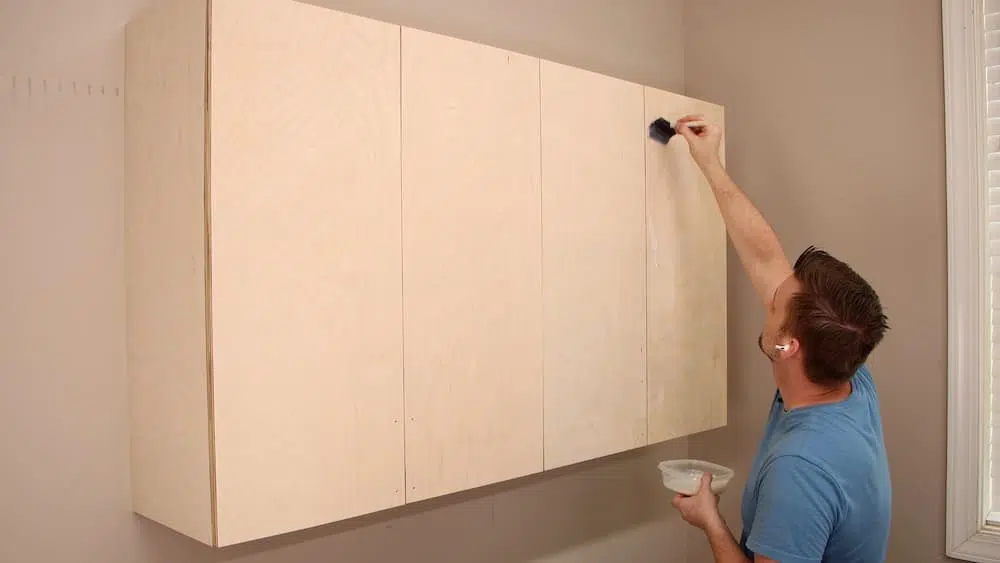
I sanded each cabinet down with 220 grit sandpaper and then applied water-based polyurethane to maintain the look of the birch plywood. After the first coat I lightly sanded the cabinets with 220 and then applied one final coat.
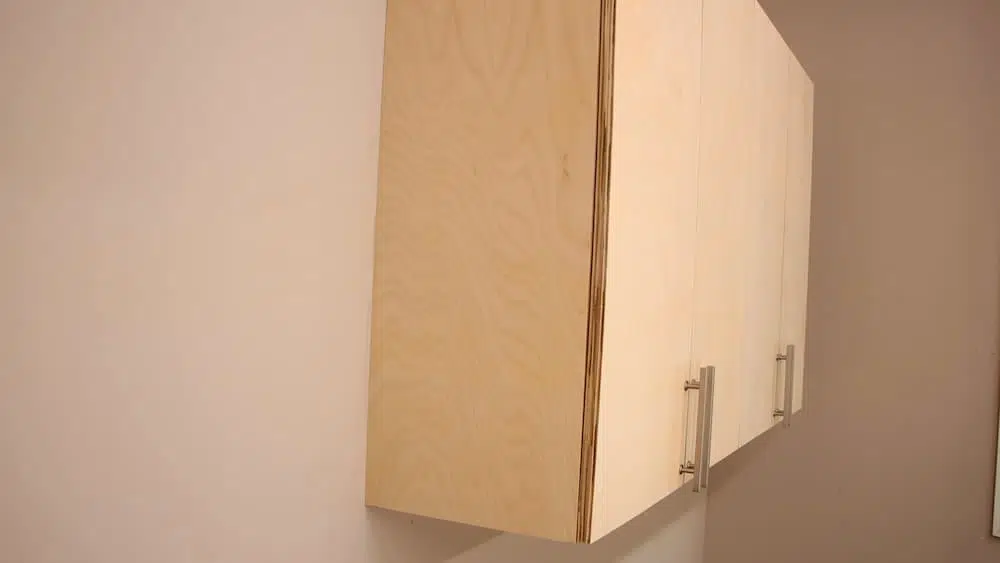
I decided that I’m going to add some edge banding to the one door edge that is visible. That edge just doesn’t look good, so I’ll take care of that soon.
These cabinets look great and they offer a deceptive amount of storage space. I’m excited to get to work on the lower cabinet! Go download the plan and build some for yourself!
Get My Free Download that lists the exact tools & materials you need to create amazing projects
Recommended Reading
How to Build Board and Batten Shutters
If you get the color right, these shutters will instantly transform the curb appeal of your home. And, they’re ridiculously easy to build. Make them as simple or intricate as you like.
Custom Built-in Cabinets and Bookcases
Our good friends hired me to fill an empty, inset wall in their bonus room with built-in cabinets and bookcases.
Sanding is Fun!?? How to Sand & Get Amazing Results
Everybody hates sanding, but a professional looking project depends on it. Here are the techniques of sanding.