Click above to watch the video
This project took me forever.
Our good friends hired me to fill an empty, inset wall in their bonus room with built-in cabinets and bookcases. They really wanted an entertainment center/storage solution. From conception to the last touch-up it took about 7 months. In my defense, I warned there would need to be a tremendous amount of lead time to build these because of everything else I had going on.
Everything I create for this site is to help you start making wonderful and impressive woodworking projects without a garage full of tools, or even a permanent workspace. This project is no exception. Sure, I’m indulging my creative side, and this is nowhere near a beginner project, but it’s good to see:
- The things you can accomplish if you keep developing your woodworking skillsand
- How creating things for others can positively affect their lives
This is a huge project to tackle, mainly because it’s a completely custom job. I had to deal with walls that aren’t straight or plumb and corners that aren’t square. Other than that, building cabinets is a simple step-by-step process.
I started by capturing the angle of the ceiling with an angle finder (FIG 1). The angle changes further up the ceiling so I had to use the tighter angle when cutting the plywood for the top of the cabinets (FIG 2).


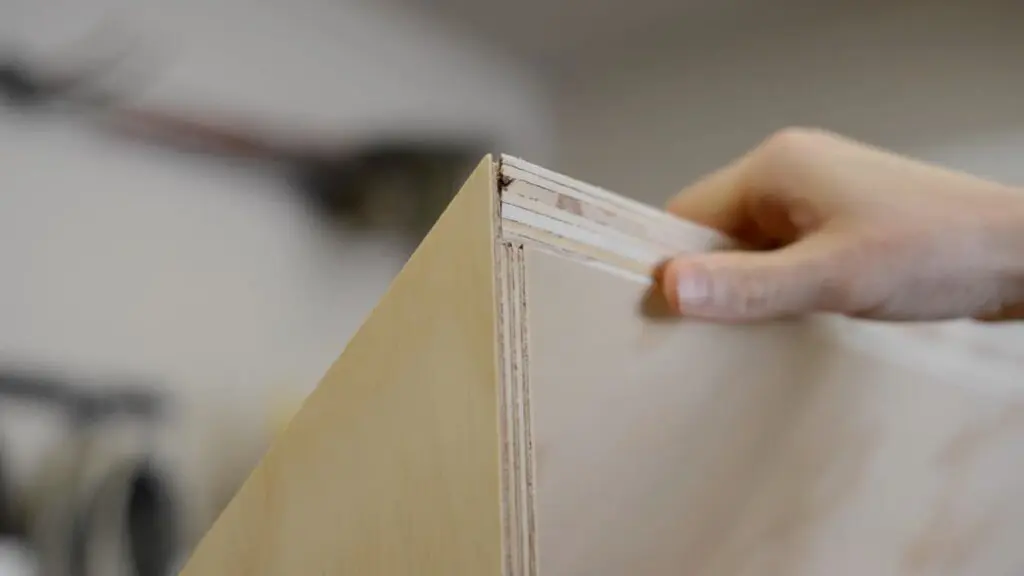
I used a plunge router and a straight-edge to cut dados in the cabinet sides (FIG 3). The shelves, tops, and bottoms will all fit nicely into those grooves. This Kreg jig makes drilling the holes for the adjustable shelves quick and easy (FIG 4).
I glued-up the shelves and sides, driving screws to allow them to dry without clamps and add some mechanical strength (FIG 5). The back is also glued and nailed to hold it in place (FIG 6).
For this project, I designed and built this bevel jig that allows me to cut a 50 degree angle on the cabinet tops (FIG 7 & 8). I have a complete video, article, and plans on how to build this jig if you need to cut bevels greater than 45 degrees. The top and bottom of the cabinet were glued in place.
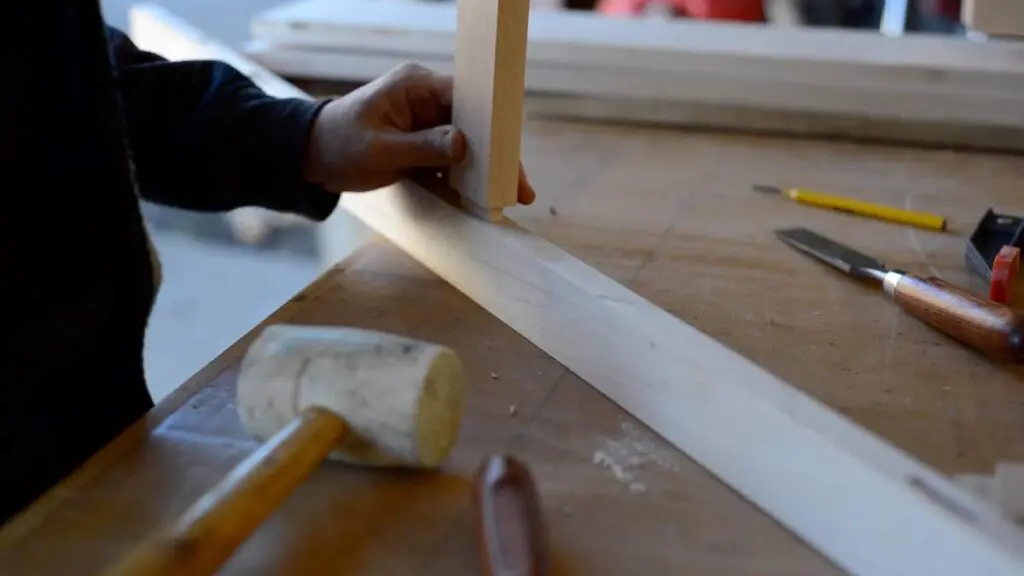
This design has a set of two cabinets on each side. I clamped them together to line them up evenly and then added screws (FIG 9). After milling up the face frame lumber, I clamped them in place and marked for the mortises and tenons (FIG 10).

At the drill press, I drilled out the mortises and then used a chisel to square them up for a nice fit. I drew a mark for biscuits across the face frame onto the plywood shelves and the biscuit joiner is lined up with the line and a slot is drilled for the biscuits (FIG 11).
I glue a dowel into each hole that will show and then cut them off with a flush trim saw (FIG 12). This creates a plug that will make the hole invisible once the cabinets get painted.

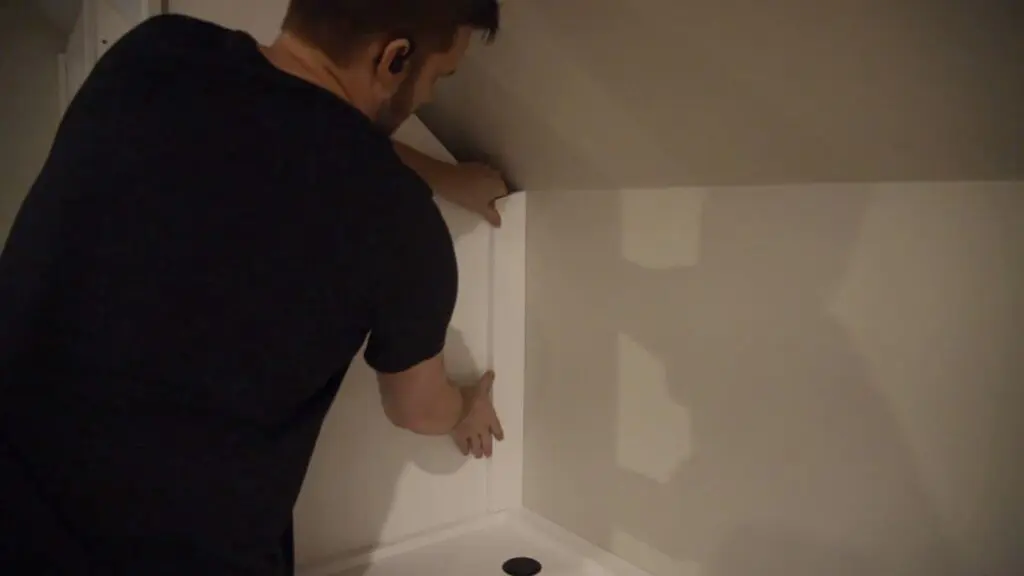
A chalk line was laid down (FIG 13) and the base was screwed to the floor and bottom plate of the wall (FIG 14). I add a plywood top to the base (FIG 15) and a brace to secure the cabinets to the wall (FIG 16). Each trim piece is planed to fit the uneven walls (FIG 17 & 18).
I used another Kreg jig to drill holes for the soft-close door hinges. The doors are attached and I made a quick jig to quickly and evenly drill all the holes for the door handles. I have a complete video and article on how to make these shaker style doors.

The final product turned out great! If you tackle a custom project like this, especially if it relies on uneven existing structure, you will run into issues.
So much of woodworking is problem solving and a project like this will plunge you into the deep end, but the result is amazing!

Get My Free Download that lists the exact tools & materials you need to create amazing projects
Recommended Reading
Building DIY Spice Rack Shelves With Only a Jigsaw
Organize your cabinet with this easy beginner woodworking project. I built these spice rack shelves with only a Jigsaw and a few accessories.
How To Make A Custom Edge Grain Cutting Board | Edge Grain vs End Grain
With the right tools, a cutting board can be one of the simplest and most rewarding projects a woodworker can tackle.
How to Build a TV Lift Cabinet – Part 2 | Beginner-Friendly Woodworking Project With a Free Plan
In this final episode of our TV Lift Cabinet I build the top, put on the trim, apply the finish, and then get this TV Lift Cabinet installed.