Click above to watch the video
Special materials used:
(these are affiliate links, if you purchase through these links I will make a small commission at no extra cost to you)
Adjustable ropes: https://amzn.to/3G59iqk
Hangers: https://amzn.to/3G7lLto
Babies sleep in baby cribs. Or, at least that’s what we’ve always been told.
I found out a couple of months ago that I was mistaken in this line of thinking. Baby cribs are also meant to hang from a porch ceiling and provide a place for adults to take a nap.
The way I found out this bit of information was when friends of ours handed me the baby crib shared by their 3 kids and asked me to turn it into one of these porch bed swings. What could go wrong.
Making the Headboard
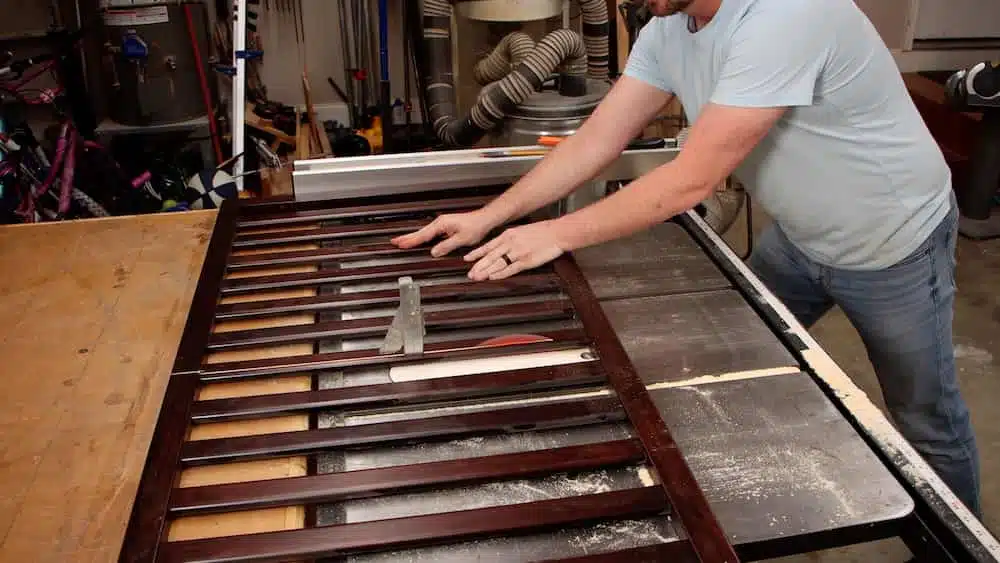
After I cursed Pinterest for allowing my friends to see this trend, reality began to set in. The crib was made up of two ornate end pieces and two long side rails. But, my friends wanted to make the ornate end pieces the back rest (or headboard).
That meant I had to figure out a way to attach the end pieces together. After thinking about it for way too long, and definitely procrastinating for way too long, I decided to attach a spacer and cut the very edge of the trim on the table saw. This gave me a flat edge on each piece.
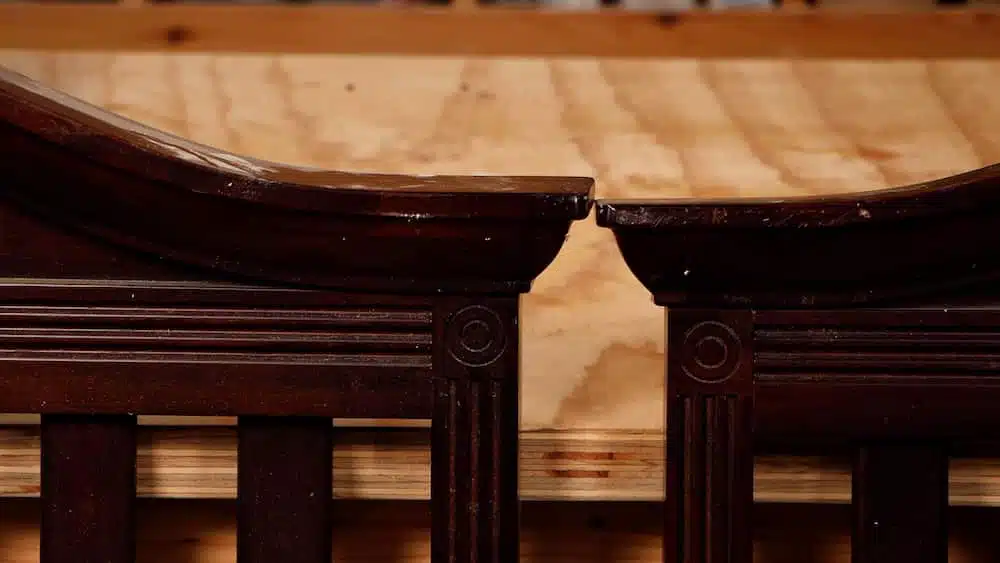
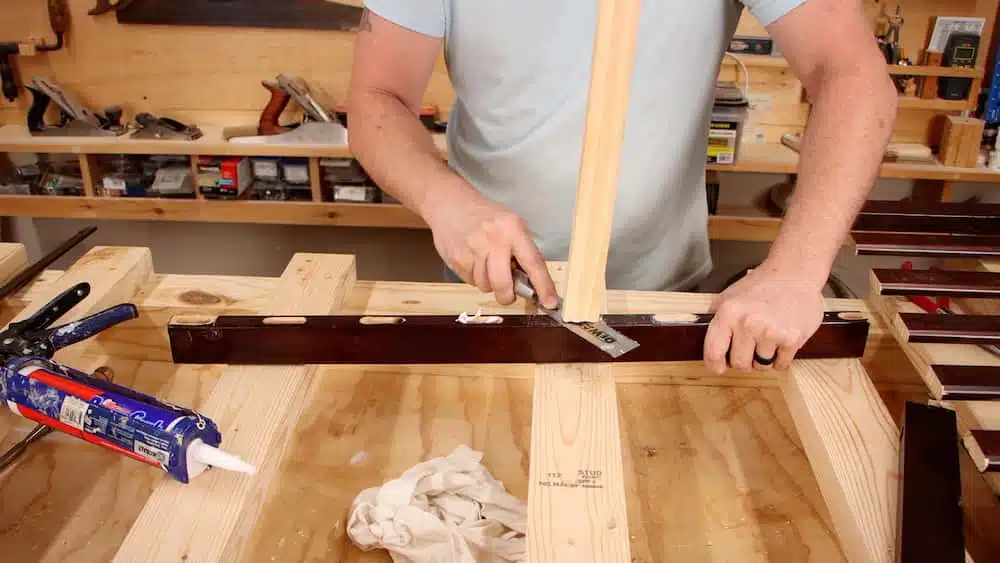
These two pieces had to be securely attached to each other so I couldn’t just do this halfway. I’ve seen some examples online of people doing this in different ways and I think they may have trouble in the future.
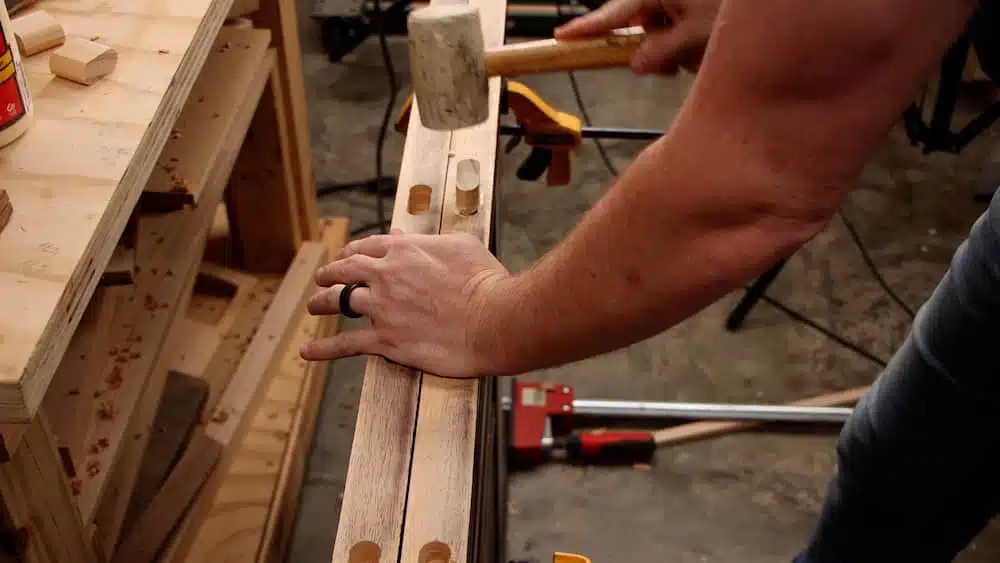
My solution was to make some floating tenons and cut mortises into the inside edge of each piece. I marked out the mortises and then started them by drilling three holes with a forstner bit to the correct depth. Then, I finished off the mortise with a chisel.
I made the floating tenons by just milling down a piece of 3/4″ pine, rounding over the edges at the router, and then cutting them to length.
I glued the tenons in on one side and then added glue to the other side and used a mallet to seat that piece. A few clamps held it tight until the glue dried.
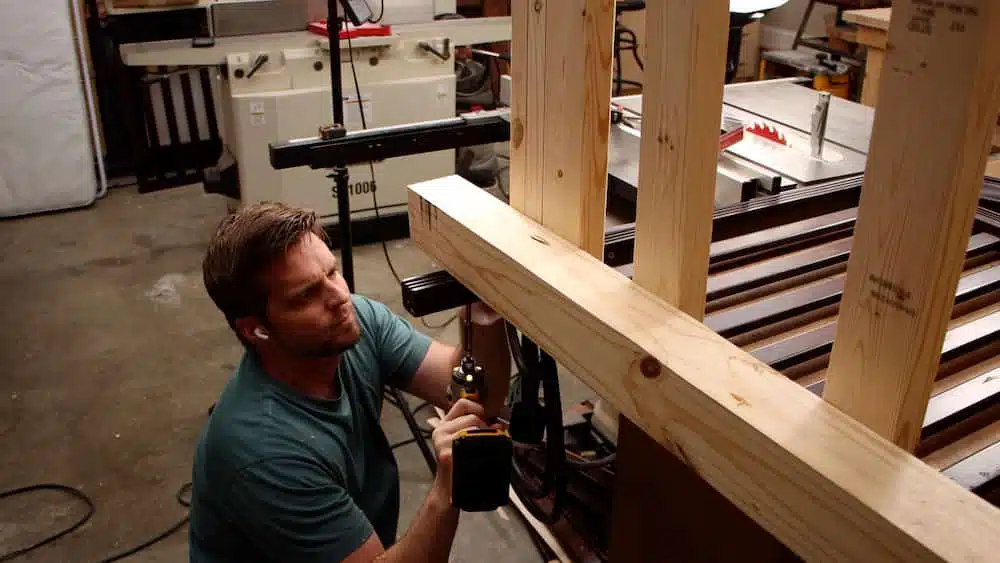
Making the Base
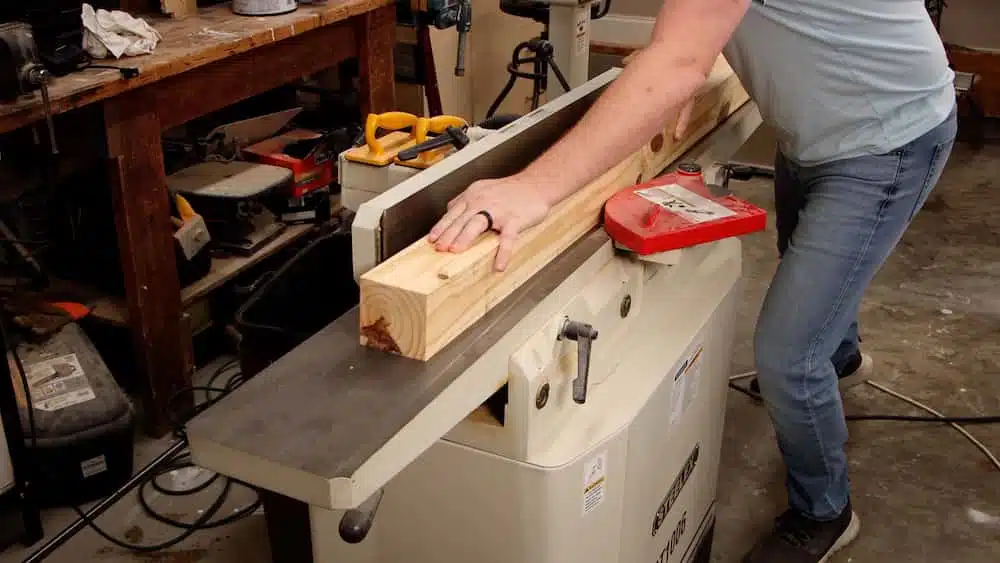
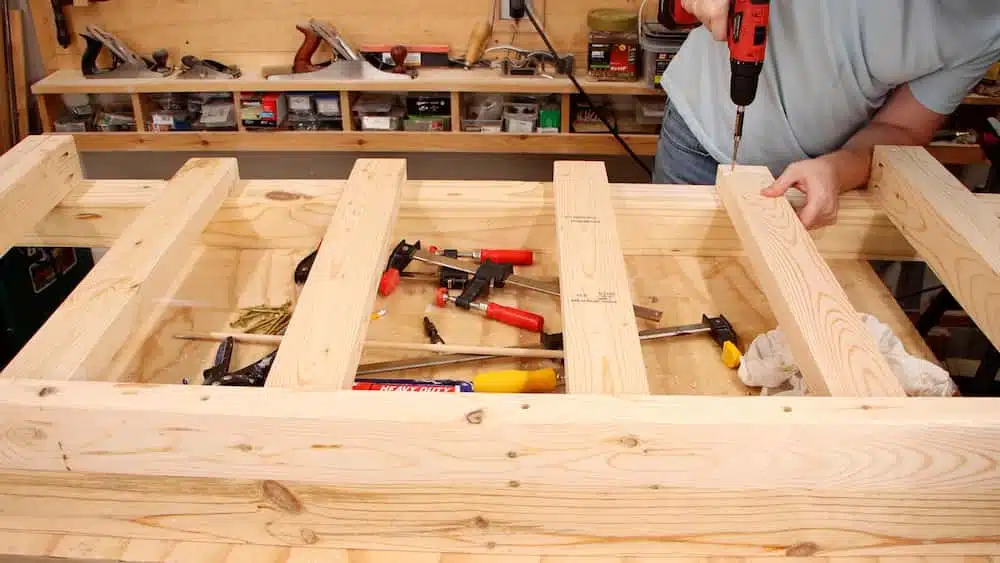
The base is made entirely of new lumber and it’s pretty straight-forward construction. The main parts of the swing, and the parts responsible for holding everything up, are 4x4s. The rest of the base is 2x4s and then two 1x4s as trim.
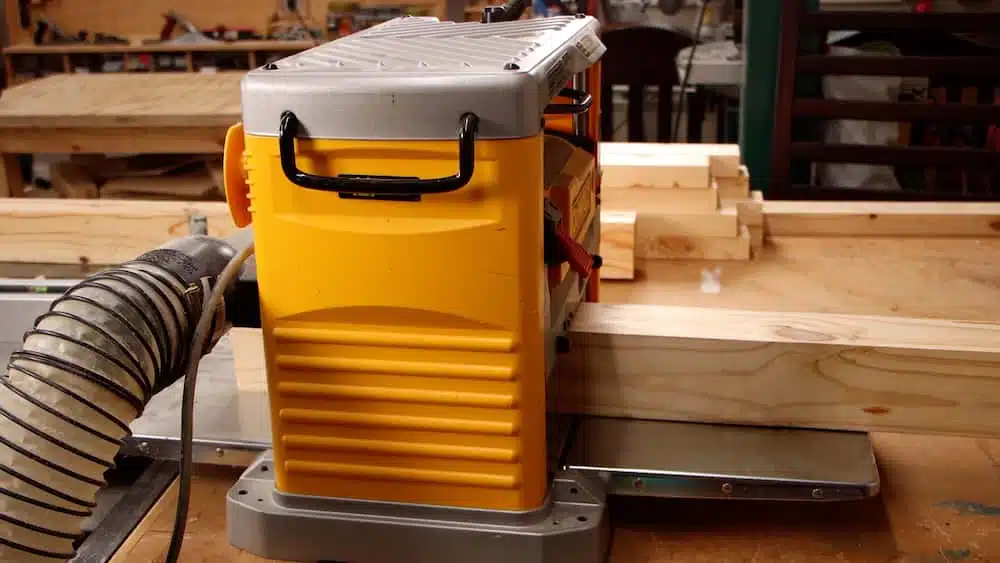
I took the 4x4s and 2x4s to the jointer to get a flat edge and face.
The 2x4s then went over to the table saw and I cut an edge parallel to the jointed edges.
The 4x4s went through the planer with the jointed faces down and now I had some square construction-grade lumber.
The front of the base is a 2×4 attached to the front edge of one of the 4x4s. It got attached with some construction adhesive and outdoor screws. I used a forstner bit to drill a fairly deep hole so that the screw could sit down into the wood and I’d be able to come through later and plug the holes.
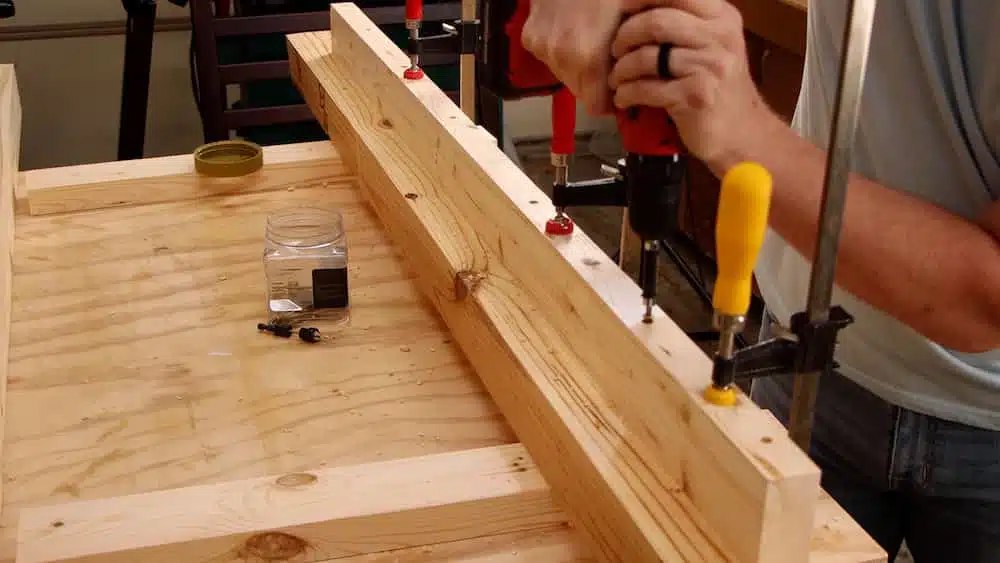
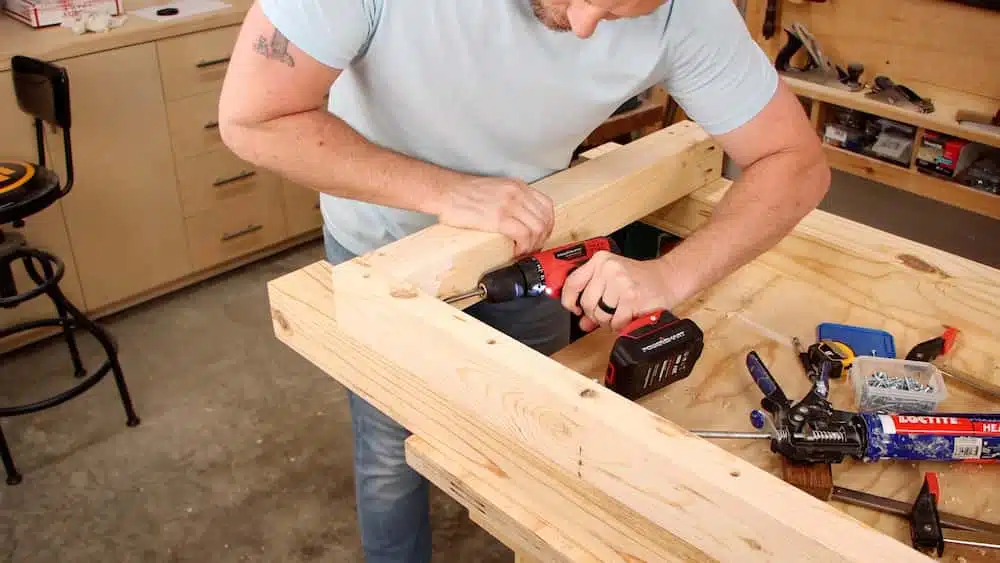
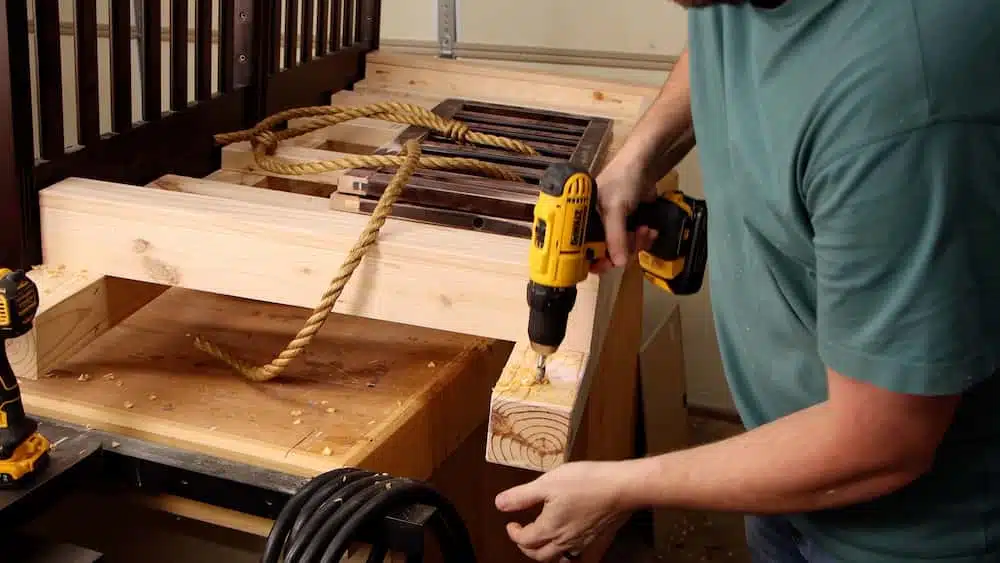
I attached two 2x4s on their edges across each 4×4, on each end. Remember, I had to fit the newly made headboard with the mattress, so some retrofitting was necessary. Two 2x4s stacked at each end was enough to allow the mattress to fit snug as a bug.
The cross braces are 2x4s laying flat across the 4x4s. After testing the mattress, I realized that the ends would sink down too far. Adding a brace on the very ends fixes this problem.
Making the Arm Rests
I had no idea that this was going to be the tedious task that it ended up being.
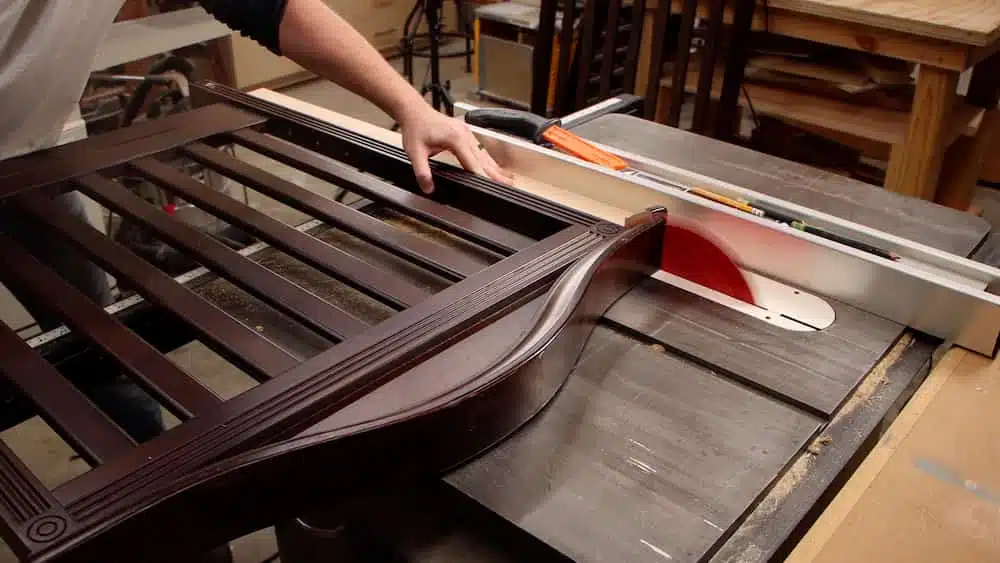
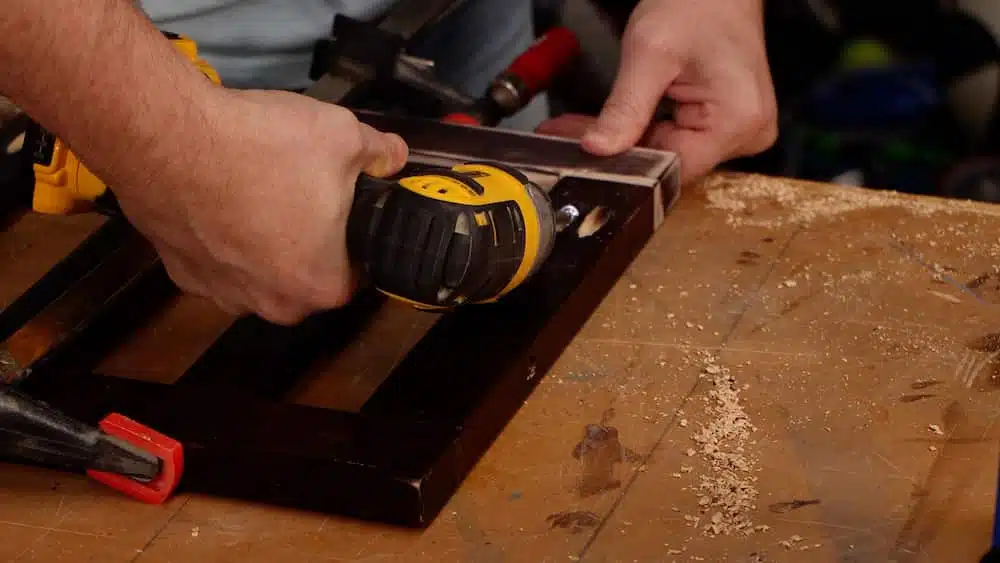
Cutting the rails down was easy, I did that on the table saw, but reconnecting them wasn’t as straight-forward. Each slat has a tenon on each end and when I cut the rails down, that tenon gets removed on one side. I spent forever trying to figure out the best way to reattach the tops of the rails.
My first thought was to glue on makeshift tenons and rebuild it similar to their original design. But, this was a silly idea and, luckily, I realized that using pocket screws would save me hours.
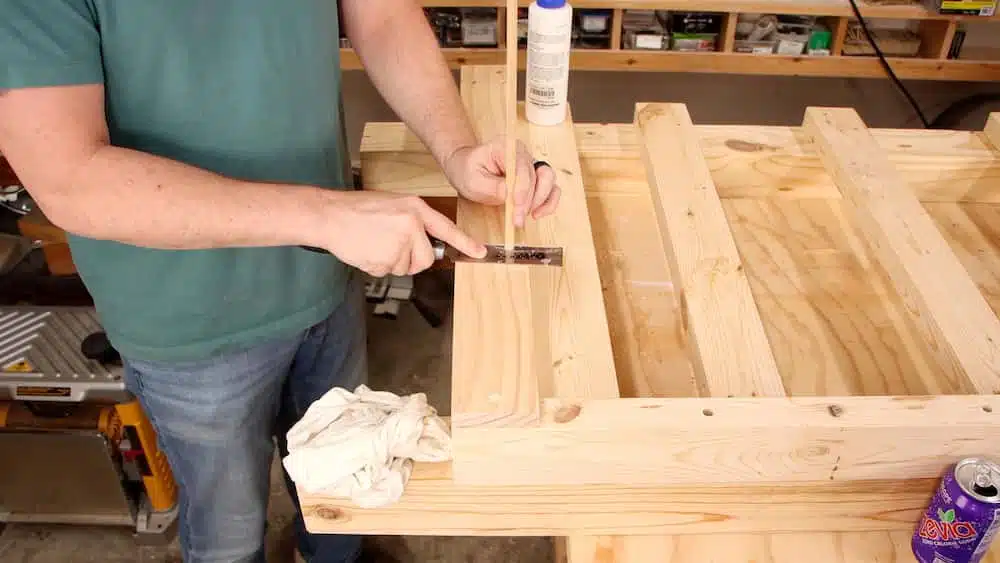
So, I trimmed down one of the unused slats and filled each empty mortise so that I would have something to screw into.
I assembled the new rails with construction adhesive and pocket screws and then filled the pocket holes with wooden plugs.
The stacked 2x4s doesn’t look great, so this is where the 1×4 comes in. It just covers the edge of the 2x4s and also acts as a drink rest.
I went ahead and used a dowel to fill in all the screws holes that would be showing in the base and cut each one with a flush trim saw.
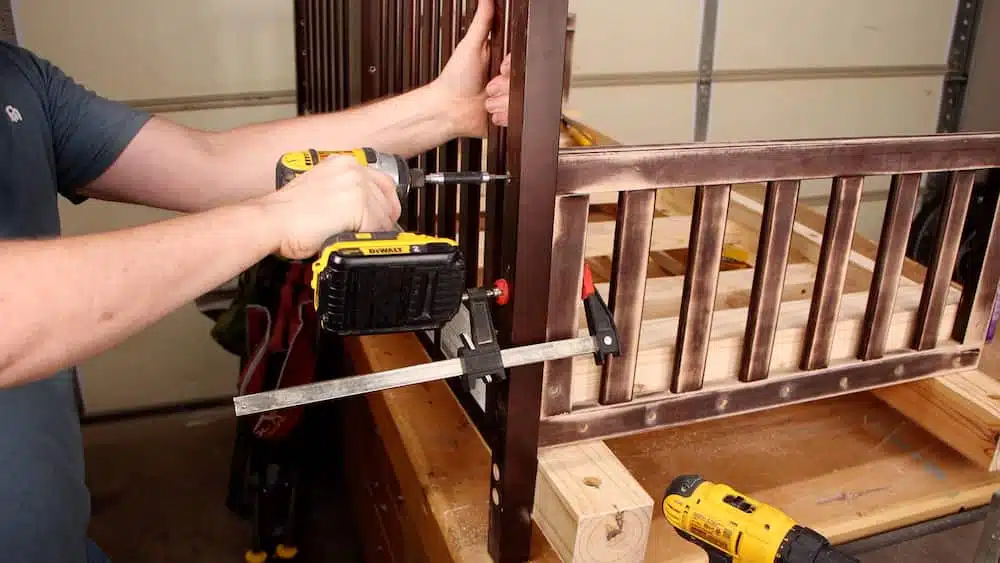
Assembly
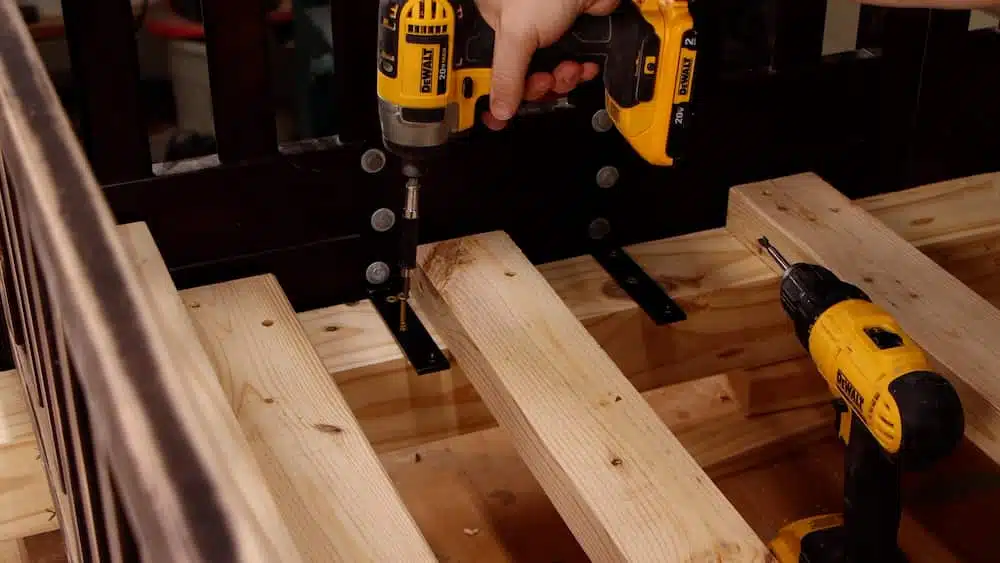
I wanted to assemble the entire swing even though I would be taking it apart for paint, later on. So, I laid the headboard flat and screwed the base down to it with HeadLOK screws. I love using TimberLOK and HeadLOK screws for different jobs because they’re as strong as lag screws and they’re star drive.
I drilled holes for the ropes into each end of each 4×4 and I used a forstner bit that was just wide enough for the diameter of the ropes.
The rails must be attached in several places or, because of their design, they’ll be wobbly. So, they get several screws from the side into the 2x4s and then through the back of the headboard into the rails.
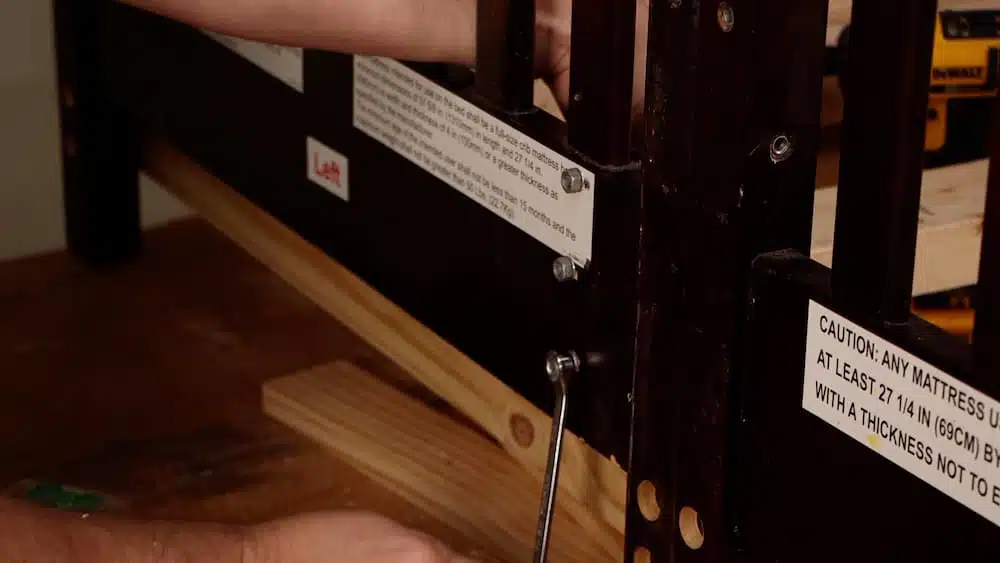
I added galvanized brackets and attached them with bolts through the headboard and 3 1/2″ screws into the 4x4s to make sure the headboard was secure.
Adding Finish
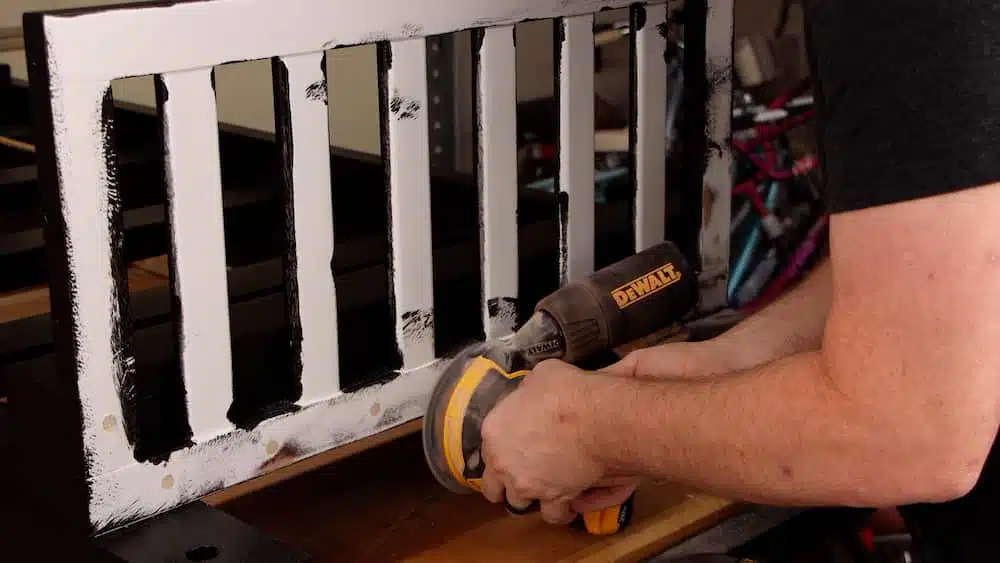
The crib has stain and a polyurethane topcoat, so we can’t just paint right over it. A bonding primer will let you paint over shiny surfaces, but I went ahead and sanded quite a bit to give it an even better chance at bonding.
I wanted the owners to be able to easily refresh the finish on this swing, so I used a high end exterior paint as the topcoat. Once it starts fading they can just clean it and then put another coat on.
Halfway through painting I reattached the rails so that I could plug the screw holes before finishing the paint.
Installation
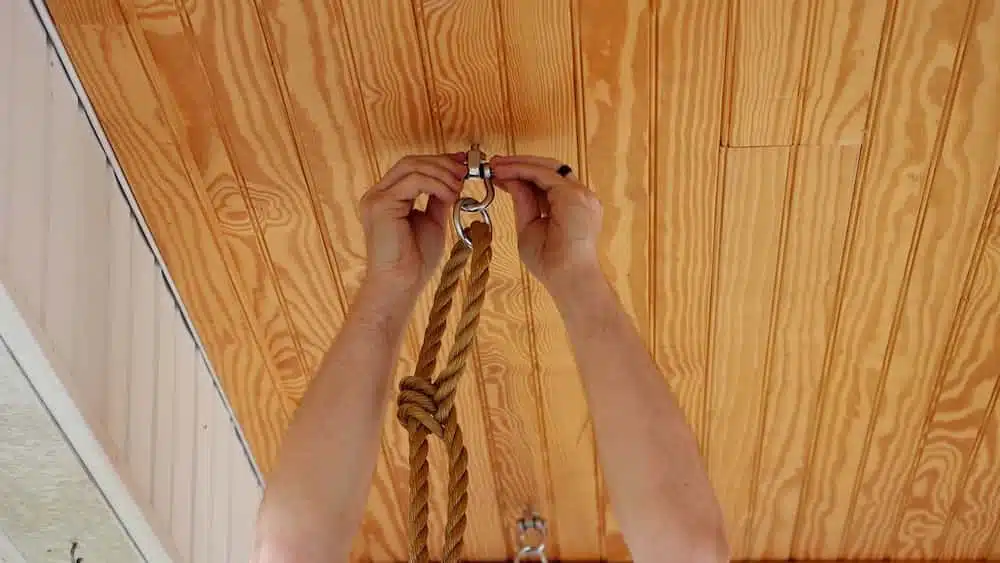
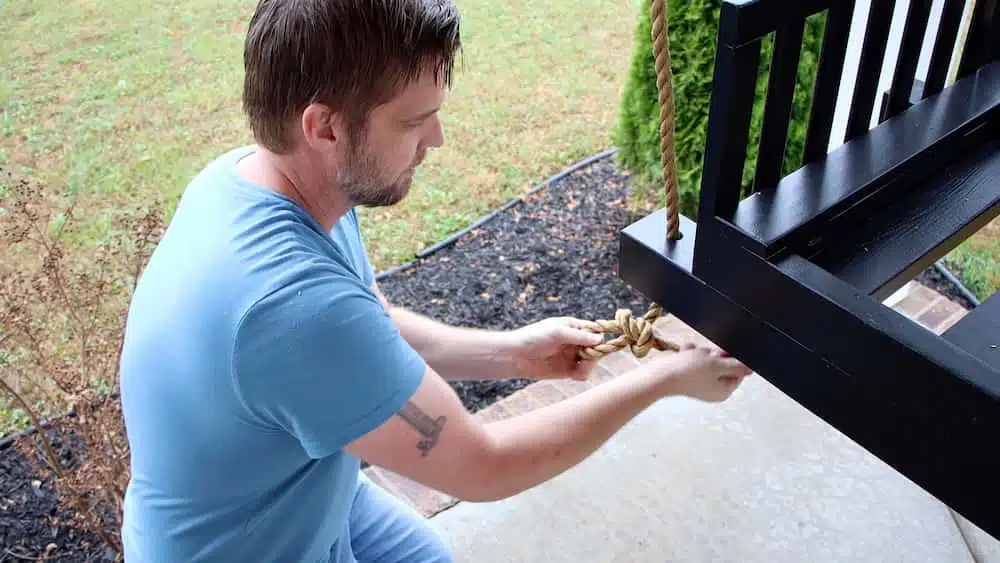
The wood paneling on the porch ceiling made the install a bit trickier. I couldn’t rely on a stud finder to….eh….find the studs. I had to use a combination of looking at the existing nail holes and drilling very small holes until I found the spots for the 4 anchors.
A really neat trick I used on this install was, once I found the 4 spots, I drilled holes large enough for some edge trimmer string and then pushed the string into the hole until it stopped. If it didn’t stop I know I missed the studs. This is a quick way to verify you have great spots for secure hangers.
I tied a stopper knot on the end of each rope and let the swing down to rest. It only took a bit of adjustment to get the ropes to the right length and we were in business!
I joked about being asked to do this project, but it really was fun. There’s something weirdly satisfying about turning a piece of furniture into a piece of furniture it wasn’t meant to be.
Watch the video for the final shots of the swing…it turned out amazing!

Get My Free Download that lists the exact tools & materials you need to create amazing projects
Recommended Reading
How To Make Shaker Cabinet Doors on the Table Saw
Shaker cabinet doors are a timeless and simple style. With the right tools they can also be easy to make. You may also hear this style of cabinet door called “frame and panel” or “ flat panel”.
How to Build a Round Pedestal Dining Table
A local business asked me to build a table for their break room similar to a style they found available for sale.
How To Make A Custom Edge Grain Cutting Board | Edge Grain vs End Grain
With the right tools, a cutting board can be one of the simplest and most rewarding projects a woodworker can tackle.