
Most of us have used a tape measure at one time or another. It’s probably the easiest woodworking/carpentry/DIY tool out there.
But, there are some features of the tape measure that stay hidden from 90% of users and they’re pretty neat.
We’re going to talk about one of them today and, in general, how to measure a distance between two surfaces or walls.
Let’s start with a distance that we need a measurement. The point of this is to replicate the situation where there isn’t an open side to extend the tape measure and the walls or surfaces extend too far out to measure on their edges.
The typical solution is to put the tape’s hook up against one wall and then extend it and bend the tape to try and guess a good measurement. As we all know, guessing when measuring ends in tragedy.

There are two better ways to approach this:
- Use the built-in tape measure width to determine the measurement
or, the one I prefer,
2. Measure in each direction
Tape Body Method
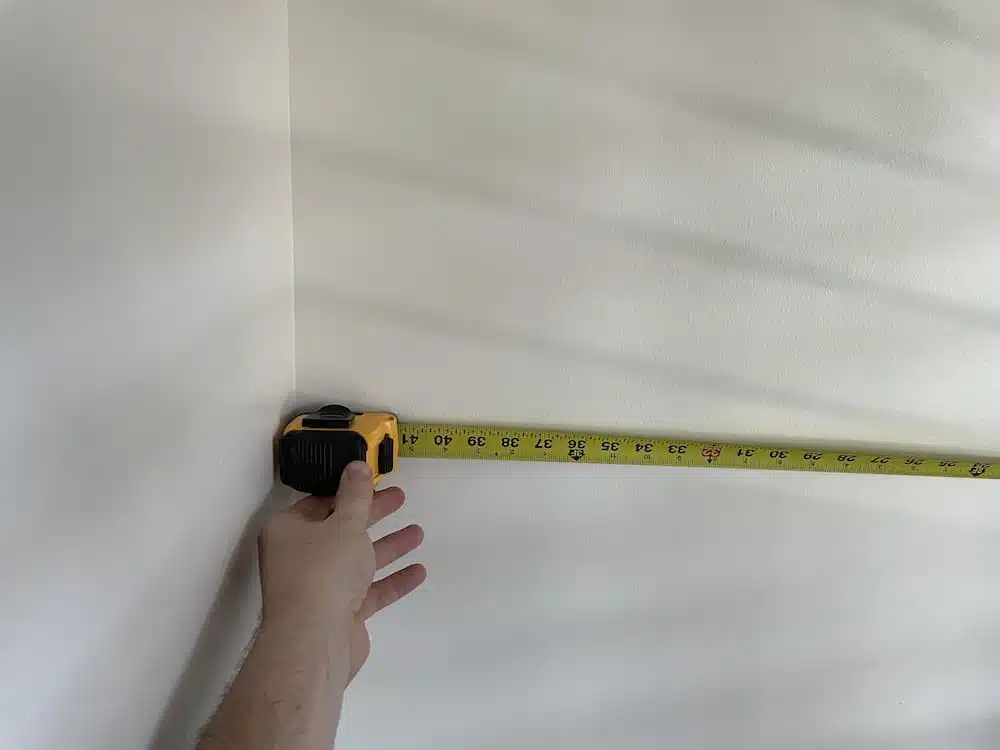
You may not have ever noticed that there’s a measurement imprinted on the back of your tape measure. This one shows 3″ or 76mm.

This number is the width of your measuring tape body. Put the hook against one wall, and extend the tape to the other side until the body of the measuring tape is against the wall.
Look at the measurement showing on the tape and then add the tape measure width to it.
Easy as that!
The method is not my preferred way because it can be tough to determine exactly what measurement is showing on the tape. But, it can be accurate if you’re careful.
Measure Twice Method
The second method also has margin for error if you’re not precise. So, take your time.
From one side of the wall, measure an even distance that is much wider than the body of your measuring tape. Let’s say 10″ for the sake of this example, but you want it to be an even number that’s easy to add. Carefully make a mark.

Now, flip the tape around and measure from the other wall to your mark. Add your previous 10″ to this measurement and that’s the total length between the walls.

Both of these methods can be great ways to get a measurement that isn’t easily accessible!

Get My Free Download that lists the exact tools & materials you need to create amazing projects
Recommended Reading
Easy Taper & Jointer Jig for the Table Saw
Taper furniture legs, cut complex angles, and joint rough edges with this easy-to-build Taper & Jointer Jig built for the table saw.
How To Use A Jigaw
The jigsaw is a must for the beginning woodworker. It is a safer tool to use than many others and it lets you make all kinds of cuts.
How To Make Shaker Cabinet Doors on the Table Saw
Shaker cabinet doors are a timeless and simple style. With the right tools they can also be easy to make. You may also hear this style of cabinet door called “frame and panel” or “ flat panel”.