Click above to watch the video
Finally.
I finally tamed the dust hurricane that forms every time I make a cut with my miter saw. I’m not sure what it is about miter saws and the “dust collection” solutions manufacturers design for them. Granted, they’ve got to contend with clearances when you’re swiveling and tilting the saw all over the place, but you would think somebody would come up with a solution for this….even if they just provide removable parts for different cuts.
Keep in mind, this solution is unique to my miter saw, but it should give you some good ideas to solve your own miter saw dust collection issues. My solution is also only for straight, 90 degree cuts. I really don’t cut miters on this saw very often, so this works for me.
**After this article head over to see the other upgrades I made to this miter saw. And, I have a complete miter saw tips and tricks video and article.
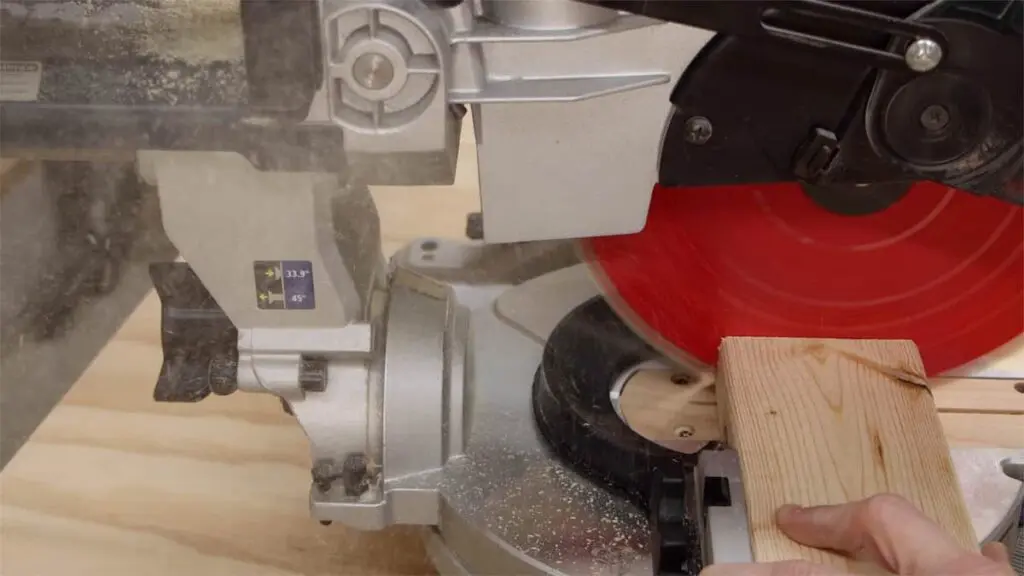
Measure and Make the Cuts
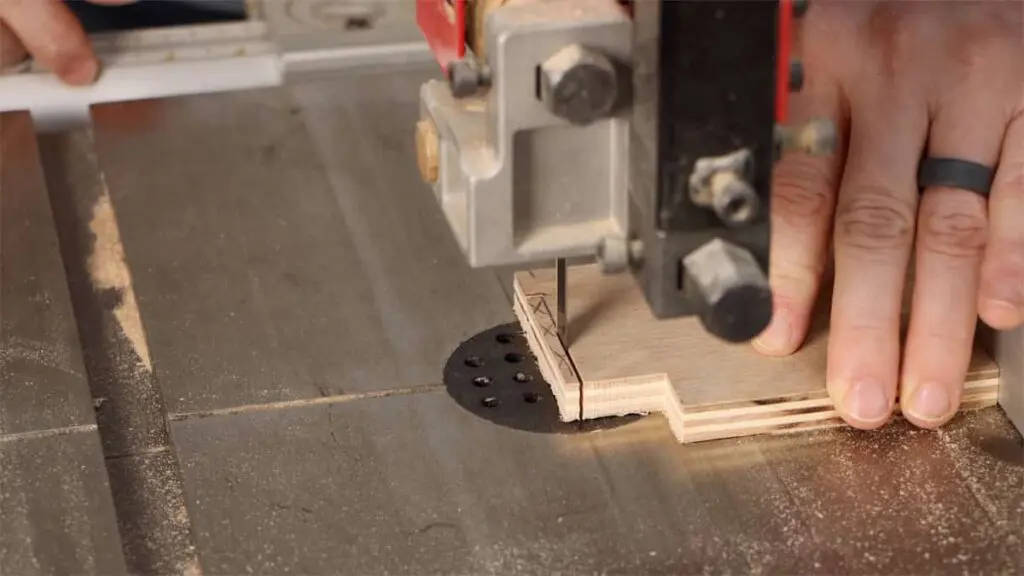
Using 1/2” scrap plywood I started by marking the unique angles and edges and making the cuts to fit the sides.
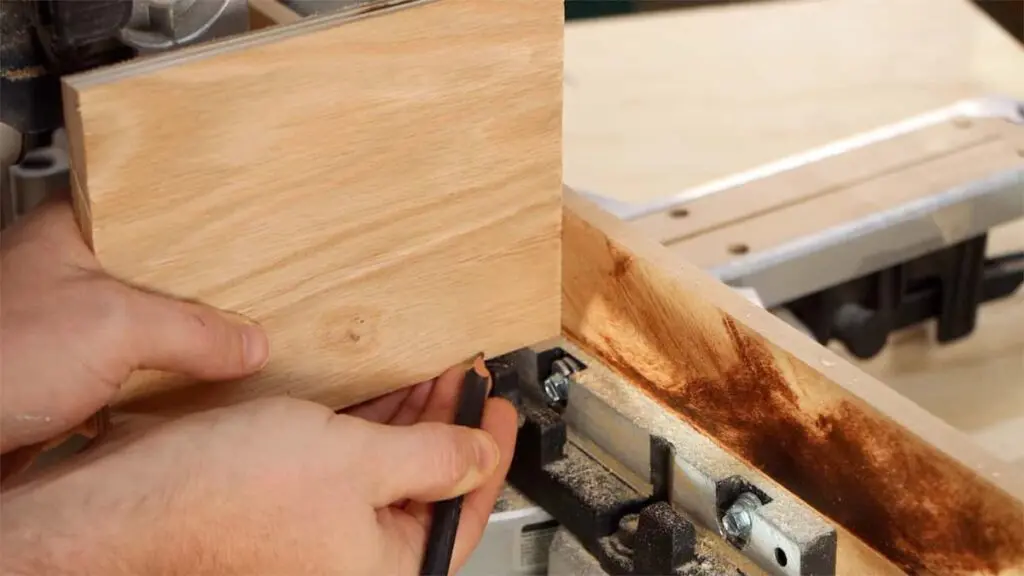
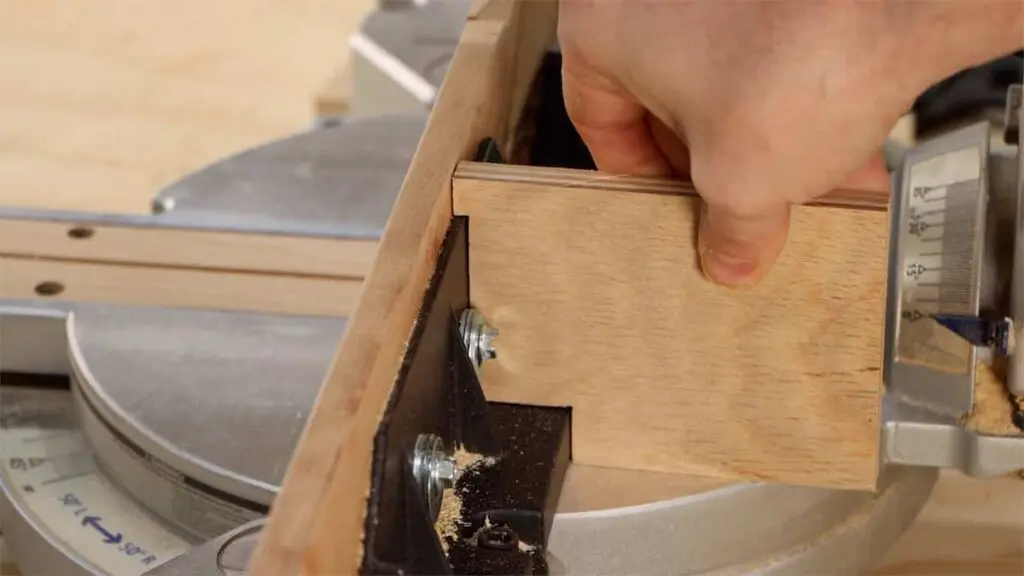
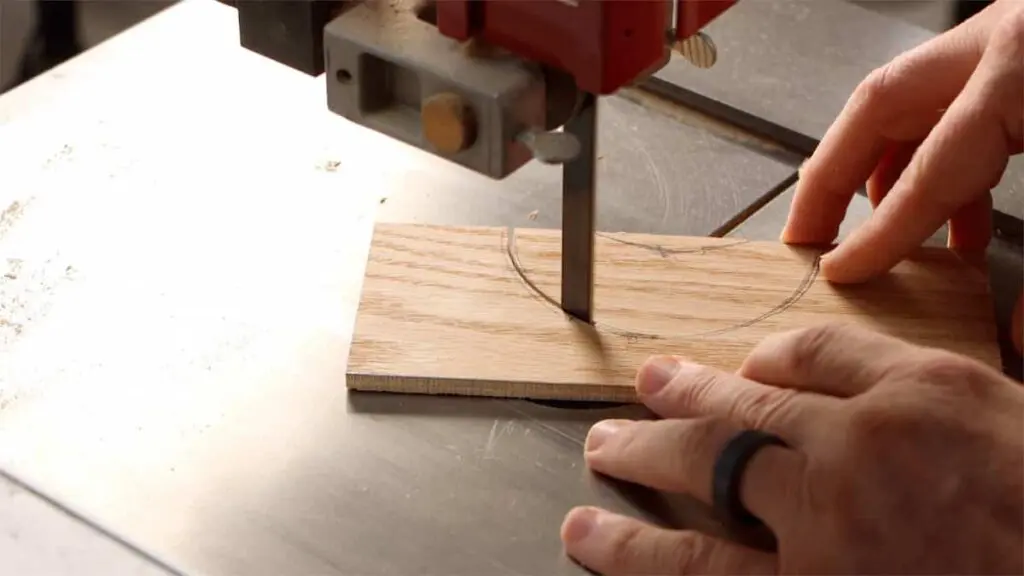
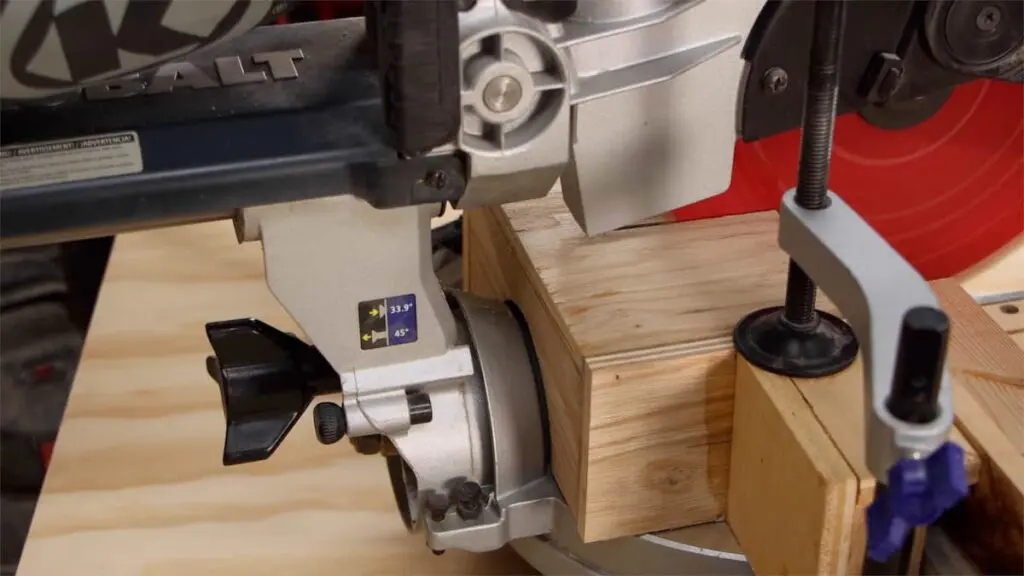
To enclose the area behind the fence I had to deal with the rounded gauge for titling the saw. I cut that piece to size and then pushed up against the gauge and traced the curve. I then cut it out on the bandsaw.
Assemble the Parts
I used wood glue and brad nails to assemble the sides and top, but I used CA glue and accelerator to attach the back piece and the “guide section”. This techniques allowed me to keep working and not have to wait for the glue to dry.
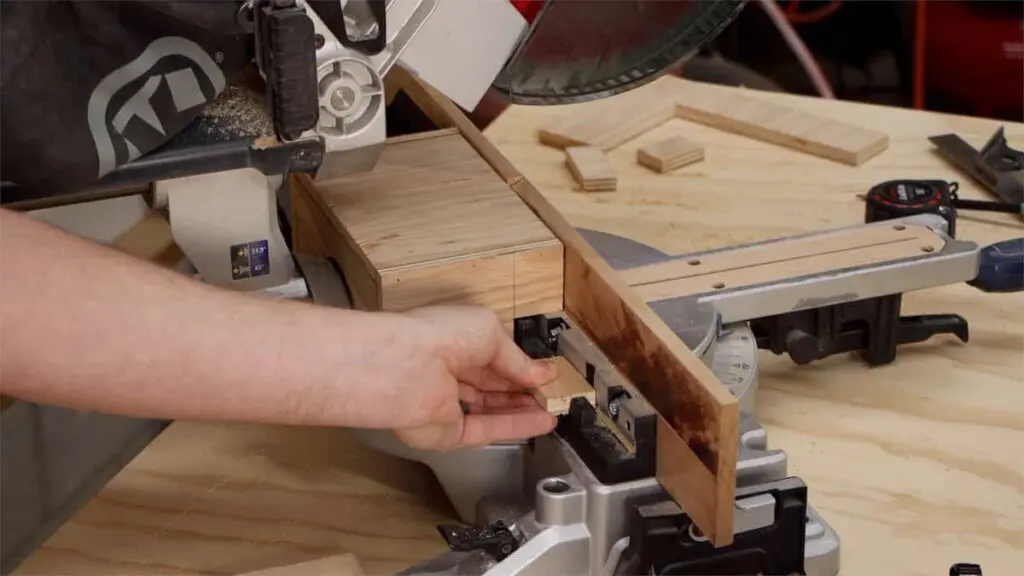
Once the main box was glued up, I started dealing with how to place it in the same position every time and hold it down.
The back of the fence on the right side had a gap that was perfect for a “snap-in” guide. I cut a piece to fit in that space and then put together a box around it and attached it to the main box.
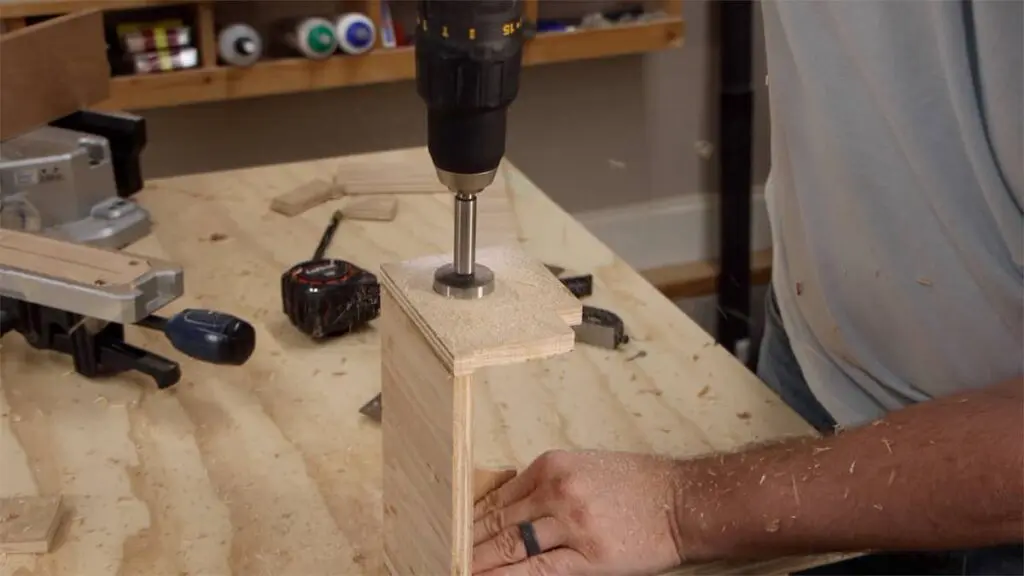
On the opposite side I drilled a hole to fit the wet/dry vac.
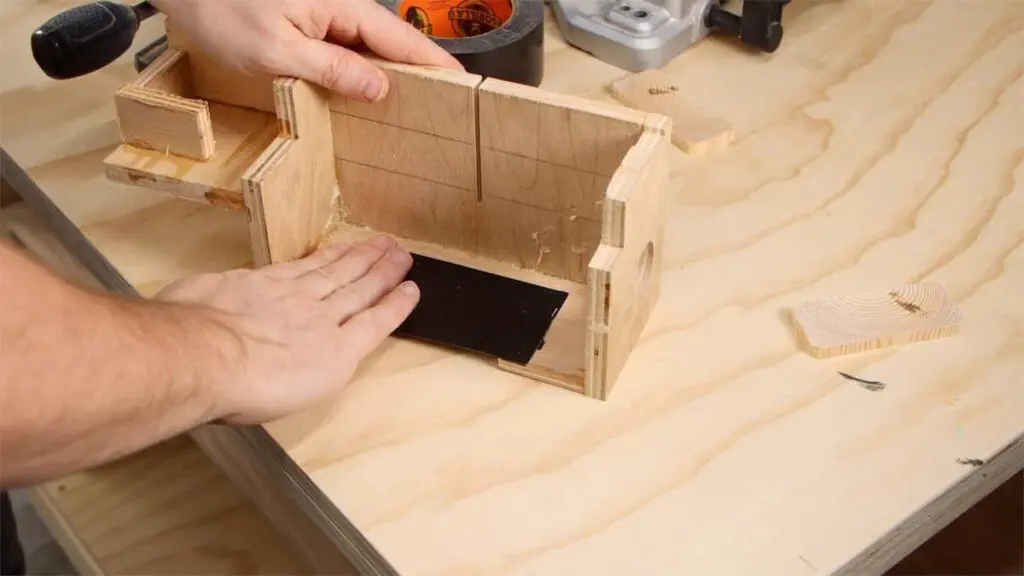
The last detail was to put some Gorilla Tape across the arched opening to block dust that was still being thrown through the back.
The box snaps into place and then it’s further held down with the clamp that came with the saw. The forstner bit I used to drill the hole wasn’t quite the same size as my vac hose, so I wrapped some tape around the hose until it fit snugly.

How Well Did It Work?
You can see below that the dust collection is, basically, non-existent as it came from the factory. The new solution has almost fully contained the dust.
The blade still throws a little bit of dust out of the top cut line, but that is something that can be further reduced. I had to build the box a little bigger than I would have liked, so the suction is not quite as good as it could be, but it’s more than adequate.
This is a prototype that could be improved quite a bit, but, overall, I’m really excited about how well this works after the first iteration.

Get My Free Download that lists the exact tools & materials you need to create amazing projects
Recommended Reading
Miter Saw Upgrades – Zero Clearance Insert and Fence
Most miter saws come from the factory with some inferior features, so let's make some improvements and put on a new insert and a fence.
How To Use A Miter Saw
It’s hard to get much done in the shop or on a job site without a miter saw. You can’t beat it for roughly crosscutting wood to length.