Click above to watch the video
Furniture is so specific to taste and personality. I find that the pieces I would love to build aren’t in style, right now. Now is a time of rustic simplicity and imperfect character. I’m ok with that, although, I prefer beautiful hardwoods planed smooth and joinery that fits tight and square.
This is a Restoration Hardware design, but you can see the deviation from truly rustic, reclaimed wood to my preference for flat and smooth. It does have some rustic appeal – full of knots and balusters sandwiched between two blocks for no functional reason. Generally, I think a table like this gets treated to reclaimed wood that is uneven and pitted. That look can be stunning, but, in my opinion, the wood has to be “perfect”, so to speak. There’s a fine line between nasty and rotten, and beautifully aged and distressed.
If you’ve never spent time in a wood shop, you may be surprised to see, in this video, just how much goes into building a piece of furniture. It’s a massive undertaking to craft something like this and I touch on each step for only a few seconds. I’m sure if I was in a production shop with other wood workers, things would get done quicker. But, taking the time to build a piece with care and accuracy is part of the fulfillment, for me. I don’t do it to spit out a piece of furniture. I do it to enrich the life of the person who is going to enjoy it.
Tables are a fundamental tool in our lives and we take them for granted. Think about how tables improve our quality of life: A table is where you break bread with loved ones How many times have people fallen in love at a table – with a flower, good food, smiles, and laughs A lamp’s light reaches farther when sitting on a table A table is there when your hands are full Tables allow you to learn, to work on problems, to present ideas.
Lastly, tables can make a home more beautiful and calming It’s a proud moment to create such a useful and important piece of furniture.
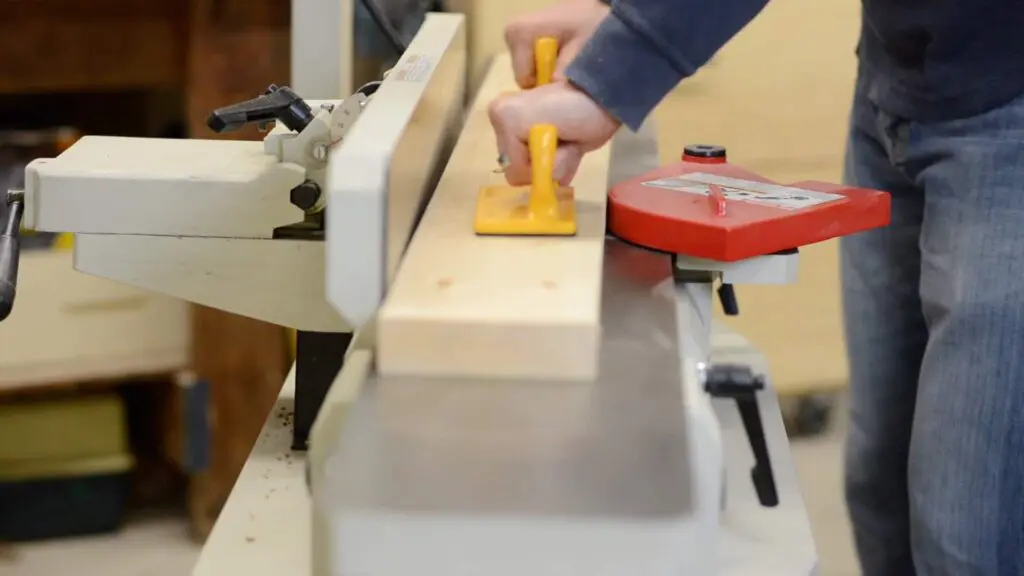
Milling the Parts
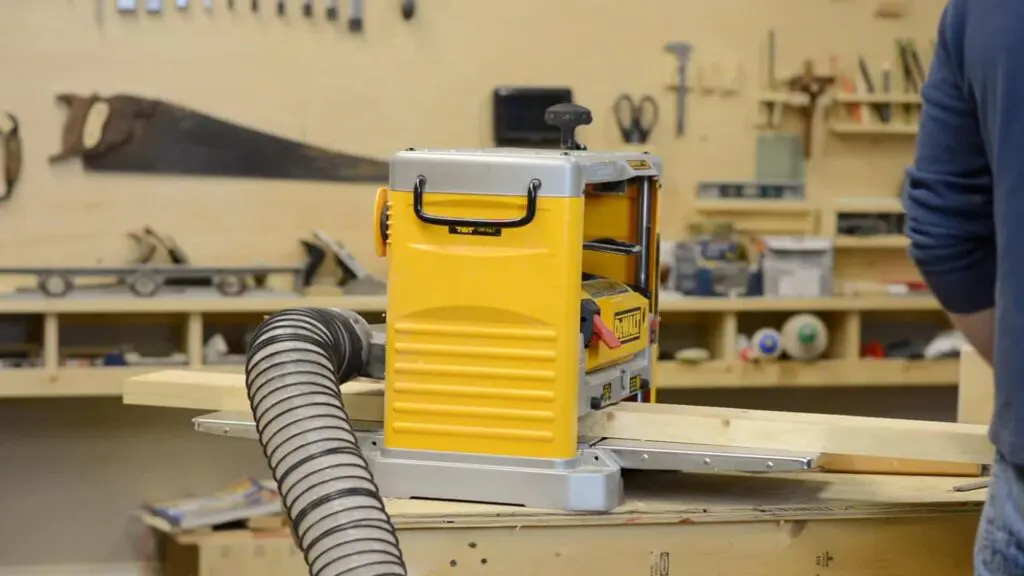
Cut each board to a rough length at the miter saw to make them easier to work with. Mill all of the boards by flattening one face and edge on the jointer, cutting the opposite edge flat and parallel on the table saw, and cutting the opposite face parallel on the planer. This results in flat and square workpieces that are easy to work with.
If you buy dimensional lumber from one of the large home centers, you can get away with not doing this. Pick the straightest pieces and use them the same day you bring them home. You would normally let lumber acclimatize to your shop environment, but in the absence of milling machines, this is the best compromise.
Building the Top
Start by gluing up the top using the 2x6s. I apply glue to at least one edge on each joint. To try and keep it as flat and even as possible, use cauls and as many clamps as are needed.
Once the top has dried flatten out the uneven spots with a hand plane.
Cutting the Breadboard Ends
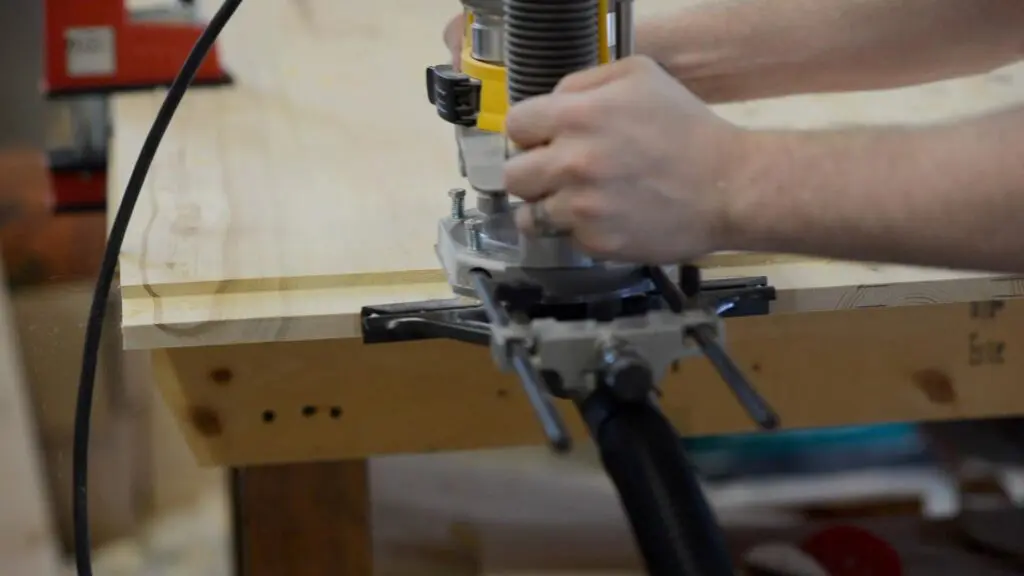
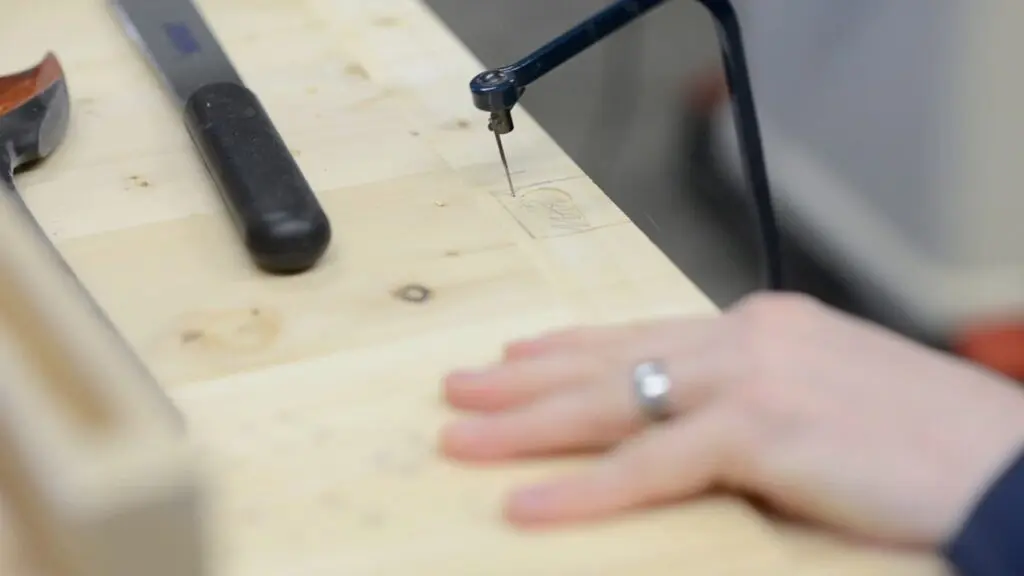
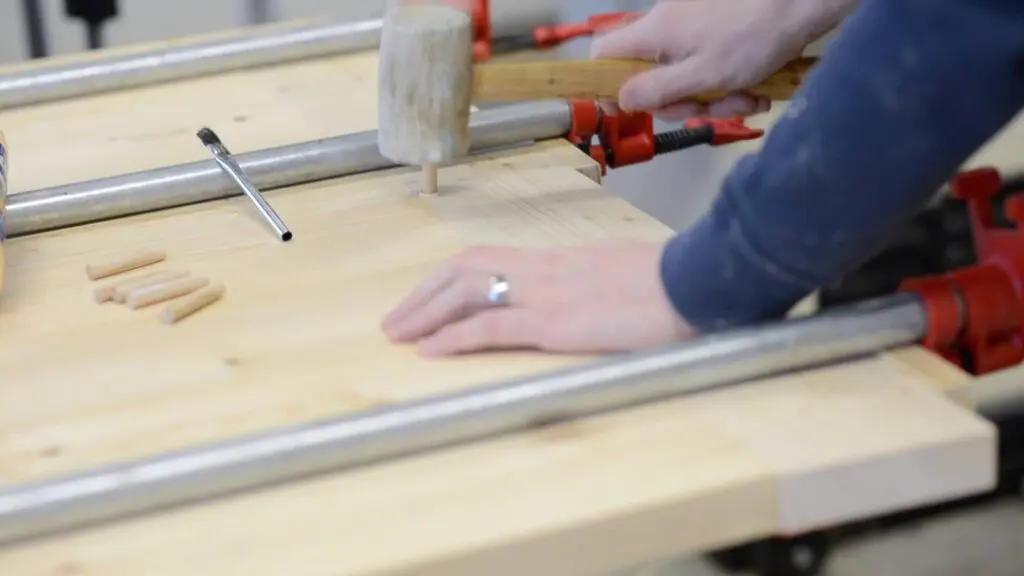
Use a router to cut the tenon into each end of the top. The router is also used to cut the shallow mortis into each breadboard end. Using a coping saw, remove the waste between each tenon.
After drilling out the majority of the mortis at the drill press, square them up with a chisel. The breadboard ends are dry fit to make sure they fit comfortably. Drill holes in the breadboard end for the pins. The holes are drilled in the location of each tenon.
The only add glue to the center tenon to allow for expansion in the top. The 2 mortises to the left and right and slightly wider than the tenons to allow for this.
A pin is inserted in each tenon to secure the top further. Glue is, again, only added to the center pin.
Building the Base
The base consists of 2x4s ripped to width and joined with pocket screws.
The bottom shelf slats are ripped to width on the table saw.
Break the edges with a block plane. One of the quickest ways to add a professional touch to your work is to lightly sand and round the sharp edges.
The bottom slats are attached with finishing nails. Using nails allows for wood movement.
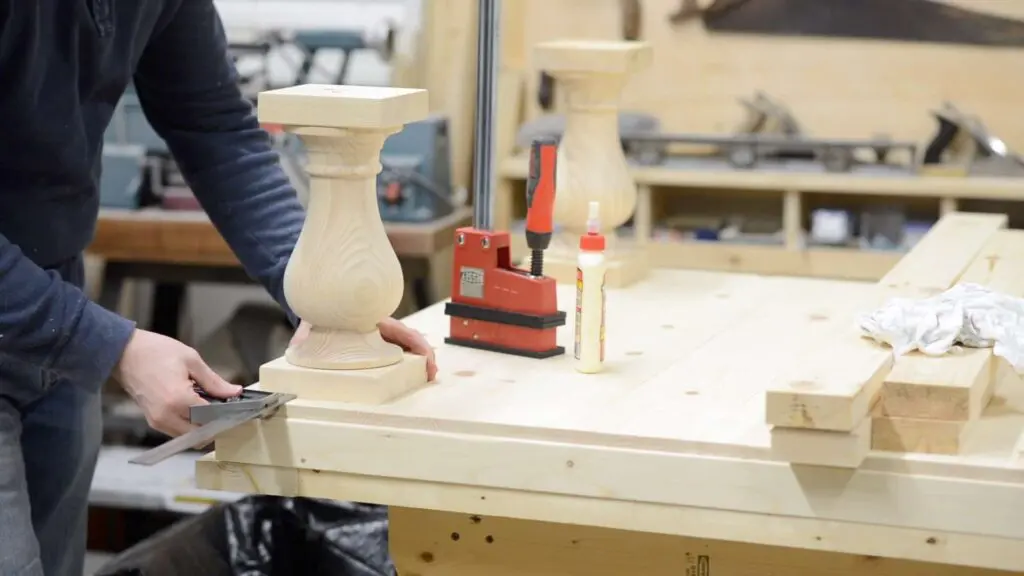
I purchased these baluster legs from Osborne Wood. After gluing and screwing the top and bottom 2×6 pieces to the legs, use a combination square to evenly space all 4.
The entire piece gets sanded with the random orbit sander with 100 grit followed by 220 grit.
With the router, cut a chamfer into the bottom edge of the table. This takes some of the blockiness out of the top and makes it look more finished.
The aprons on this table serve no purpose other than for aesthetics, so they are laid flat and secured with pocket screws. They should not be relied on to transfer any weight.
Cut 4 pieces and round the edges to make feet. Glue and screw them to the corners of the base.
Applying Finish
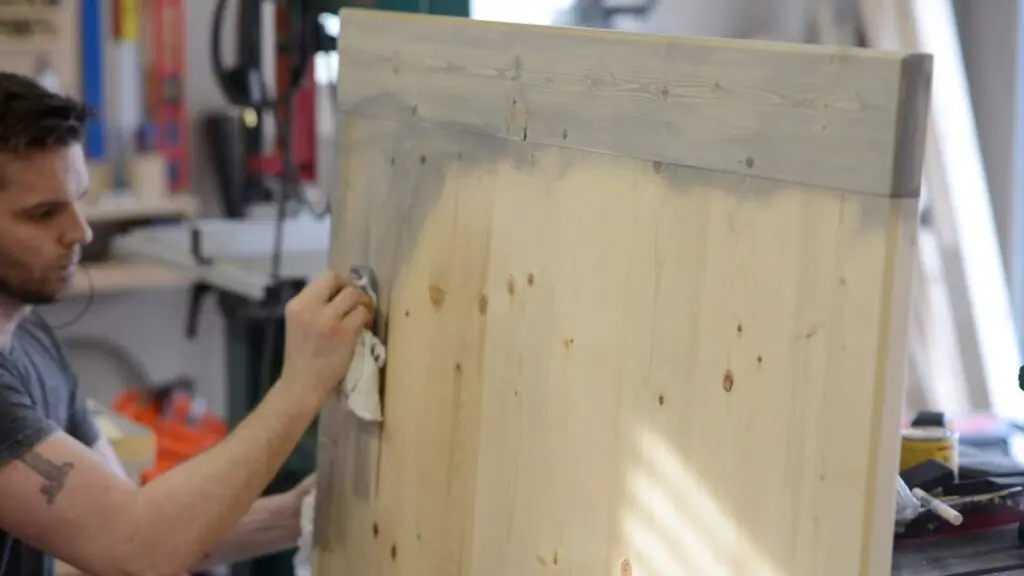
Thoroughly wipe on Minwax wood conditioner to even out the wood and then Minwax Classic Gray stain for color. It’s important to stain all surfaces to evenly seal the wood. If the bottom is left bare it will contract and expand much quicker than the top and cause cupping.
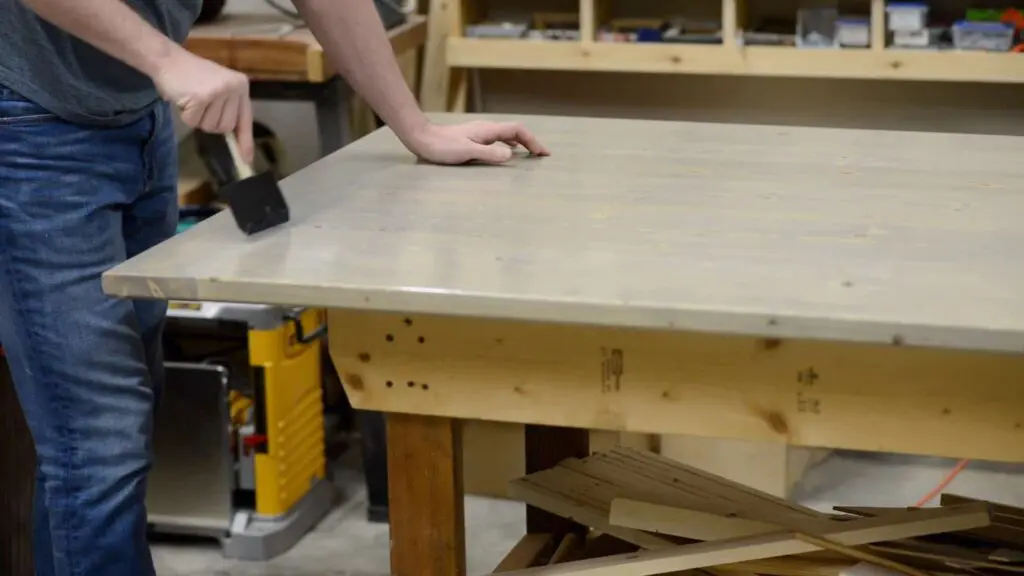
Add 4 coats of Minwax polycrylic to the top, sanding in between each coat. And, the finished table waiting to be picked up!
One thing I didn’t document very well in the video was the way I secured the top. I drilled a very shallow indention for the figure 8 fasteners to sit flush and have room to swivel back and forth to allow for wood movement. I used the provided screws to secure them to the base. Once the top was in place, I screwed up through the fastener into the bottom side of the top.

Get My Free Download that lists the exact tools & materials you need to create amazing projects